How to Create Google Analytics Account
This guide provides a concise walkthrough on setting up a Google Analytics account, enabling users to monitor their website's traffic and user behavior. Covering initial sign-up to configuration nuances, the guide simplifies the process, ensuring even beginners can effectively harness the power of Google Analytics for their digital platforms.
1
Sign in to your Google Account:
If you don’t have a Google account, you'll need to create one. You can do this by going to the Google account creation page.
2
Navigate to Google Analytics:
Once logged in, go to the Google Analytics website.
3
Click on "Start measuring"
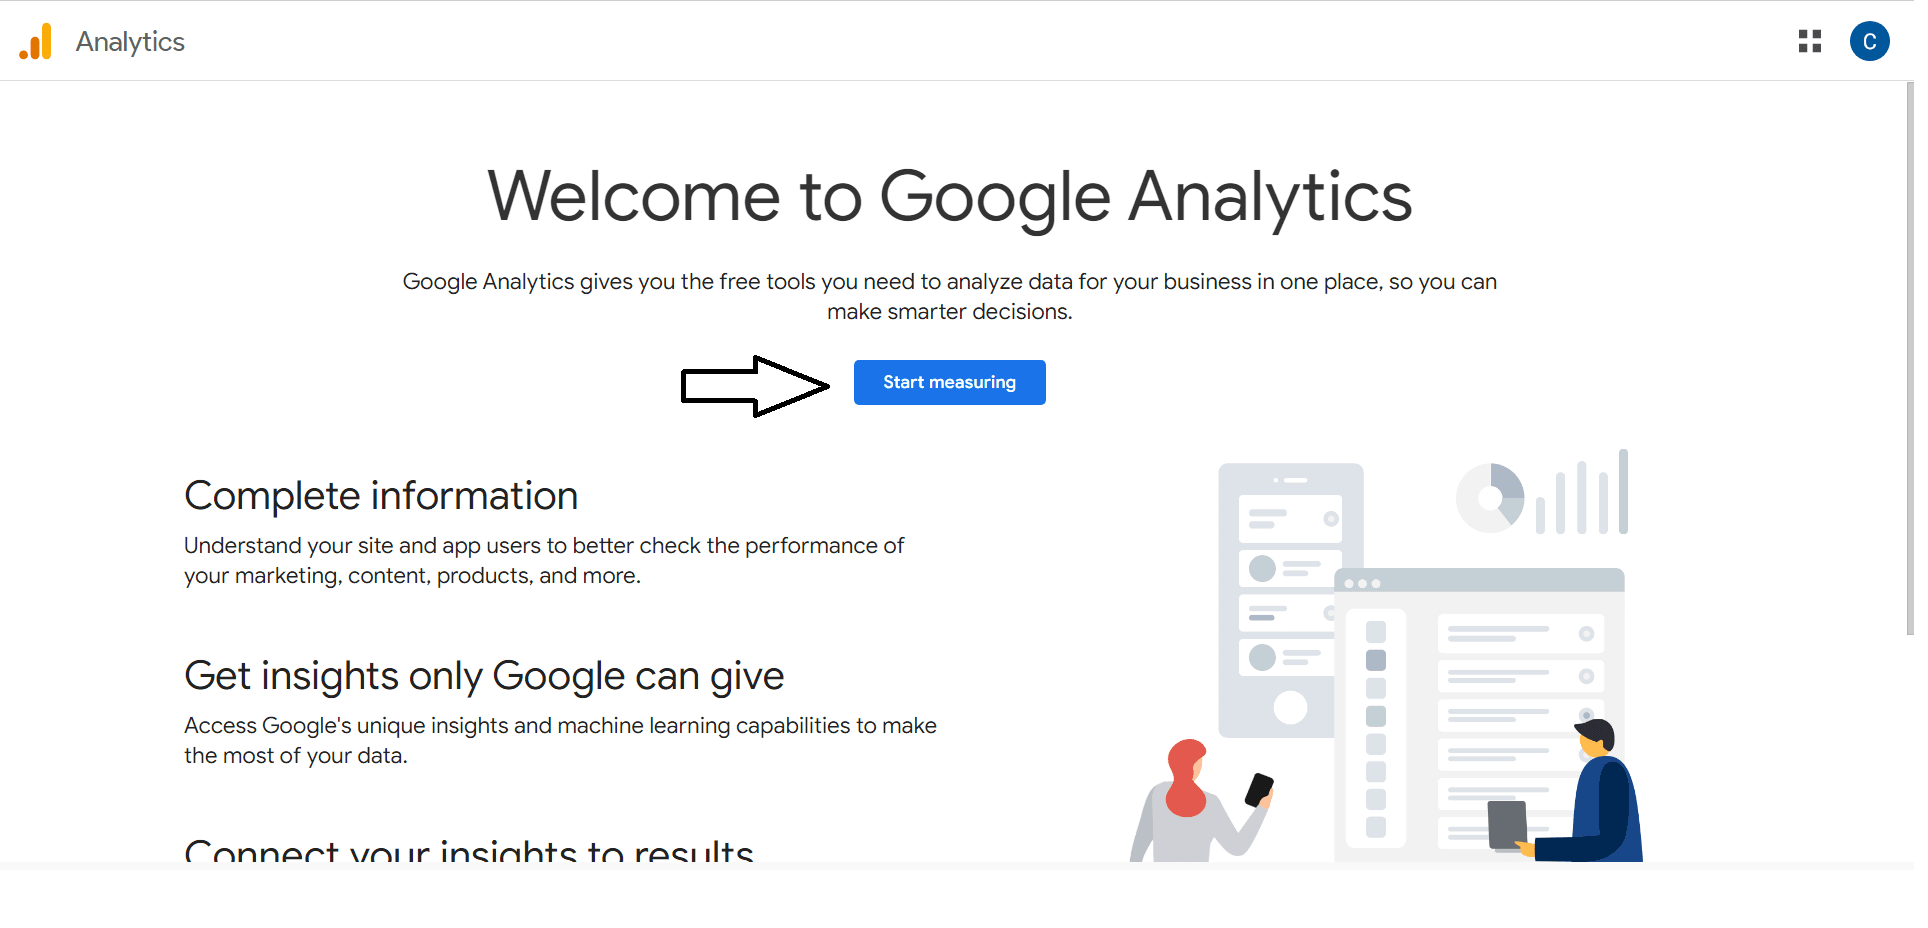
This will begin the process of setting up your new Analytics account.
4
Fill in Account Details:
Account Name: Enter a name for your Google Analytics account. If you manage multiple websites, you can use a general company name because you can track multiple websites under one account. Account Data Sharing Settings: Decide which data sharing settings you're comfortable with. This can include sharing with other Google services or for benchmarking.
1
Set Up a Property
Property Name: Enter the name of your website or app you want to track. Reporting Time Zone & Currency: Set these according to your location and business needs.
2
Set Up a Reporting View
This is where you’ll access your reports. By default, a view called "All Website Data" is created, but you can customize and rename it if desired
3
Configure your Tracking Settings
Choose what you want to measure: You’ll have options such as Website, Mobile app, etc. Typically, for most users, "Website" will be the correct choice. Enter Website Name & URL: Make sure the URL is correct, as this is where Google Analytics will be tracking your data. Select an Industry Category: This helps Google Analytics provide benchmark data relevant to your industry. Choose Reporting Time Zone: Choose your local time zone to ensure data is reported accurately.
4
Accept the Terms of Service
Accept the Terms of Service:
You'll need to review and accept the Google Analytics terms of service to proceed. Depending on your region, there might be multiple agreements to review and accept.
5
Get Your Tracking Code
Once you've accepted the terms, you'll be taken to a page with your tracking ID and tracking code. This is a script that needs to be added to your website for Google Analytics to track user interactions. You can either add this code directly to your website or use various plugins/platform-specific methods if you're using systems like WordPress, Shopify, etc.
6
Install the Tracking Code
Place the tracking code on every page of your website. If you're using a content management system or a website builder, they might have specific areas in their settings to add the code.
7
Verify Installation
After installing the tracking code, wait for a few hours or up to a day, then log back into your Google Analytics account. If you see data appearing in your reports, the installation was successful.
Having journeyed through this guide, you're now equipped with the knowledge to set up a Google Analytics account and tap into its invaluable insights. Remember, the digital landscape is ever-evolving, and tools like Google Analytics are your compass. As you continue to navigate your online endeavors, refer back to this guide whenever you need a refresher. Happy analyzing, and here's to the growth and success of your digital platform