How to Create Automated Workflows with Crisp Chatbot
Welcome to our guide on creating automated workflows with Crisp Chatbot. Automated workflows streamline customer interactions. In this guide, we'll walk you through building effective chatbot workflows to improve support efficiency.
1
Log into Your Crisp Account

First, log into your Crisp account. If you do not have one, create a new account.
2
Go to the "Chatbots" Section
Navigate to the "Chatbots" section located in the sidebar.
3
Click on "New Scenario"
Create a new chatbot scenario for your customer support by clicking on "New scenario."
4
Define the Trigger
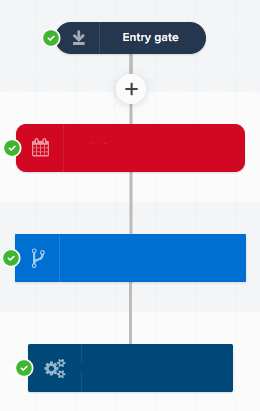
In the "When to trigger" section, define the circumstances under which the chatbot will respond. This could be when a new conversation is started, when a user sends a message, or at any time during a conversation.
5
Set Conditions (Optional)
If necessary, specify conditions for the scenario to trigger. For instance, you can trigger the scenario when a particular keyword appears in the user's message.
6
Set Additional Actions (Optional)
You can set more actions like sending an email or assigning the conversation to a team member.
7
Save and Activate
Once you're happy with your scenario, click "Save and activate" to make it live.
Congratulations! You've successfully learned how to create automated workflows with Crisp Chatbot. By setting up smart workflows, you can deliver prompt responses, engage with customers efficiently, and elevate your support process. Continuously monitor and optimize your workflows to keep your chatbot delivering exceptional customer experiences. Happy automating!


