How to Use Chatbot Automation for Customer Support on Crisp
Welcome to our guide on using chatbot automation for customer support on Crisp. Enhance customer service with automated responses. In this guide, we'll show you how to set up chatbot automation to efficiently assist customers.
1
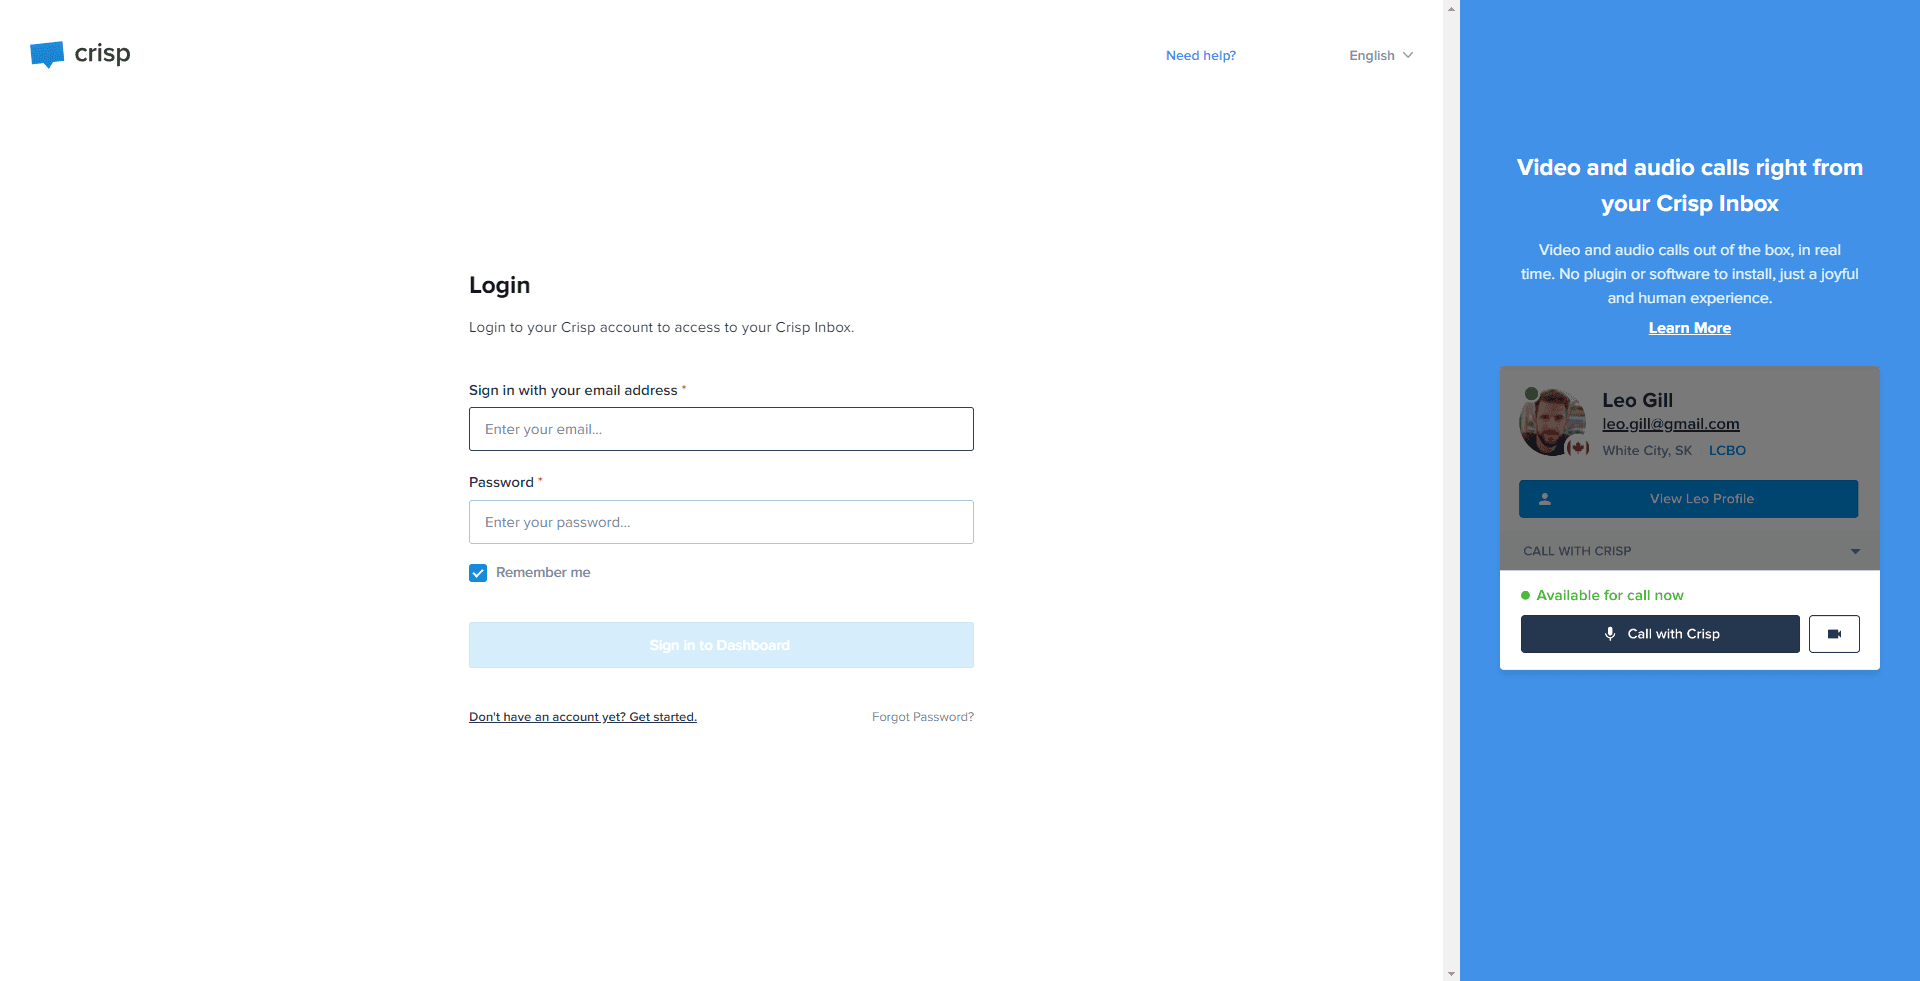
Log into Crisp Account

Firstly, sign into your Crisp account. If you don't have one, you'll need to create an account before proceeding.
2
Access the Chatbot Section
After signing into your account, head to the left sidebar and click on 'Plugins'. From the dropdown list, select the 'Bot' option.
3
Create a New Chatbot Scenario
Click on "New scenario" to create a new chatbot scenario for your customer support.
4
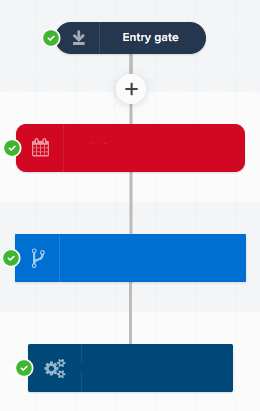
Specify the Trigger
Under "When to trigger," choose when the chatbot should send the response. This can be "When a new conversation is started," "When a user sends a message," or "At any time during a conversation."
5
Set Conditions (Optional)
If needed, you can set conditions for when the scenario should trigger, such as when a particular keyword is in the user's message.
6
Draft Your Message
Under "Then do," select "Send a message," then type your automated response. Personalize it to make it more engaging.
7
Add Additional Actions (Optional)
You can add more actions to the scenario, such as sending an email or assigning the conversation to a team member.
8
Save and Deploy Scenario
After setting up the scenario, click "Save Draft" and then click “Deploy Scenario” to start using it in your chat support. You can always edit it later if needed.
Congratulations! You've successfully learned how to use chatbot automation for customer support on Crisp. By implementing chatbot automation, you can provide instant responses, handle common queries efficiently, and free up your support team's time. Continuously


