How to Personalize Chatbot Conversations in Crisp Chat
Welcome to our guide on personalizing chatbot conversations in Crisp Chat. Personalization enhances customer engagement. In this guide, we'll show you how to customize chatbot interactions to create more human-like and personalized experiences.
1
Login to Crisp Chat
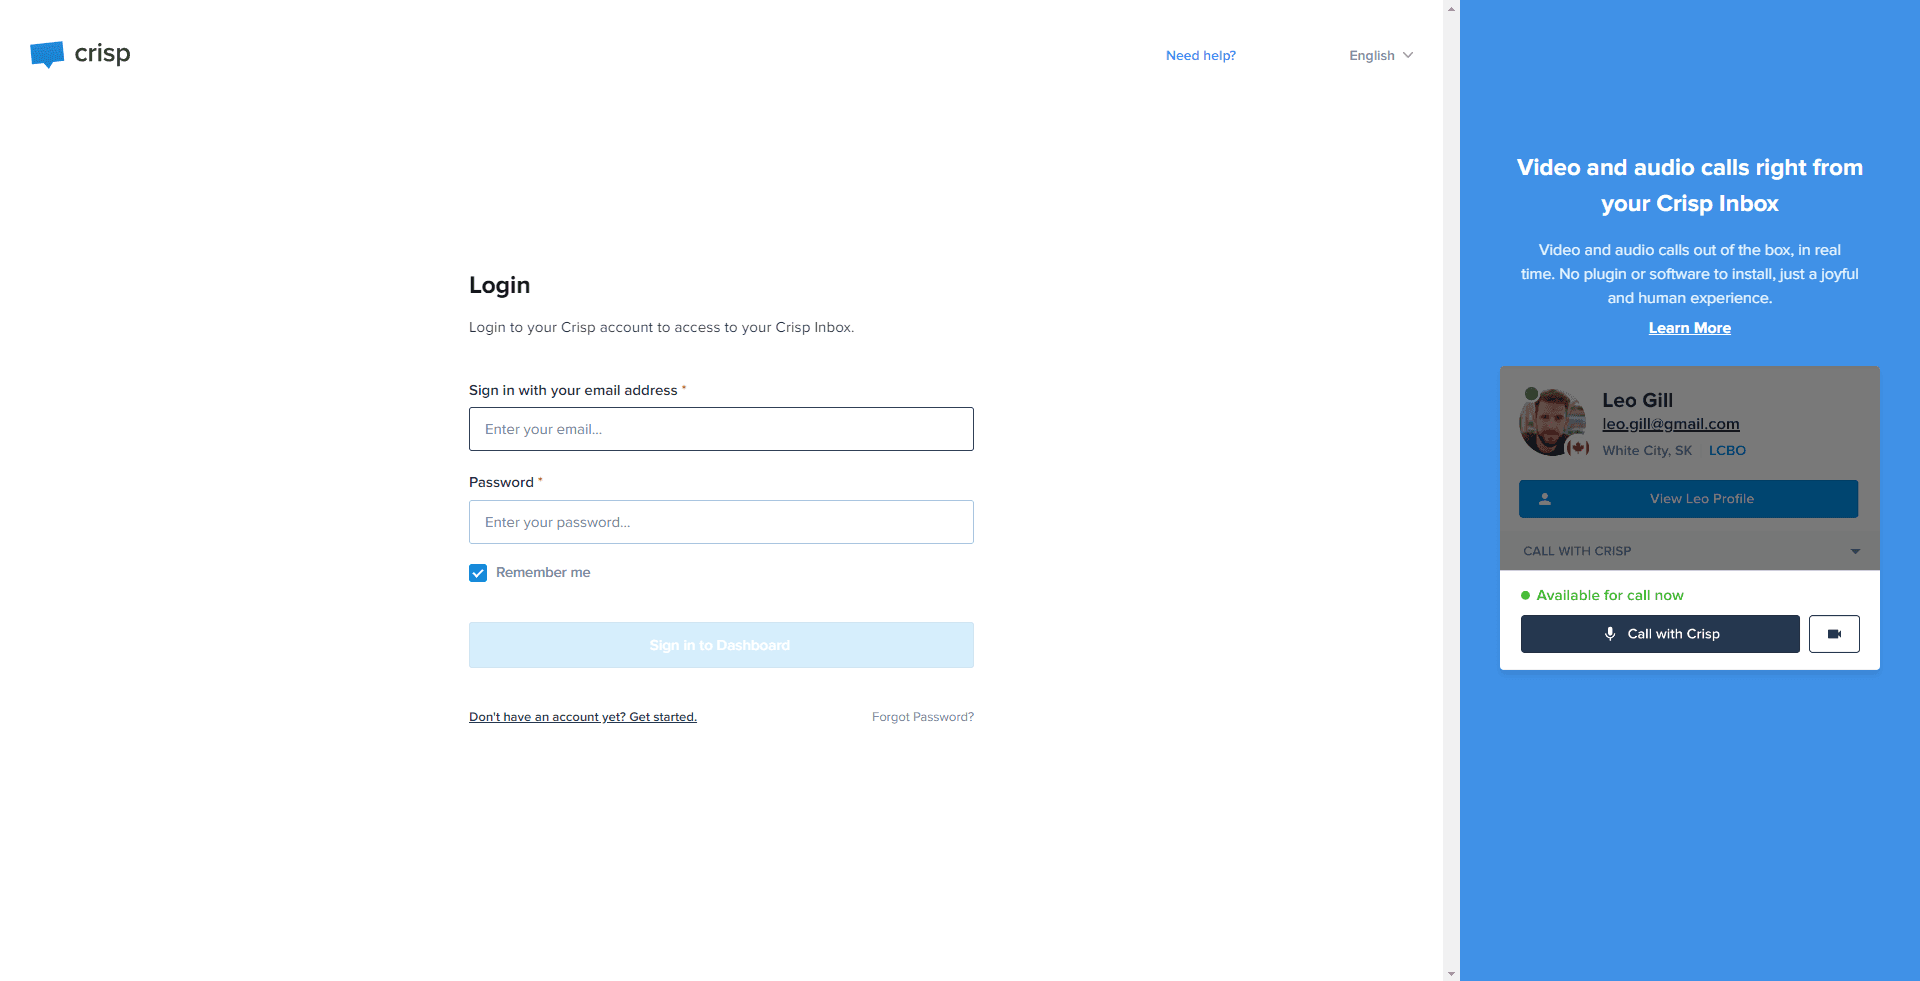
Start by logging into your Crisp Chat account.
2
Navigate to 'Chatbots'
Once logged in, click on 'Chatbots' from the left-hand side menu on your Crisp dashboard.
3
Navigate to 'Chatbots'
Scroll or search through the existing chatbot scenarios. Click on the scenario you want to personalize.
4
Start Personalizing
Inside the chosen chatbot scenario, you can now add personalization. Use the '+' button to add a new step, now choose the Condition and Action you want to personalize and add.
5
Refine as Needed
If the test results aren't what you anticipated, don't hesitate to return to your chatbot scenario and refine your personalization until you're satisfied with the results.
Congratulations! You've successfully learned how to personalize chatbot conversations in Crisp Chat. By tailoring chatbot interactions, you can build rapport, provide relevant responses, and improve customer satisfaction. Continuously optimize your chatbot's personalization to deliver exceptional support and create meaningful connections with your customers. Happy chatbot personalizing!


