How to Set Up a Chatbot in Crisp Chat
Welcome to our comprehensive guide on setting up a chatbot in Crisp Chat. Chatbots are powerful tools that can enhance your customer support and engagement. In this step-by-step guide, we'll walk you through the process of creating and configuring a chatbot in Crisp Chat, enabling you to automate responses and streamline your customer interactions efficiently.
1
Log into Crisp
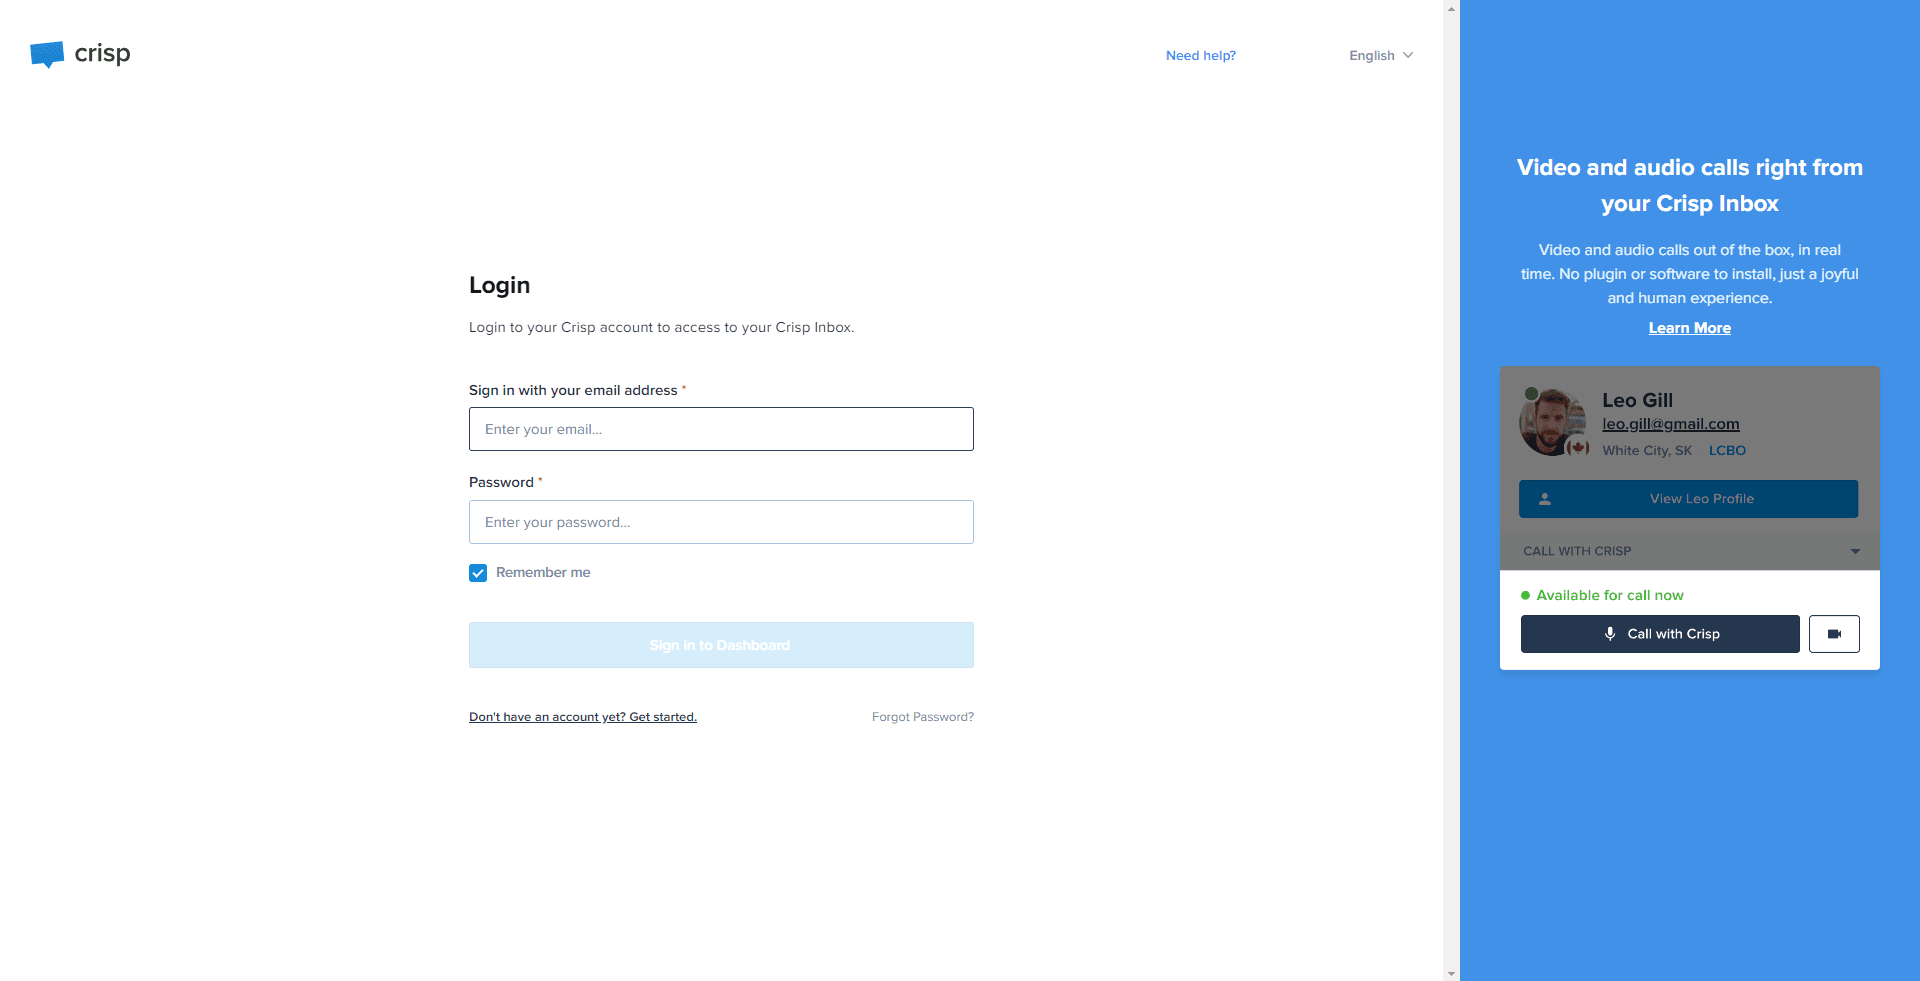
Login to your Crisp account to begin the setup process.
2
Navigate to Plugin Section
Find and click on the 'Plugins' tab on the left-hand menu of your dashboard.
3
Click on 'Bot'
Within the 'Plugins' section, locate and select the 'Bot' option, and install it.
4
Create a New Scenario
Locate and click on "+New Scenario" and in the dropdown menu, select "New Blank Scenario".
5
Choose Event Block
Select a suitable block for your event in the chatbot configuration.
6
Set Conditions
In the Crispchat interface, start by establishing specific conditions that the chatbot will recognize. These conditions guide the chatbot when processing user inputs.
7
Define Actions
Following the set conditions, define the corresponding actions that the chatbot will perform when the conditions are met.
8
Save and Activate
Once all settings are configured, click 'Save Draft’ and ‘Deploy Scenario' to launch your chatbot.
Congratulations! You've successfully completed the setup of your chatbot in Crisp Chat. By harnessing the power of automation, you can now provide instant responses to your customers, improve response times, and deliver exceptional support round-the-clock. Keep experimenting and refining your chatbot to meet your customers' needs and see the positive impact it brings to your business. Happy chatting!


