How to Use Ticket Status and Internal Notes in Hubspot
Welcome to our comprehensive guide on utilizing ticket status and internal notes in HubSpot. As a customer support professional, keeping track of ticket statuses and communicating internally is crucial for delivering efficient and personalized support. HubSpot's ticketing system offers powerful features that allow you to manage ticket statuses, update them in real-time, and add internal notes for seamless collaboration within your team. In this guide, we'll walk you through the process of setting up ticket statuses, using internal notes effectively, and leveraging these features to streamline your support workflow. Get ready to enhance your support process and elevate customer experiences with the power of ticket status and internal notes in HubSpot.
1
Log in to your HubSpot Account

First, log in to your HubSpot account using your email address and password. If you don't have an account, sign up for a free trial or register for a paid plan.
2
Access the Service Hub

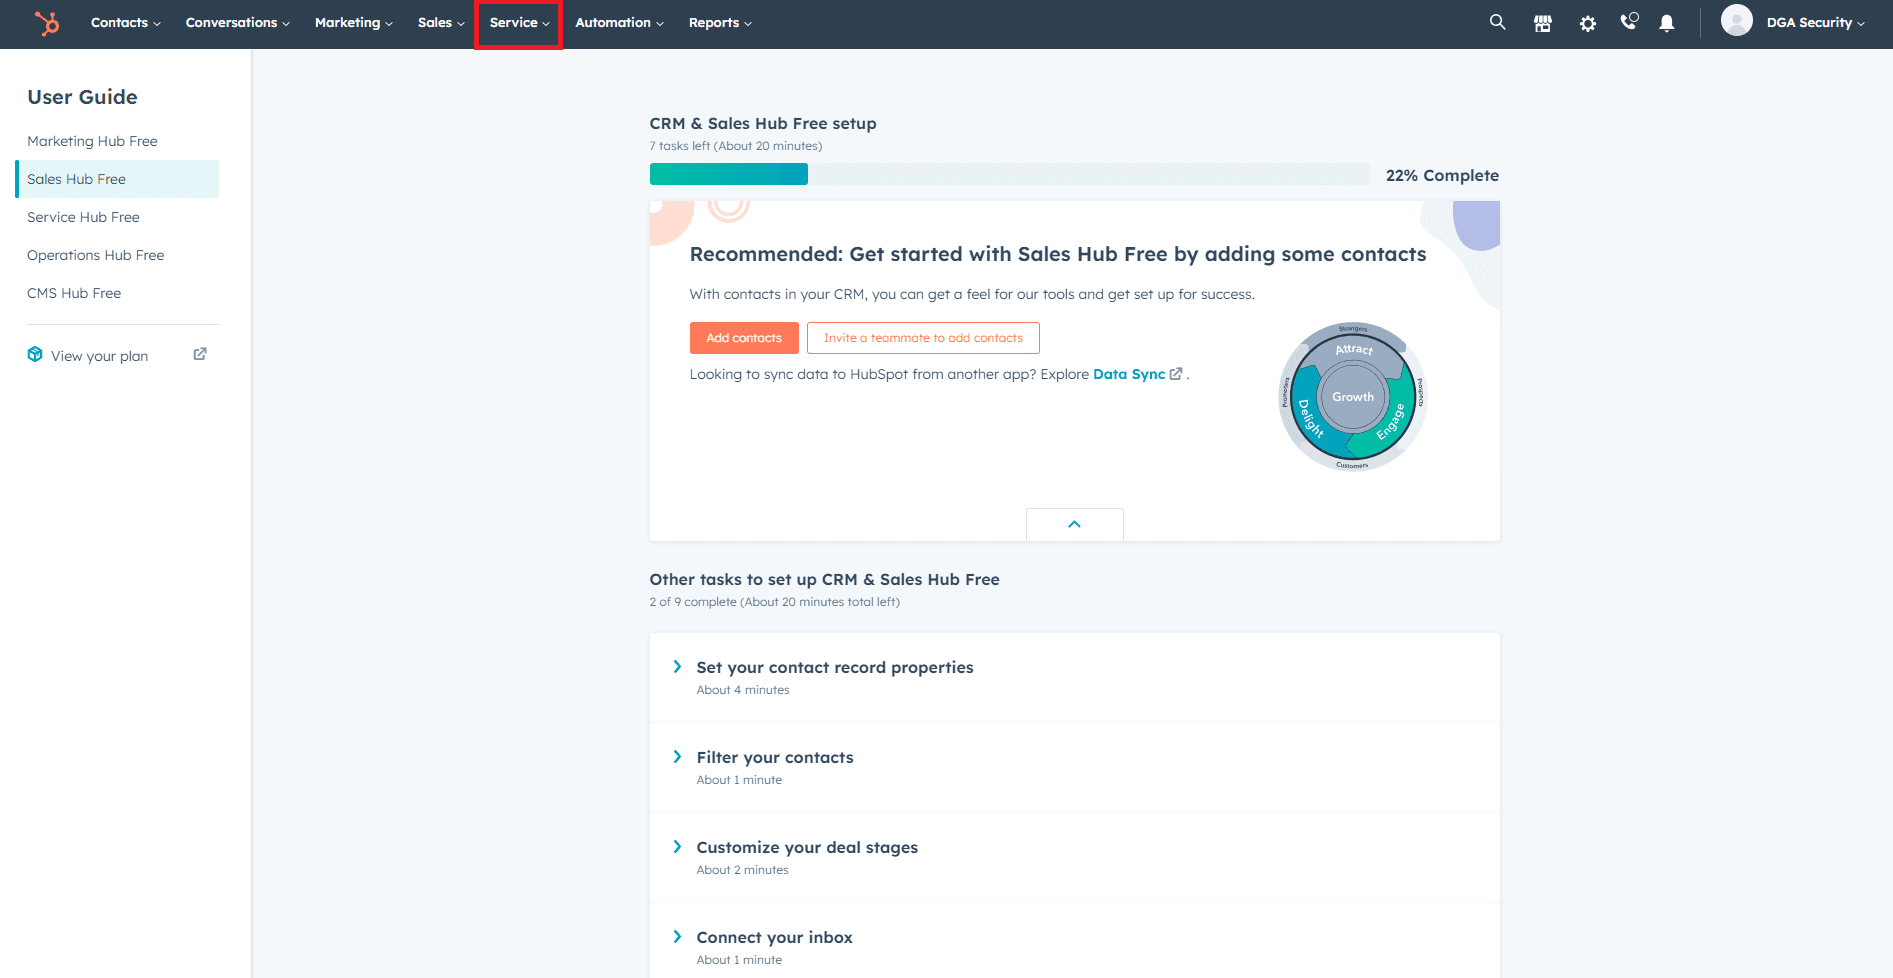
- Once you're logged in, click on the "Service" tab located in the top navigation bar.
- This will take you to the Service Hub, where you can manage support tickets and other customer service-related tasks.
3
Navigate to the Tickets Section
- In the Service Hub, click on the "Tickets" option in the left sidebar to access the tickets section.
- This is where you'll be able to view, manage, and update support tickets for your customers.
4
Open a Ticket
- Locate the ticket you want to update or add internal notes to.
- Click on the ticket to open its details.
5
Update Ticket Status
- In the ticket details, locate the "Status" dropdown menu in the right sidebar.
- Click on the dropdown menu and select the appropriate status for the ticket, such as "New," "In Progress," "Pending," or "Closed."
6
Add an Internal Note
- In the ticket details, scroll down to the "Internal notes" section.
- Click on the "Add internal note" button to open a text editor where you can add your note.
- Type your note, providing any relevant information, updates, or instructions for your team members.
- Click on the "Save" button to save your internal note.
7
View and Edit Internal Notes
- After adding an internal note, it will be displayed in the "Internal notes" section of the ticket.
- If you need to edit an existing internal note, click on the "Edit" button next to the note.
- Make your changes and click on the "Save" button to update the note.
Congratulations! You have now mastered the art of using ticket statuses and internal notes in HubSpot's customer support system. By effectively managing ticket statuses, you can prioritize and organize support requests, ensuring timely responses and resolutions. Additionally, leveraging internal notes fosters seamless collaboration within your support team, allowing for quick access to critical information and enhancing overall team efficiency. With these powerful features at your disposal, you are well-equipped to provide exceptional customer experiences and build lasting relationships with your audience. Remember to continually monitor and update ticket statuses, and use internal notes to keep your team informed and aligned. Your commitment to excellence in customer support will undoubtedly make a significant impact on your business success. Keep up the great work, and may your support efforts continue to shine!


