How to customize ticket properties in Hubspot
Welcome to our guide on customizing ticket properties in HubSpot. Tailor your ticketing system to fit your business needs. In this guide, we'll show you how to create, modify, and organize ticket properties for better customer support.
1
Log in to your HubSpot Account

First, log in to your HubSpot account using your email address and password. If you don't have an account, sign up for a free trial or register for a paid plan.
2
Access the Service Hub

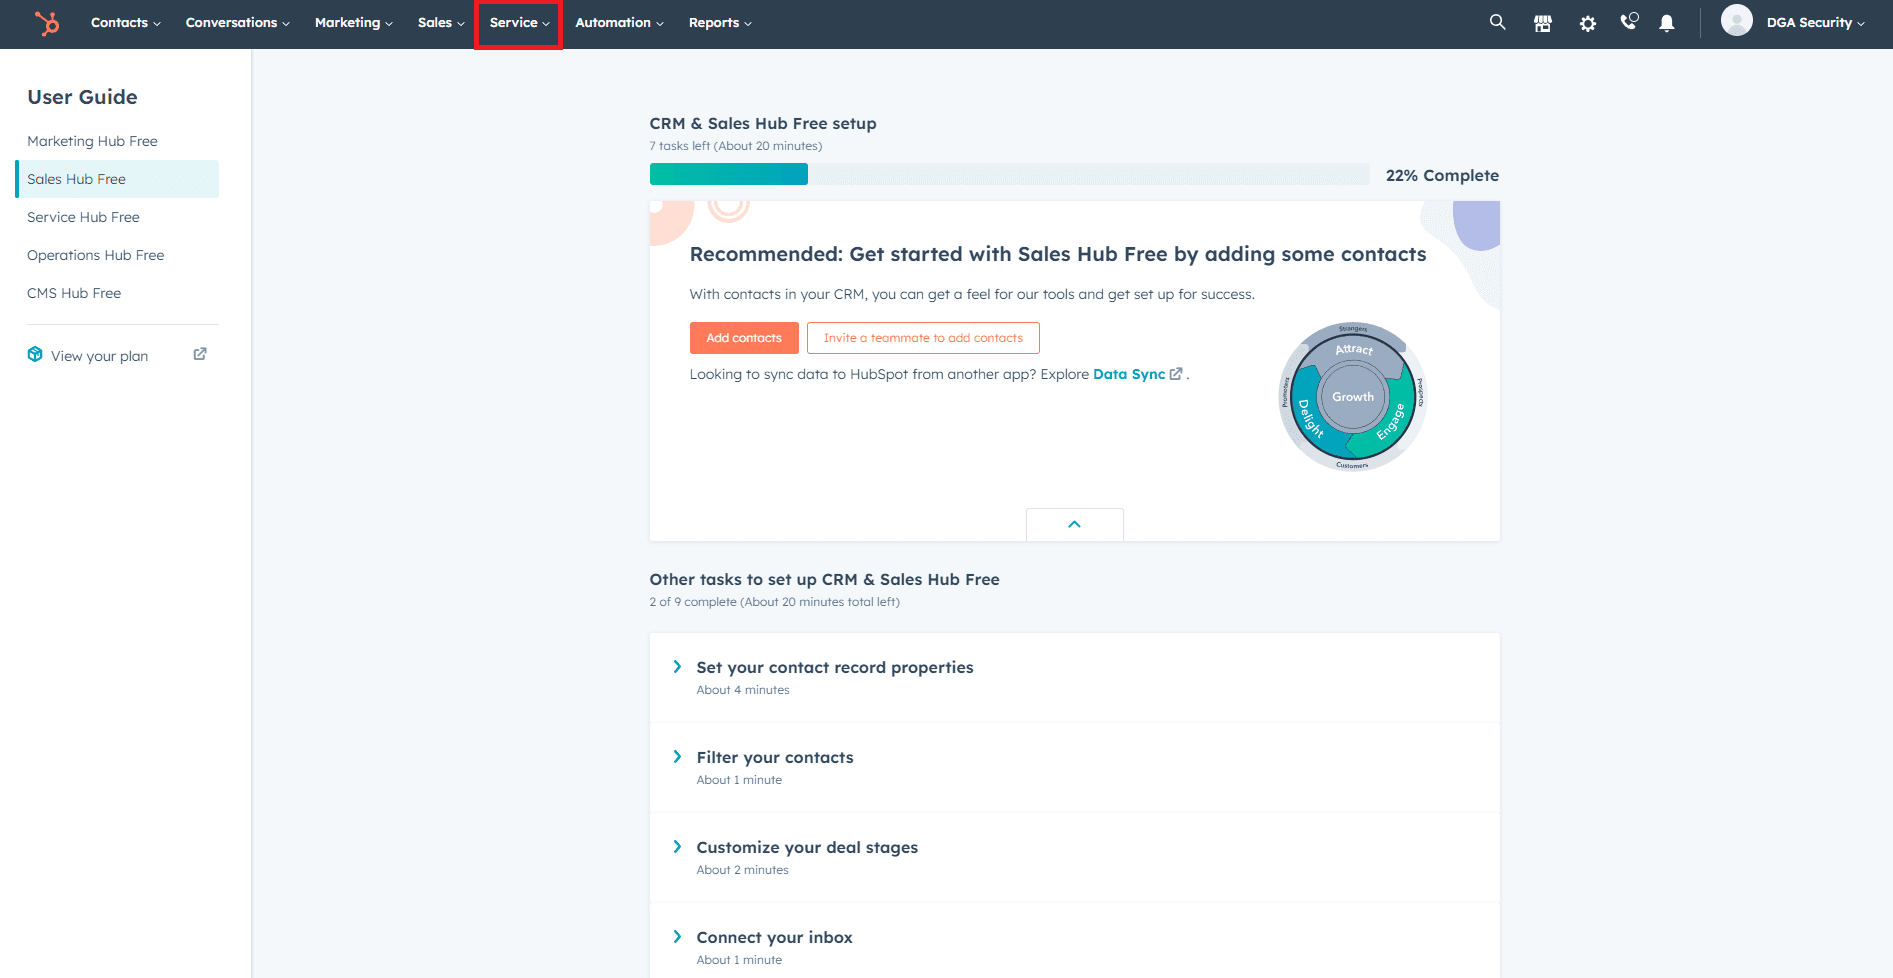
- Once you're logged in, click on the "Service" tab located in the top navigation bar.
- This will take you to the Service Hub, where you can manage support tickets and other customer service-related tasks.
3
Navigate to the Tickets Section
- In the Service Hub, click on the "Tickets" option in the left sidebar to access the tickets section.
- This is where you'll be able to view, manage, and customize support tickets for your customers.
4
Access Ticket Settings
- In the tickets section, click on the "Actions" dropdown menu in the top right corner, and select "Edit ticket properties."
- This will open the ticket properties settings page, where you can customize your ticket properties.
5
Customize Default Ticket Properties
- On the ticket properties settings page, you'll see a list of default ticket properties, such as ticket status, priority, and source.
- To edit a default property, click on the pencil icon next to the property name. Modify the property options, label, and description as needed, and click "Save."
6
Create Custom Ticket Properties
- If you need additional properties that aren't included in the default list, click on the "Create property" button located in the top right corner of the ticket properties settings page.
- Enter a label and description for your custom property. Choose the field type, such as single-line text, dropdown select, or date picker, depending on your needs.
- Configure the custom property options as required, and click "Create" to save your new custom ticket property.
7
Add Custom Ticket Properties to Tickets
- To add custom properties to a ticket, open the ticket details by clicking on a specific ticket.
- In the ticket details, scroll down to the "Properties" section, and click on the "View all properties" link.
- Search for your custom property, and click on the "+" icon to add it to the ticket.
- Enter the relevant information in the custom property field, and it will be saved automatically.
Congratulations! You've successfully learned how to customize ticket properties in HubSpot. By tailoring your ticketing system with custom properties, you can efficiently manage customer inquiries, provide personalized support, and enhance team collaboration. Continuously adapt and optimize your ticket properties to align with your evolving support requirements. Happy customizing!


