Link Front with Google Calendar for Event Scheduling
Integrating Front with Google Calendar bridges the gap between communication and time management. This guide will lead you through every step to make sure you're always ahead of your schedule, directly from your Front inbox.
1
Access Your Front Account
Start by logging into your Front dashboard. Ensure you're using an account with the needed administrative rights.
2
Navigate to the Settings Menu
On your Front dashboard, locate and click the gear icon (⚙️) usually situated in the top right corner.
3
Visit the 'Integrations' Section
From the dropdown settings menu, choose the "Integrations" option.
4
Search for Google Calendar
Use the search bar in the integrations section to type in 'Google Calendar'. Click on its icon once it appears.
5
Begin the Integration Process
On the Google Calendar integration page, find and click the "Connect to Google Calendar" or a similarly named button.
6
Grant Access to Google Calendar
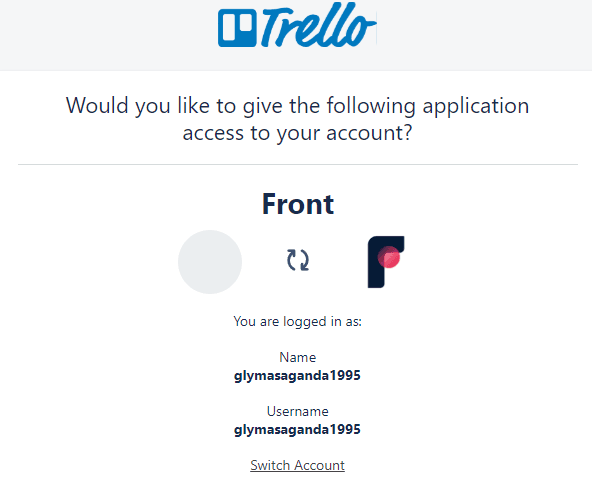
You will be redirected to a Google sign-in page. After entering your credentials, you'll need to authorize Front to access your Google Calendar. Click "Allow" or a similar prompt to grant the permissions.
7
Choose Specific Calendar Settings (Optional)
If you manage multiple calendars under one Google account, decide which calendar or calendars you'd like to integrate with Front. Adjust the settings accordingly.
8
Define Integration Preferences
Back in Front, set preferences on how events should be displayed, notifications you'd like to receive, and other related settings.
9
Test the Integration
Create a test event through Front to ensure that it's correctly reflected in your Google Calendar.
You've now successfully interlinked your Front communications with Google Calendar, a key step towards enhancing productivity and staying on top of all your events. This integration not only streamlines your scheduling processes but also ensures you remain updated, helping you manage your time effectively in an ever-busy digital age.


