How to Use Crisp Chat's Auto Responses for Instant Service
Welcome to our guide on using Crisp Chat's Auto Responses for instant customer service. Provide quick assistance 24/7. In this guide, we'll show you how to set up and leverage auto responses for instant and efficient support.
1
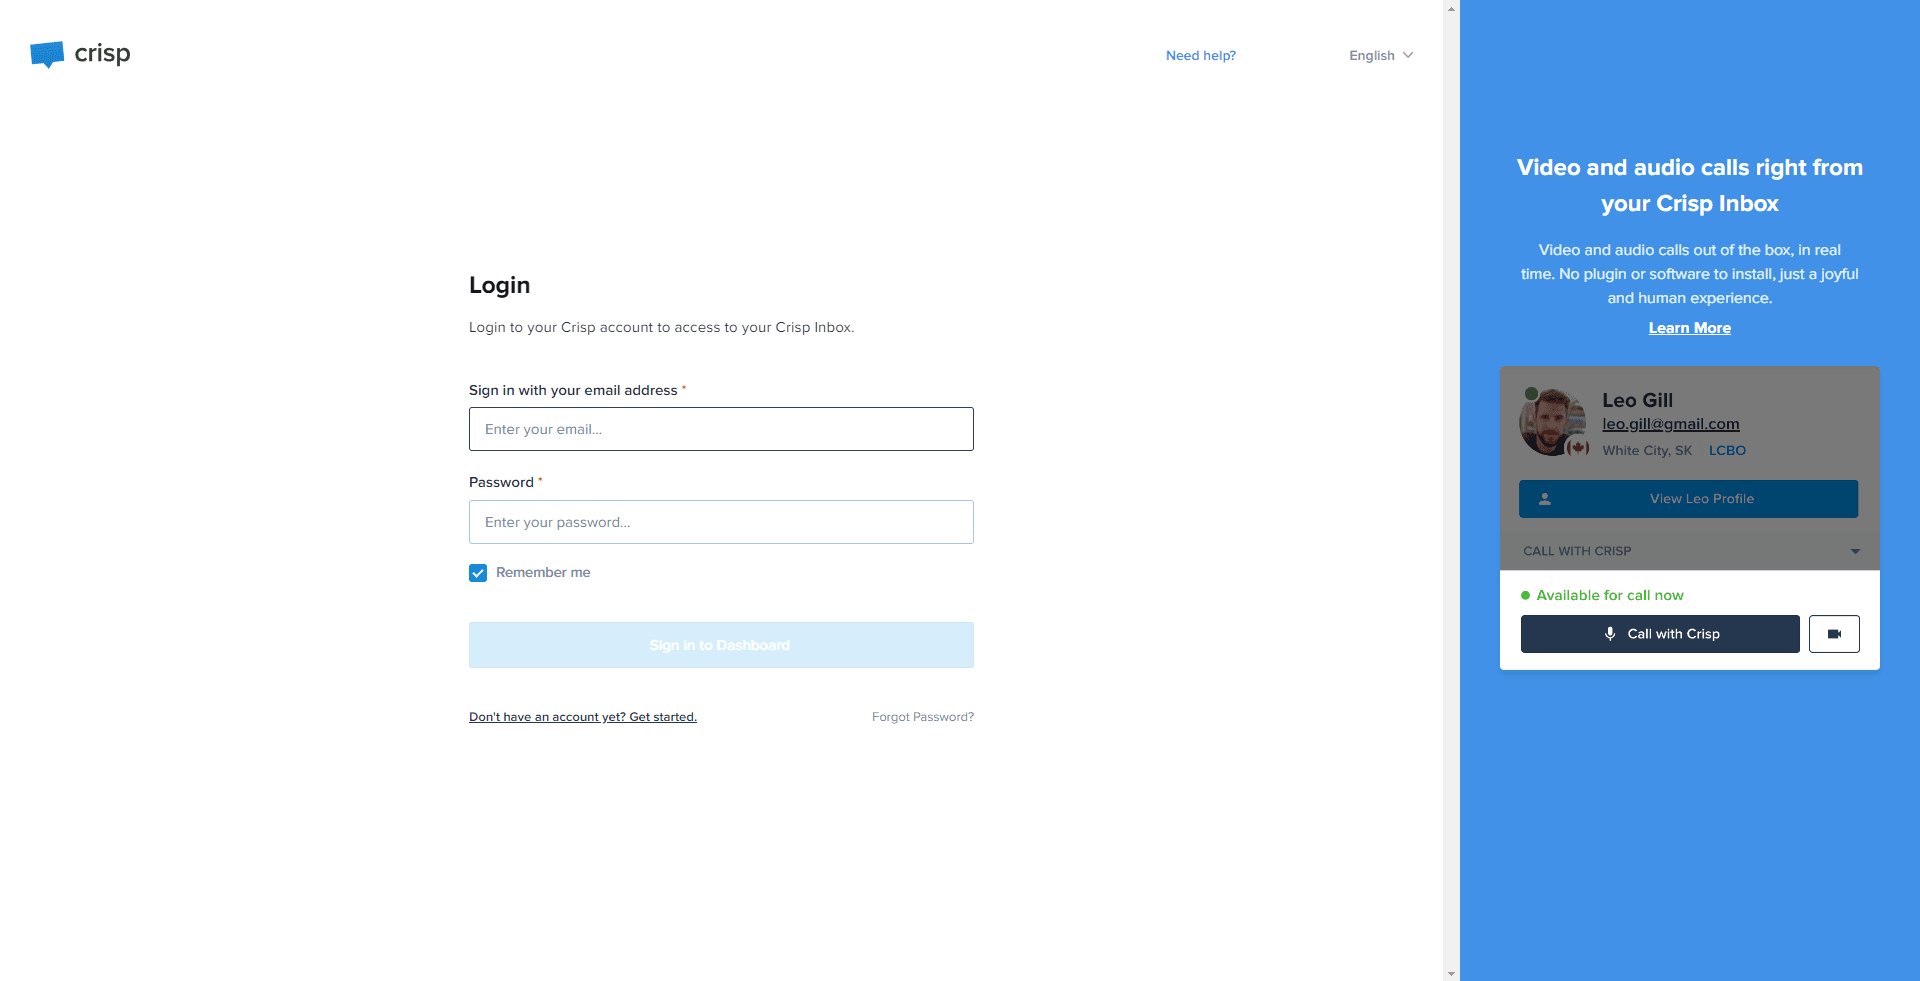
Log into Crisp

Enter your username and password to access your account.
2
Navigate to 'Plugins'
From the main dashboard, select the 'Plugins' section.
3
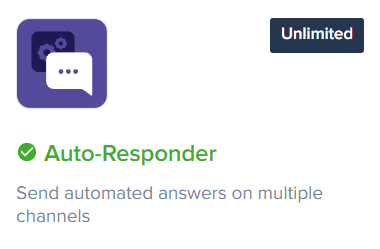
Select the Auto Responder Plugin
Find and choose the 'Auto Responder' from the available plugins.
4
Create a New Intent
Click on 'New Intent'.
5
Name Your Intent
Assign a unique name to the intent you are creating for easy identification and management.
6
Define the Trigger
Enter the trigger phrase or question that the customer might ask.
7
Set up Auto Response
Input the auto-response that the system will send whenever the trigger phrase is used.
8
Save Your Changes
Click 'Save' to preserve the new intent and its associated auto-response.
Congratulations! You've successfully learned how to use Crisp Chat's Auto Responses for instant customer service. By setting up auto responses, you can provide immediate support to your customers, even outside regular hours. Continuously monitor and optimize your auto responses to ensure accurate and timely assistance. Happy chatting!


