How to Personalize Auto Responses
Welcome to our comprehensive guide on personalizing auto responses with Crisp! In today's fast-paced digital world, customer support plays a vital role in fostering positive relationships with your clients. Using Crisp's powerful features, you can provide instant and customized responses, ensuring your customers feel valued and heard.
In this guide, we'll walk you through the process of setting up personalized auto responses that align with your brand voice and resonate with your audience. By leveraging Crisp's tools effectively, you can streamline your support system and deliver top-notch customer experiences.
Let's dive in and discover how to make the most of Crisp's auto response capabilities to engage, retain, and delight your customers!
1
Log in to Crisp

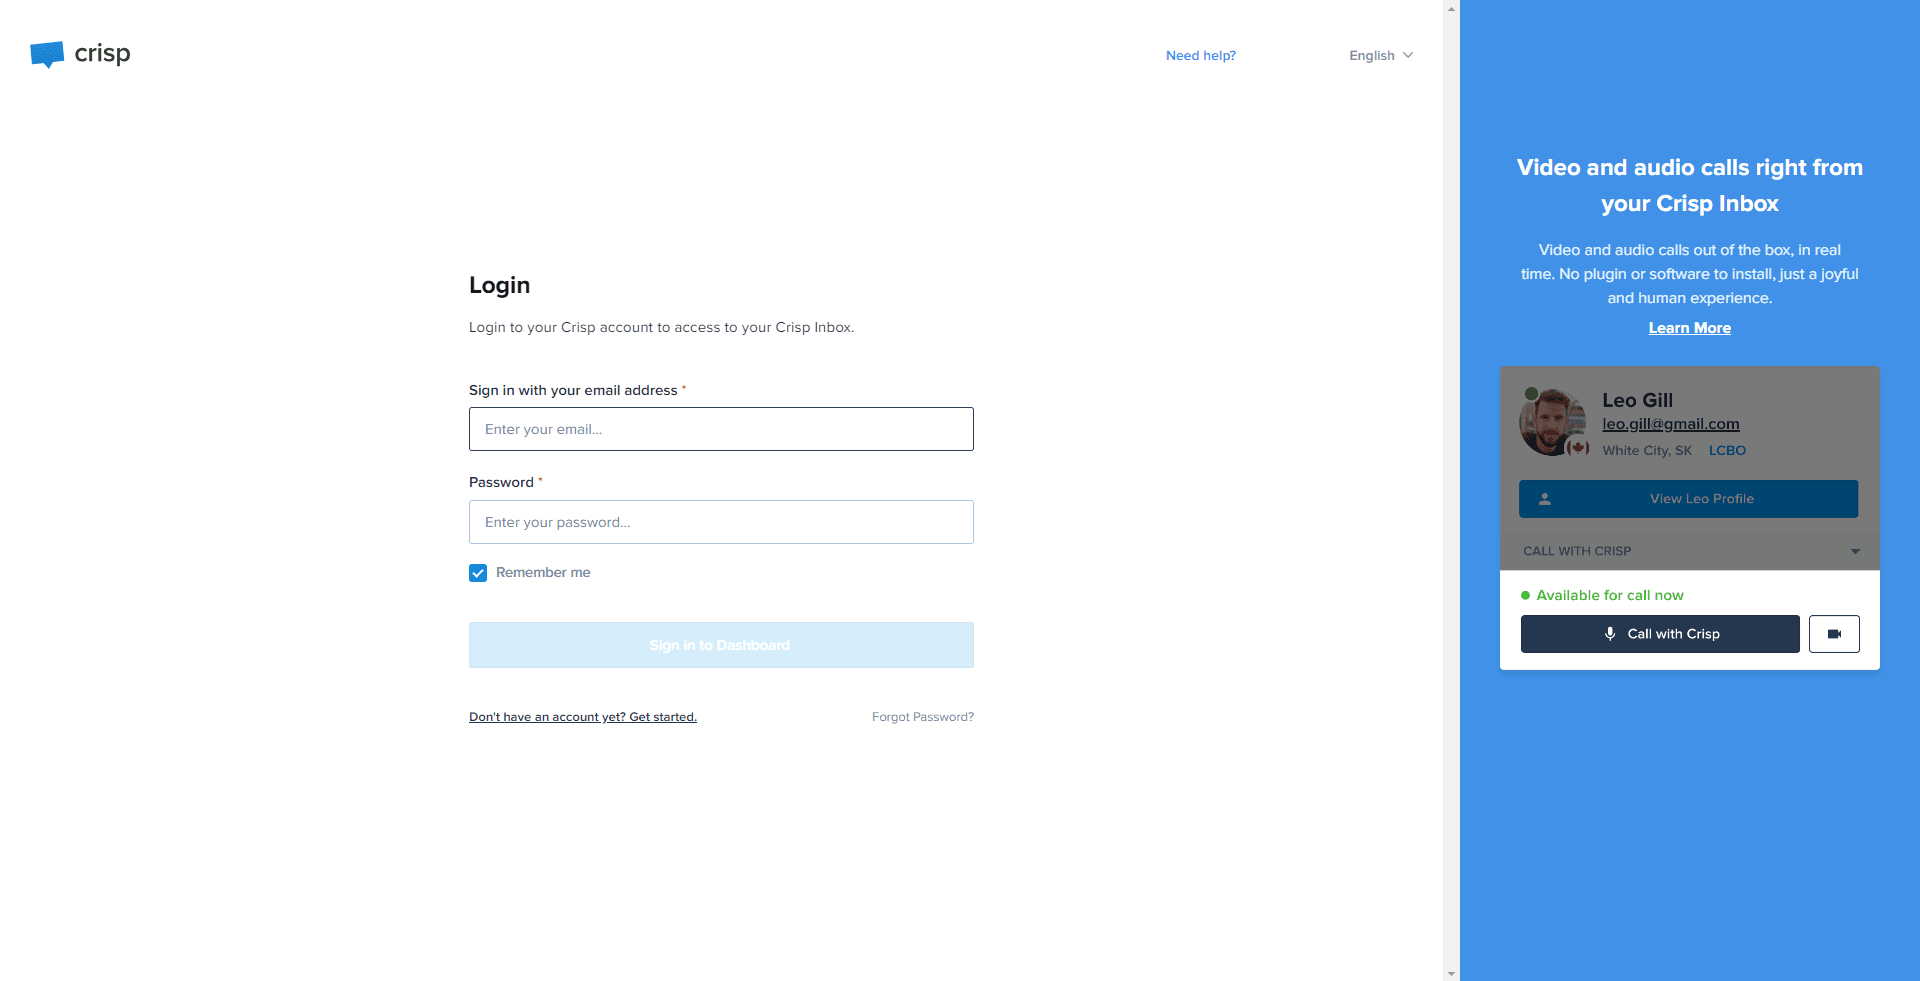
Sign into your Crisp account.
2
Select Auto Responder in Plugins
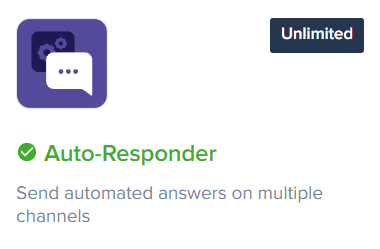
From the dashboard, navigate to the "Plugins" section. Within the plugins, select the "Auto Responder" option.
3
Install the Auto Responder
After navigating to the "Auto Responder", click on it to open its interface. You will see an "Install" button - click on it to install the Auto Responder feature.
4
Create a New Intent
Instead of creating a new rule, we're now going to create a new intent. Navigate to "Intents" and then click on "Create a new intent".
5
Name and Configure Intent Activation
Start by naming your intent in the new intent window. For example, you might name this intent "After Hours Support Inquiry".
6
Configure Activation Conditions
Decide and set the conditions that must be met for this intent to be activated. For example, you might set the "User Message Pattern" as the condition. This means the intent will be triggered when the user's message matches a particular pattern or phrase that you've specified.
Additionally, you could include the condition "If Operators are Online" to specify the intent should only be activated when operators are available online. This is helpful if you want to prioritize live human interaction whenever possible and use the auto responder as a backup when operators are offline.
7
Set the Response Action
Here, you will configure the response that the auto responder should send upon the intent's activation. The response can include a variety of actions such as sending a message, composing a response, mentioning a specific user or team, adding a note, waiting, or resolving the conversation.
8
Save the Intent
Once all the settings are properly configured, click on "Save" to finalize the intent. After saving, it's a good idea to test the chatbot to ensure that the new intent is working correctly.
Congratulations! You've now mastered the art of personalizing auto responses on Crisp. By following our step-by-step guide, you've empowered your customer support team to provide tailored and timely responses that build strong connections with your clientele.
Remember, personalization is the key to exceptional customer experiences. As you continue to fine-tune your auto responses and optimize your support system, you'll witness increased customer satisfaction and loyalty.
Keep exploring Crisp's features to stay ahead in the customer support game. Embrace the power of customization and watch your business thrive with delighted and loyal customers.
Thank you for choosing our guide as your resource. Wishing you success on your journey to enhanced customer engagement and satisfaction!


