How to Use Auto Responses for Common Customer Queries
Welcome to our guide on using auto responses in Crisp Chat for common customer queries. Auto responses save time and improve customer satisfaction. In this guide, we'll show you how to set up and optimize auto responses for efficient customer support.
1
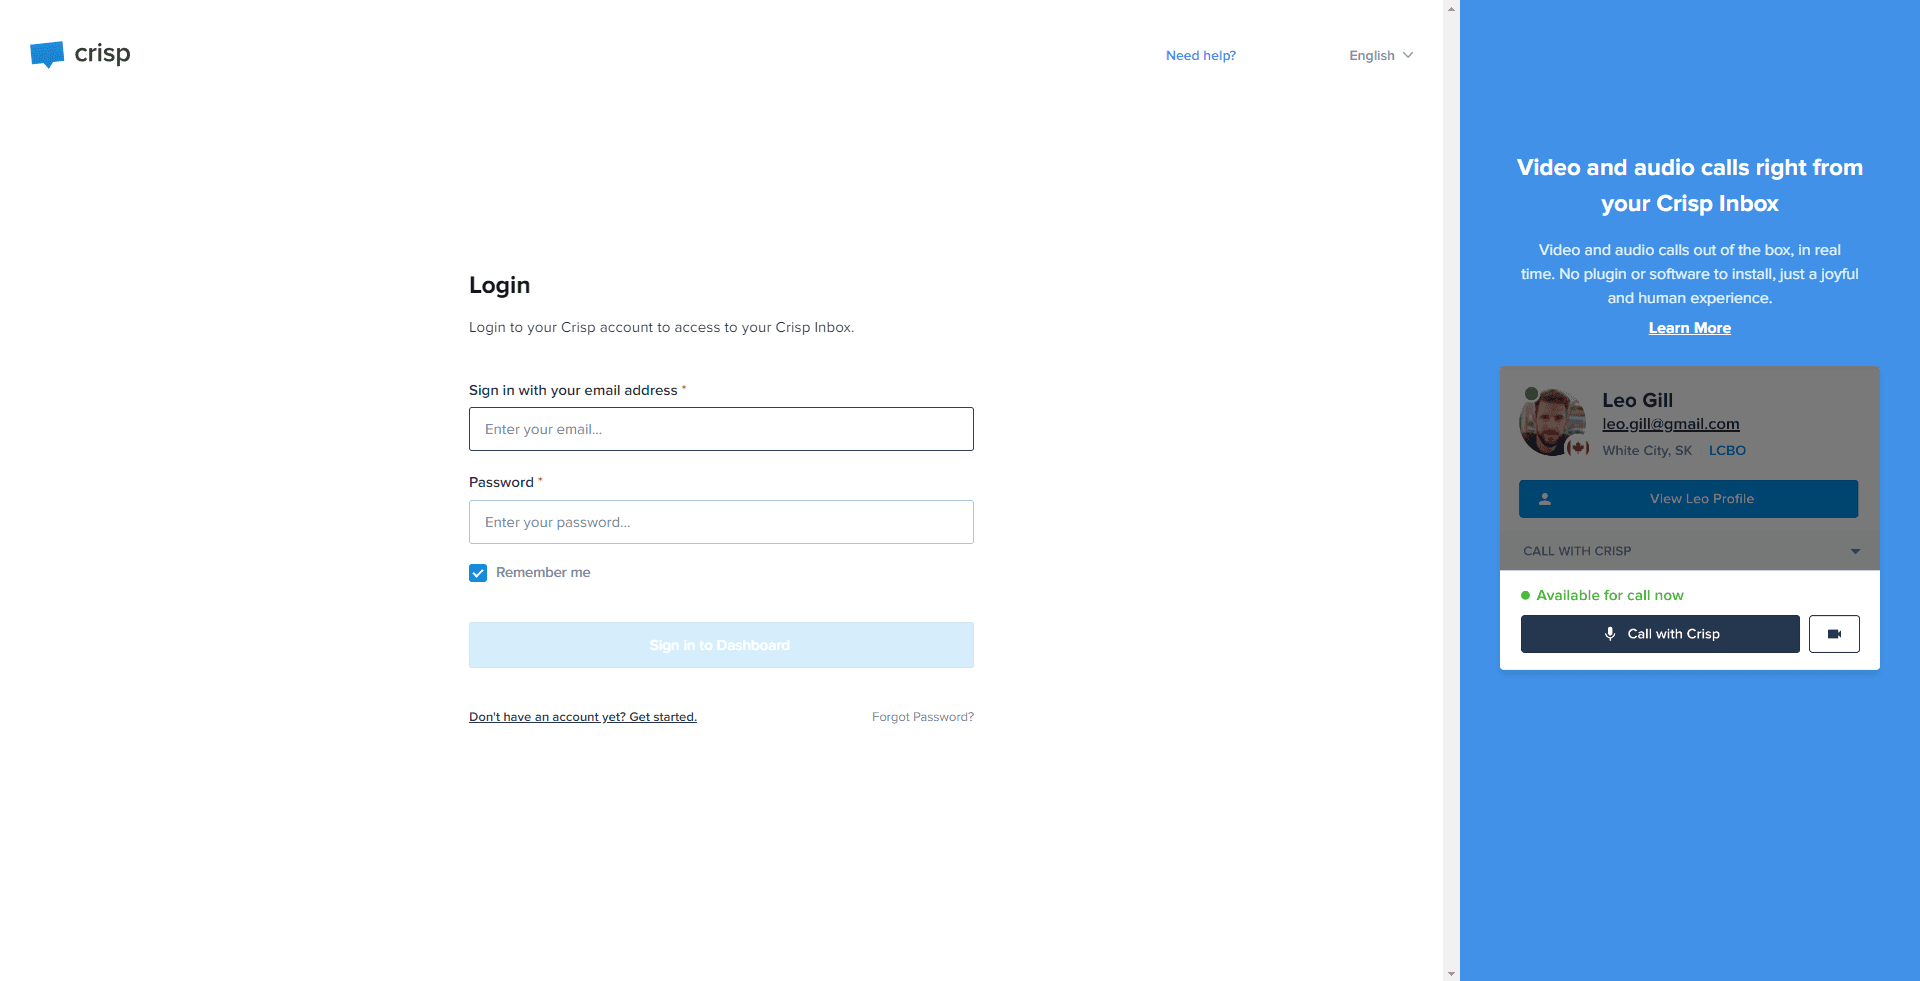
Login to Crisp

Input your credentials to access your Crisp account.
2
Access the Plugins section
From the dashboard, navigate to the 'Plugins' section.
3
Select the 'Auto Responder' Plugin
Find and click on the 'Auto Responder' plugin from the list of plugins available.
4
Add New Intent
Press the 'Add New Intent' button to create an auto-response.
5
Configure Intent Name
Enter a distinctive name for the intent that you're setting up.
6
Configure Trigger Information
Provide the specific trigger information, such as a keyword or phrase, that will activate the auto-response when detected in a customer's message.
7
Configure Auto Response Information
Design a relevant automatic response that will be dispatched when the system identifies the pre-defined trigger in a conversation.
8
Save the Intent
Save the newly created intent.
Congratulations! You've successfully learned how to use auto responses in Crisp Chat for common customer queries. By setting up thoughtful auto responses, you can provide prompt assistance, reduce response times, and deliver exceptional customer support. Continuously review and adjust your auto responses to stay responsive to customer needs. Happy supporting!


