How to Manage Custom Fields for Branding Purposes
Welcome to our guide on managing custom fields for branding purposes on Help Scout. Custom fields enhance branding and data collection. In this guide, we'll show you how to set up and utilize custom fields to align with your brand and capture essential customer information.
1
Log into Help Scout

Navigate to the Help Scout homepage and sign in with your account credentials.
2
Go to 'Manage'
On the dashboard, locate the 'Manage' button in the top menu and click on it. Then, pick a mailbox that you want to manage. This will direct you to your account settings.
3
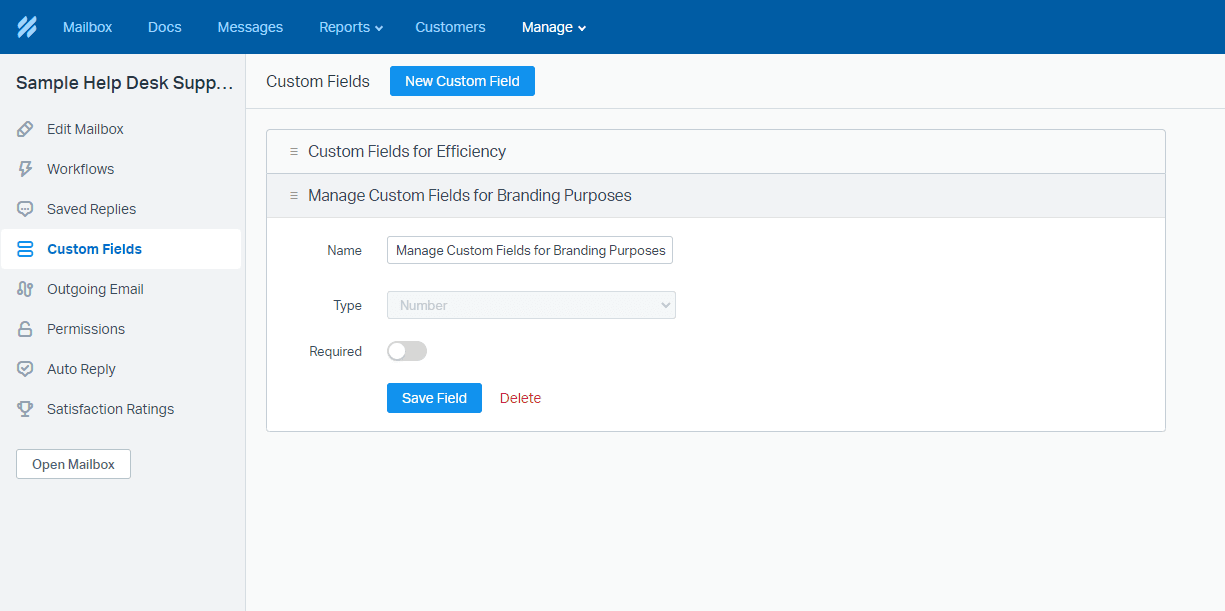
Click on 'Custom Fields'
Within the 'Manage' menu, locate and click on the 'Custom Fields' option.
4
Select 'Add Field'
Once you are in the 'Custom Fields' section, click on the 'Add Field' button to create a new custom field.
5
Configure Your Custom Field
Input the 'Field Label' and select the 'Field Type'. The label is how you will identify this field in Help Scout, and the type defines the kind of information the field will store. There are multiple types to choose from, including 'Single Line', 'Number', 'Date', 'Dropdown', etc.
6
Save Your Custom Field
Click on the 'Save' button to save the changes and create your custom field.
7
Assign Your Custom Field

Assign the new custom field to applicable mailboxes from the 'Manage' -> 'Mailboxes' menu.
Congratulations! You've successfully learned how to manage custom fields for branding purposes on Help Scout. By utilizing custom fields effectively, you can enrich your customer data, personalize interactions, and strengthen your brand's identity. Continuously optimize your custom fields to align with your evolving branding goals. Happy branding!


