How to Personalize Your Help Scout's URL
Welcome to our guide on personalizing your Help Scout's URL. Customizing your URL not only enhances your brand's online presence but also makes it easier for customers to find and access your support portal. In this guide, we'll show you the simple steps to create a unique and memorable Help Scout URL.
1
Log into Help Scout

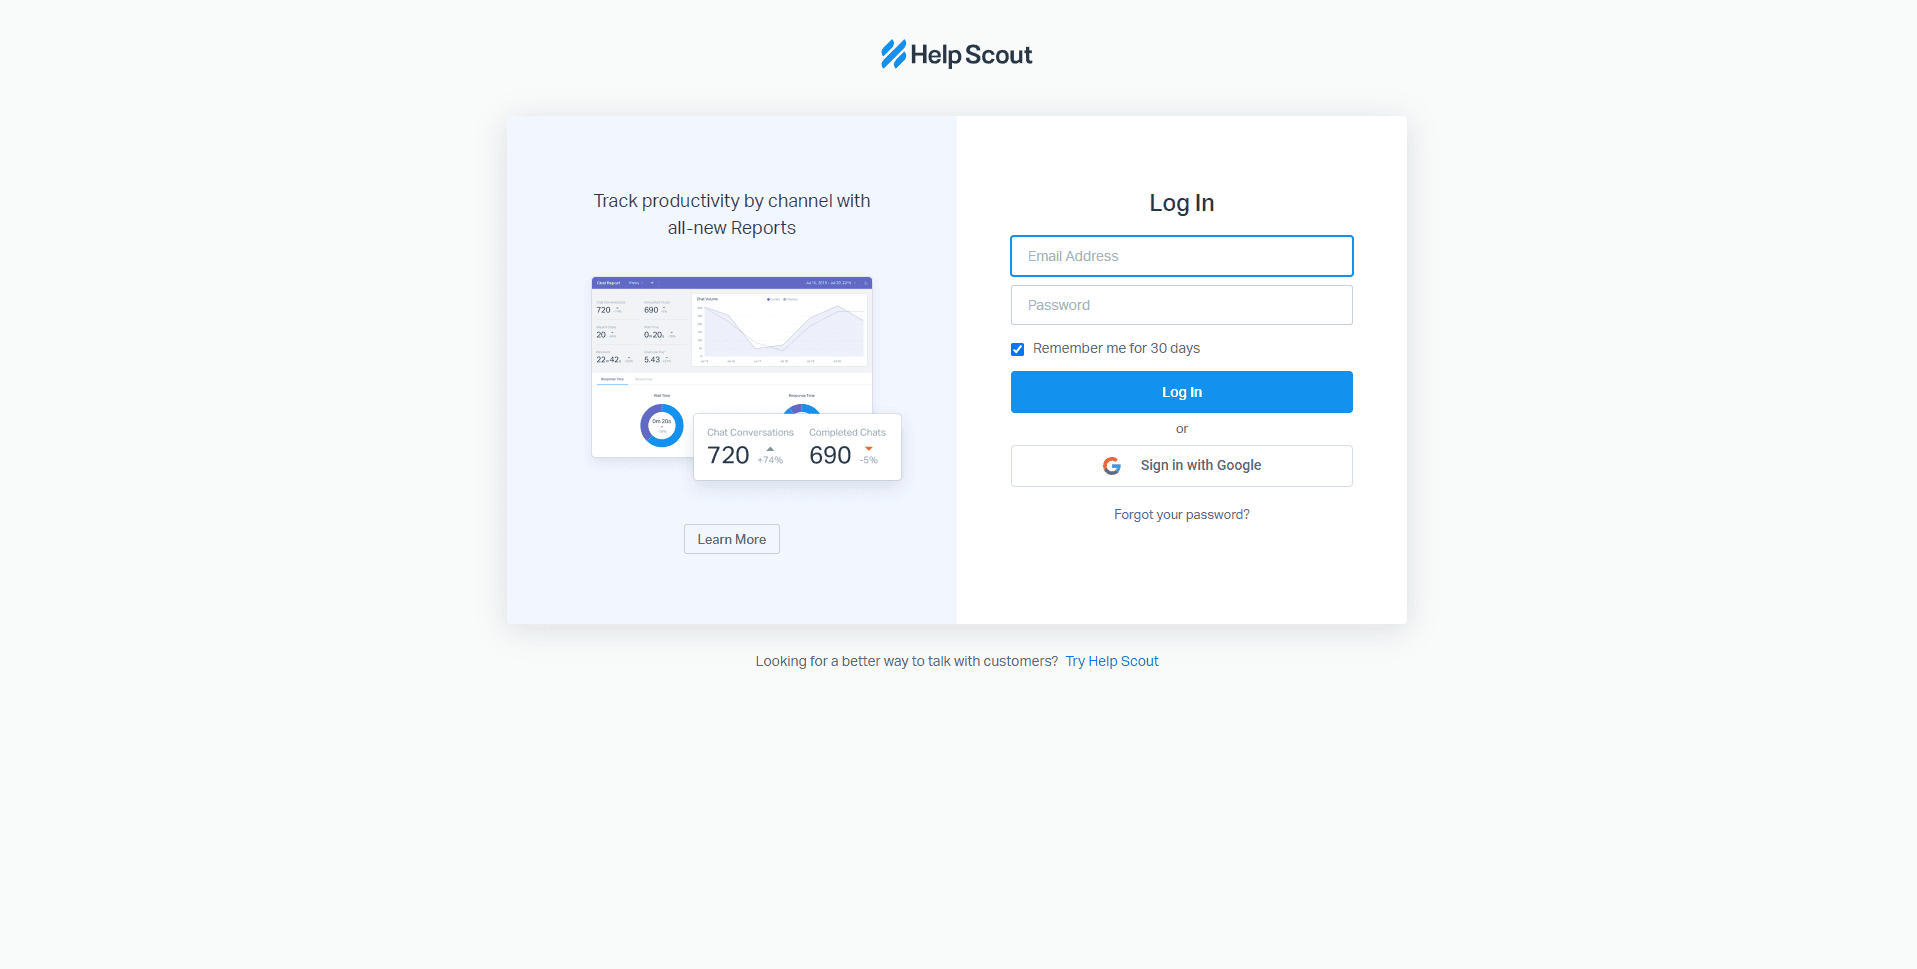
Start by navigating to the Help Scout homepage and sign in with your credentials.
2
Go to 'Manage'
On your dashboard, click on the 'Manage' button located in the top menu. This will direct you to your account settings.
3
Select 'Docs'
Once in 'Manage', find and click on the 'Docs' tab to access your knowledge base settings.
4
Choose Your Docs Site
Select the Docs site that you'd like to customize from the available list.
5
Enter Your Custom URL
Under the 'Basic' section in Site Settings, click on 'Change Address', then select 'Custom Domain'. Enter your desired URL.
6
Save Your Changes
Scroll down and click 'Save' to apply your changes.
7
Update DNS Records
Finally, you'll need to update your DNS records with your domain provider to point to your new Help Scout Docs site URL. The specifics of this step can vary by provider, so it's best to refer to their documentation or support services for assistance.
Congratulations! You've successfully personalized your Help Scout's URL, giving your brand a distinctive online identity. Your customers will now find it easier to connect with your support portal, boosting engagement and satisfaction. Remember to keep your URL relevant and reflective of your brand for a lasting impact. Happy personalizing!


