How to Brand Your Help Scout Notification Emails
Welcome to our guide on branding your Help Scout notification emails. Consistent branding reinforces your company's identity. In this guide, we'll show you how to customize your notification emails for a cohesive and professional look.
1
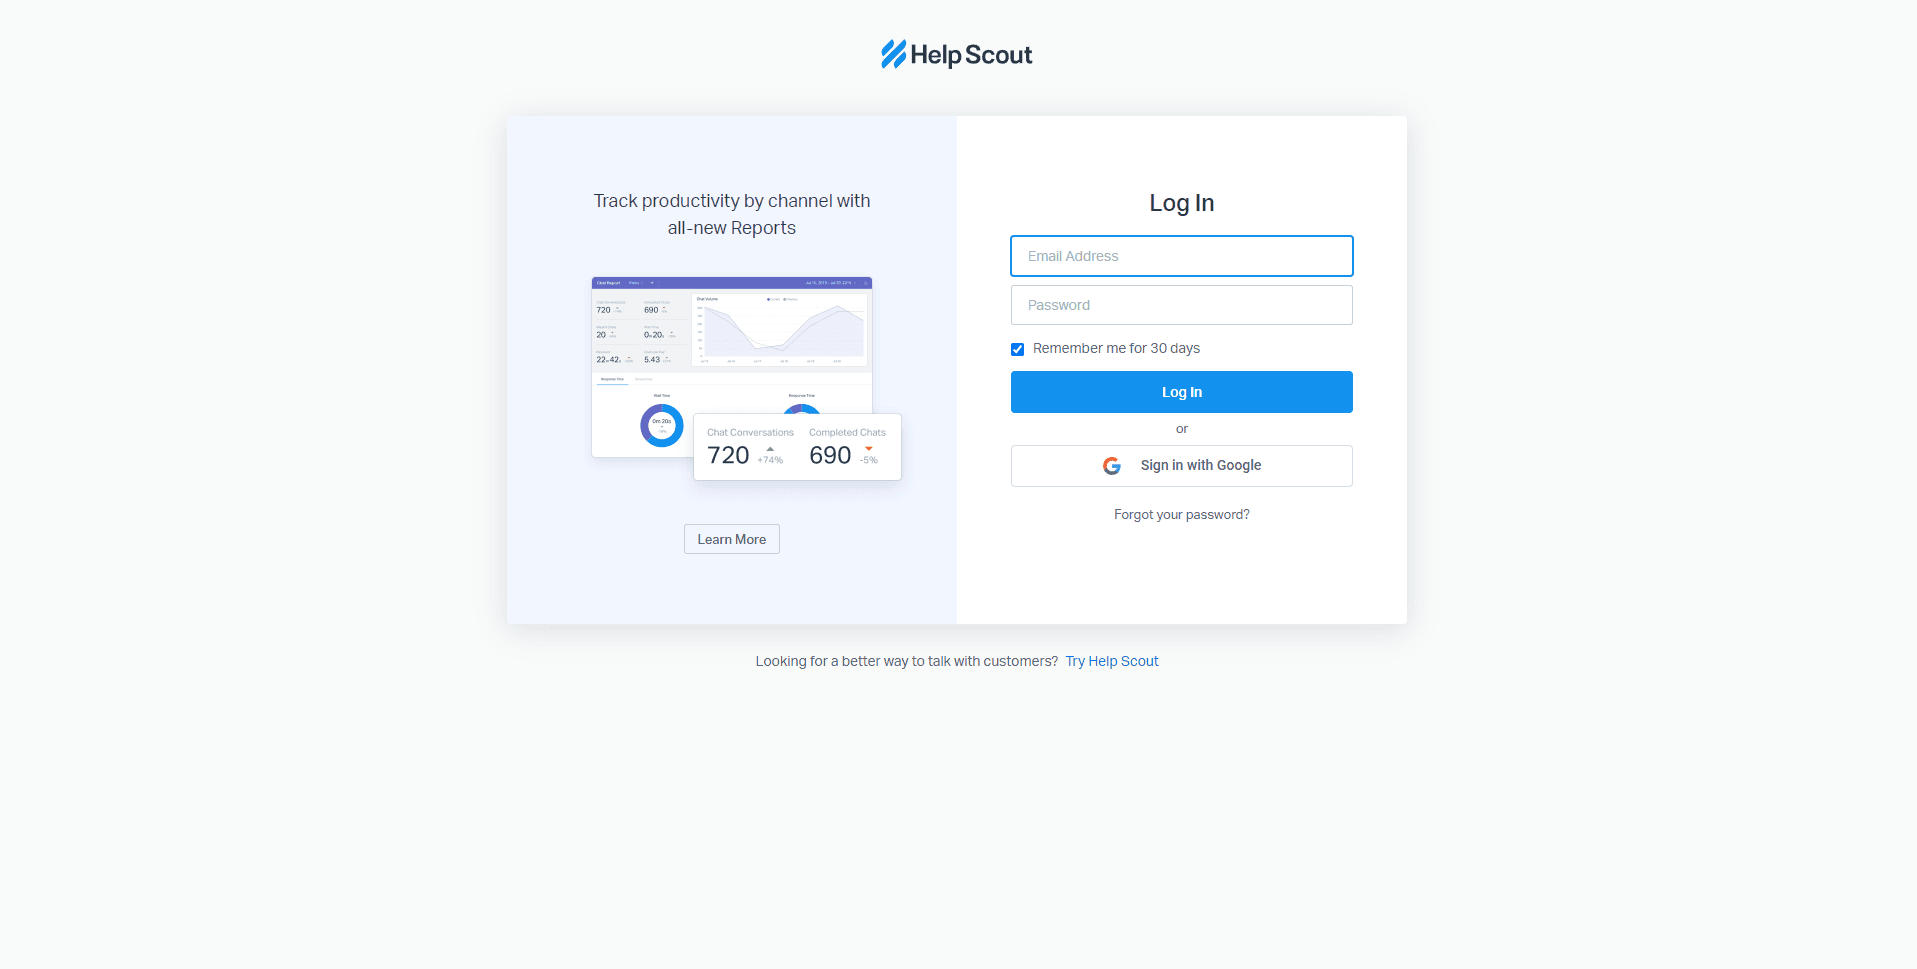
Log into Help Scout

Begin by navigating to the Help Scout website and signing into your account. You'll land on your dashboard.
2
Go to 'Manage'
Click on 'Manage' located in the top menu of your dashboard. This leads to your account settings.
3
Navigate to 'Mailbox'
Within the 'Manage' section, click on the 'Mailbox' tab. This presents you with a list of your mailboxes.
4
Select Your Mailbox
Click on the mailbox whose notification emails you want to customize. This will take you to the settings page for that mailbox.
5
Click on 'Outgoing Email'
In the settings sidebar, click on 'Outgoing Email'. This will display the settings for your outgoing emails.
6
Choose Your Email Delivery Method
If you're aiming to ensure successful email delivery. You have two primary options, Use Help Scout or Use Custom SMTP.
1
Use Help Scout

This is a tool that provides email authentication to help your emails avoid spam filters.
a. Navigate to 'Email Delivery' in the settings.
b. Follow the instructions to configure the tools.
2
Use Custom SMTP

This is a method where you use your own SMTP server for sending emails.
a. Go to 'Outgoing Email' settings.
b. Select 'Use Custom SMTP'.
c. Fill in the necessary details like SMTP server, port, username, and password.
7
Configure SPF and DKIM
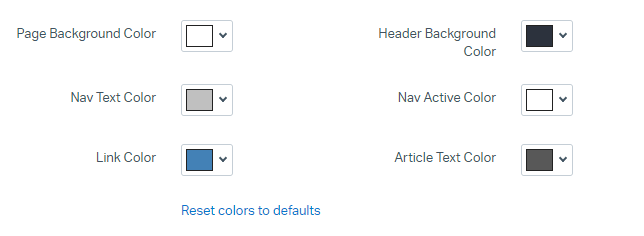
In the 'Outgoing Email' settings, you can add your company's branding. Customize the 'From Name' and 'Reply-to Email' to reflect your brand. Use your company's name and email address for consistency.
1
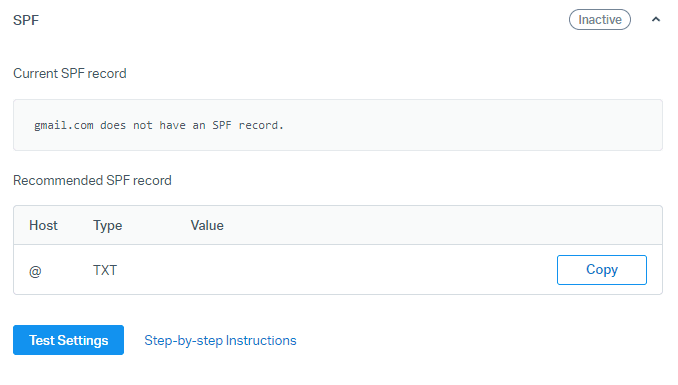
Set Up SPF

SPF involves adding a record to your domain's DNS settings.
a. Add a record with the IP addresses allowed to send emails from your domain.
2
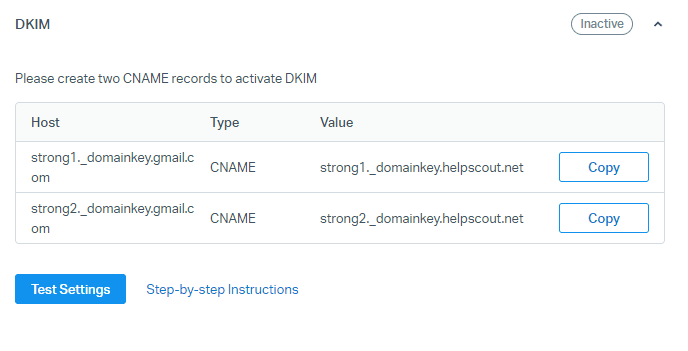
Set Up DKIM

DKIM involves creating a pair of cryptographic keys.
a. Create the keys. The private key is used to encode outgoing emails and the public key is published to your DNS records.
b. When a recipient's server receives your email, it uses the public key to decode the message and verify it came from your domain.
8
Save Changes
Once you're satisfied with your changes, click 'Save' at the bottom of the page to apply your new customizations.
Congratulations! You've successfully learned how to brand your Help Scout notification emails. By customizing your emails, you can create a more cohesive brand experience, reinforce your identity, and enhance customer trust. Continuously review and update your email branding to keep it fresh and aligned with your business goals. Happy branding!


