Back to Pipedrive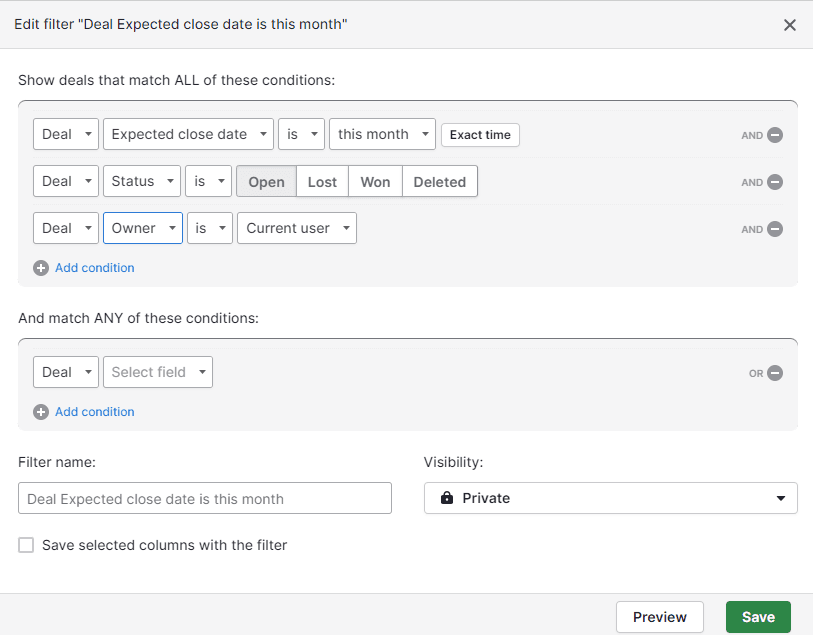

How to Use Filters and Segmentation
CRM
Learn how to leverage filters and segmentation in Pipedrive to target leads, streamline communication, and boost your sales effectiveness.
1
Accessing the List View
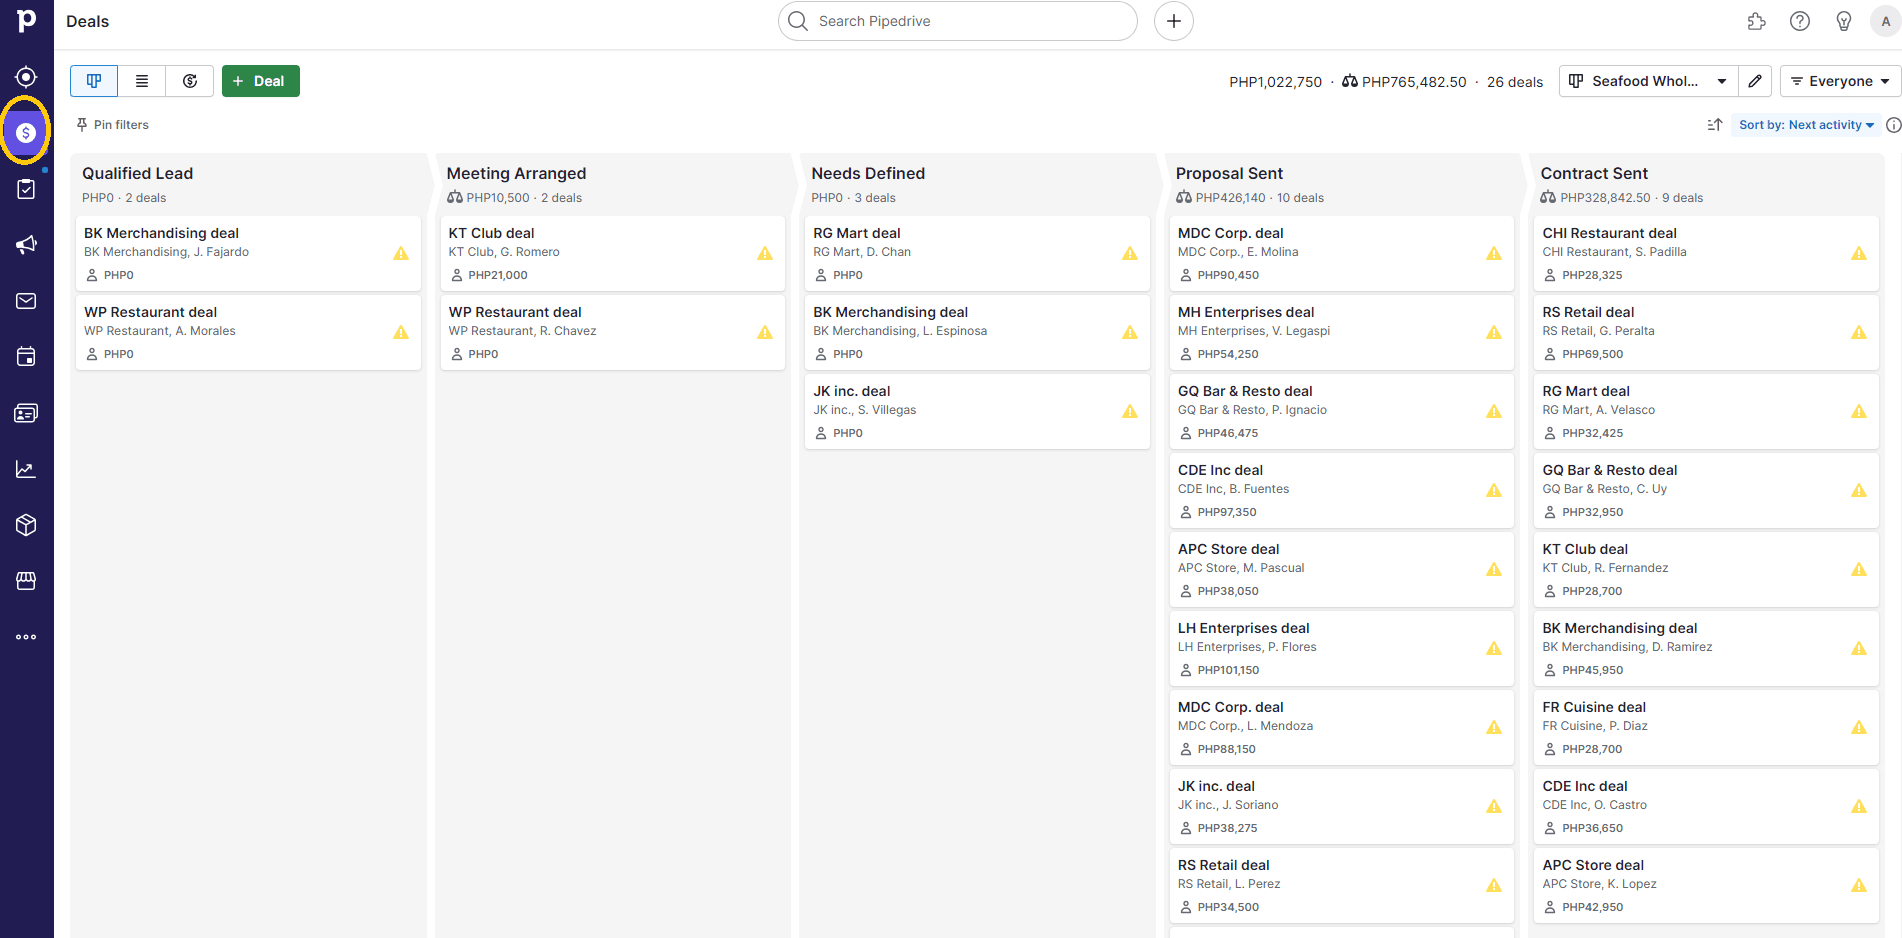
Begin by navigating to the List View feature in Pipedrive. You can access it by clicking on the "Deals" tab.
2
Familiar Spreadsheet-Like Interface
The List View resembles a spreadsheet columns displaying various deal statistics, making it comfortable for spreadsheet.
3
Broad Data Visibility
Unlike the Pipeline View, the List View shows all deals, whether they are open or closed, across multiple pipelines.
4
Applying Filters
1
Apply filters to narrow down your data
2
Filters for open, won, lost, or deleted deals are available by default
5
Custom Filters
1
Create custom filters to target specific segments of data
2
Add conditions like "Open Deals" and "Owner is Current User" to the filter
6
Save Filters
1
Filters can be saved for future use
2
Name the filter and set its visibility to other Pipedrive users
7
Sorting Deals
1
Sort deals based on various criteria, e.g., deal value
2
Sorting helps in focusing on high-value deals
8
Customizing Columns
1
Customize columns to display specific details
2
Add or remove fields for deals, people, and organizations
9
Saving Custom Column Settings
1
Save customized column settings with the filter
2
This eliminates the need to configure columns each time you use the filter
10
Exporting Data
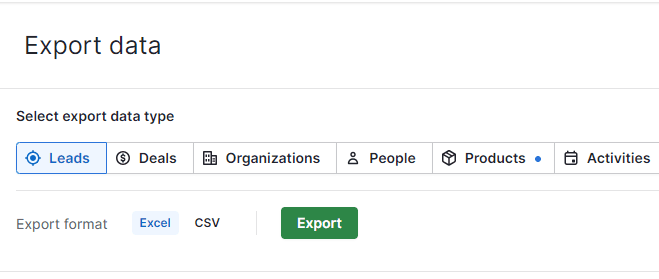
Export filtered data to a spreadsheet for further analysis.
Mastering filters and segmentation in Pipedrive is your ticket to precision in sales. Elevate your strategy and close deals efficiently.
