How to Use Workflow Conditions on Help-Scout Automations
Welcome to our guide on using workflow conditions for advanced automation scenarios in Help Scout. Take your automation to the next level. In this guide, we'll explore how to create custom workflow conditions to trigger precise actions and streamline your support process.
1
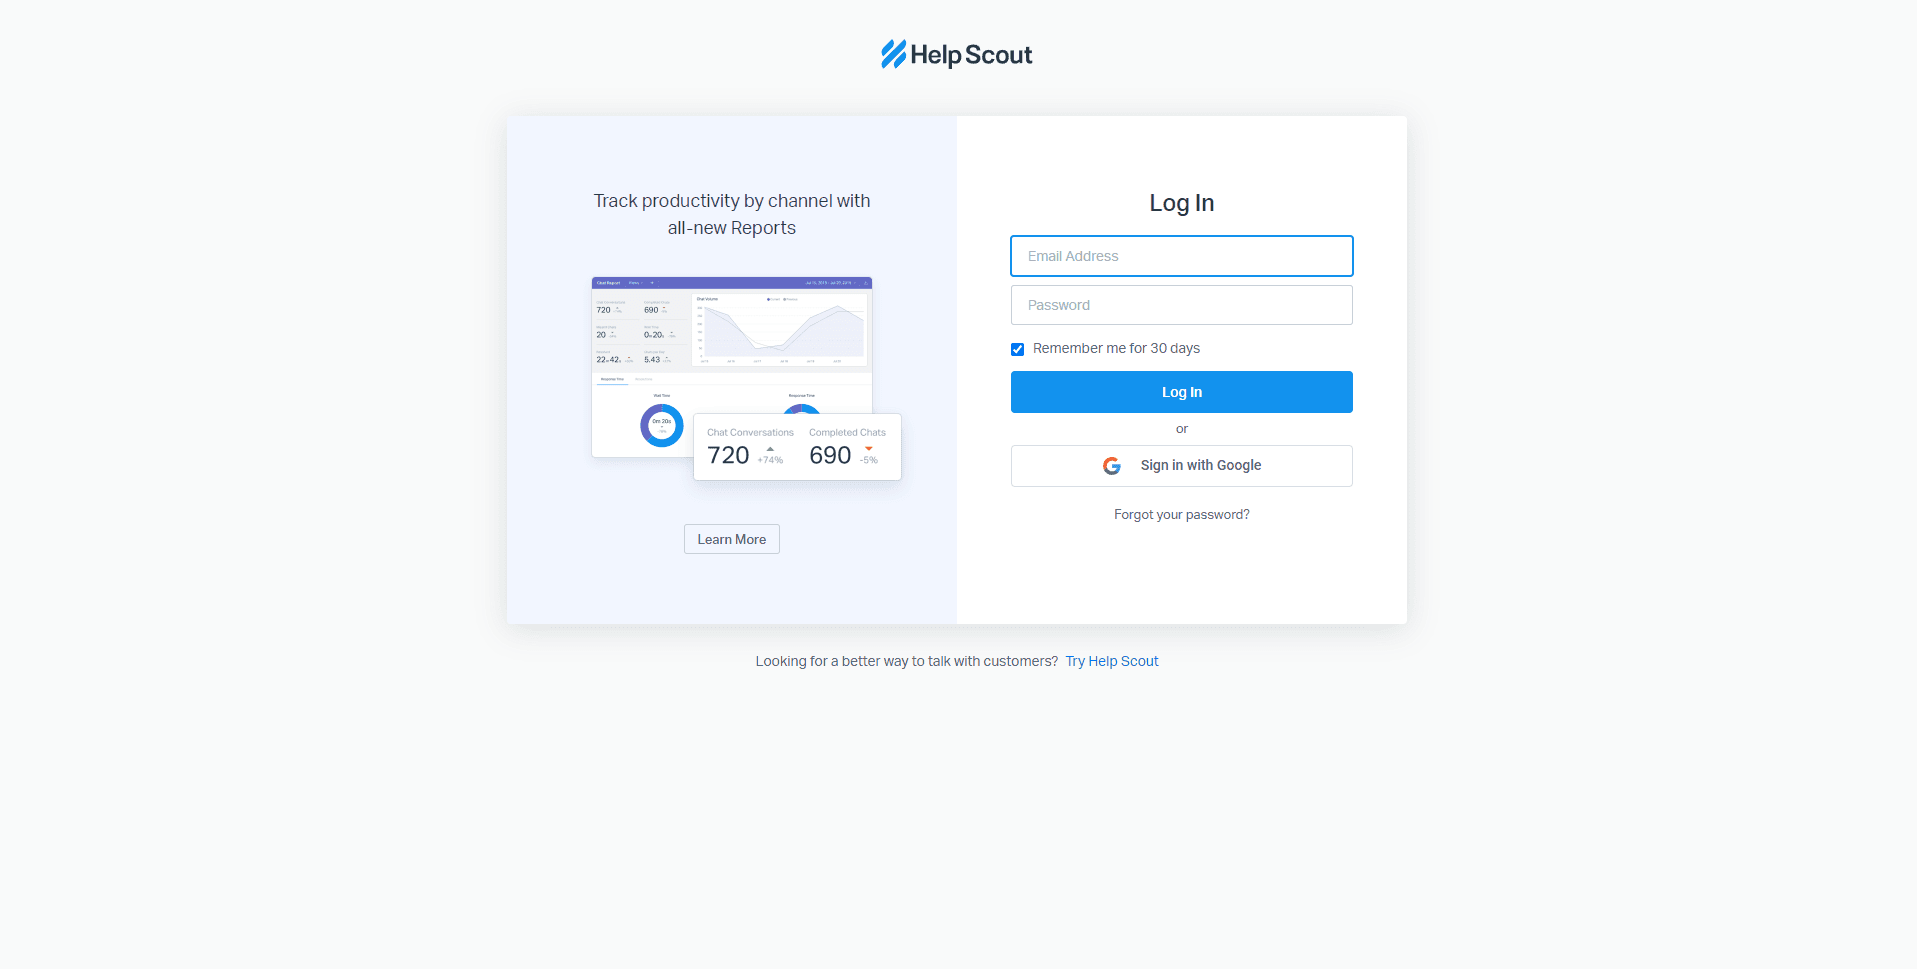
Access Your Help Scout Account

2
Navigate to the Workflows Section
1
Click "Manage"
From your main dashboard, click on the 'Manage' option in the top menu.
2
Select a Mailbox
Select a “Mailbox” account.
3
Select "Workflows"
Select 'Workflows' from the drop-down list to access the Workflows section.
3
Create a New Workflow
Click on the 'New Workflow' button to start creating a new automation scenario.
4
Name Your Workflow
Give your workflow a descriptive name that reflects its purpose, and add an optional description to provide more information about the automation scenario.
5
Choose the Type of Workflow
Select the type of workflow you want to create: Manual or Automatic. Manual workflows are initiated by users, while automatic workflows are triggered automatically based on predefined conditions.
6
Set up Workflow Conditions
Click on the 'Add Condition' button to start defining your conditions. You can choose from a wide range of predefined conditions, such as status, priority, type, time since last reply, and many others. For more advanced automations, you can use multiple conditions in combination.
1
Single Condition
To create a single condition, select a property (e.g., 'Status'), choose an operator (e.g., 'is'), and then pick a value (e.g., 'Closed').
2
Multiple Conditions
To create multiple conditions, click on 'Add Condition' again and repeat the process. By default, all conditions must be met (AND logic). However, you can switch to OR logic by clicking on the 'All' dropdown and selecting 'Any'.
7
Define the Actions
After setting up the conditions, click on the 'Add Action' button to specify the actions that should be taken when the conditions are met. Actions can include assigning a conversation to a team or user, changing the status or priority, adding tags, or sending notifications.
8
Save and Enable Your Workflow
To enable the workflow, toggle the 'Activate Workflow' switch on the Workflows Summary page.
Congratulations! You've successfully learned how to use workflow conditions for advanced automation scenarios in Help Scout. By leveraging custom triggers, you can automate complex processes, optimize your support workflow, and provide a seamless customer experience. Continuously analyze your automation performance and fine-tune your conditions to achieve maximum efficiency. Embrace the power of advanced workflows to save time, enhance productivity, and deliver exceptional support. Happy automating!


