How to Create and Manage Custom Mailbox Folder in Help Scout
Welcome to our comprehensive guide on creating and managing custom mailbox folders in Help Scout. As your customer support grows, organizing your mailbox becomes essential to maintain efficiency and streamline operations. In this guide, we'll walk you through the process of creating custom folders to categorize and prioritize emails effectively. Learn how to set up folders for different teams, projects, or customer segments, and discover best practices for managing your mailbox efficiently. With Help Scout's versatile folder management features, you can centralize communication, improve collaboration, and deliver exceptional support to your customers. Let's get started on optimizing your Help Scout mailbox organization for enhanced productivity.
1
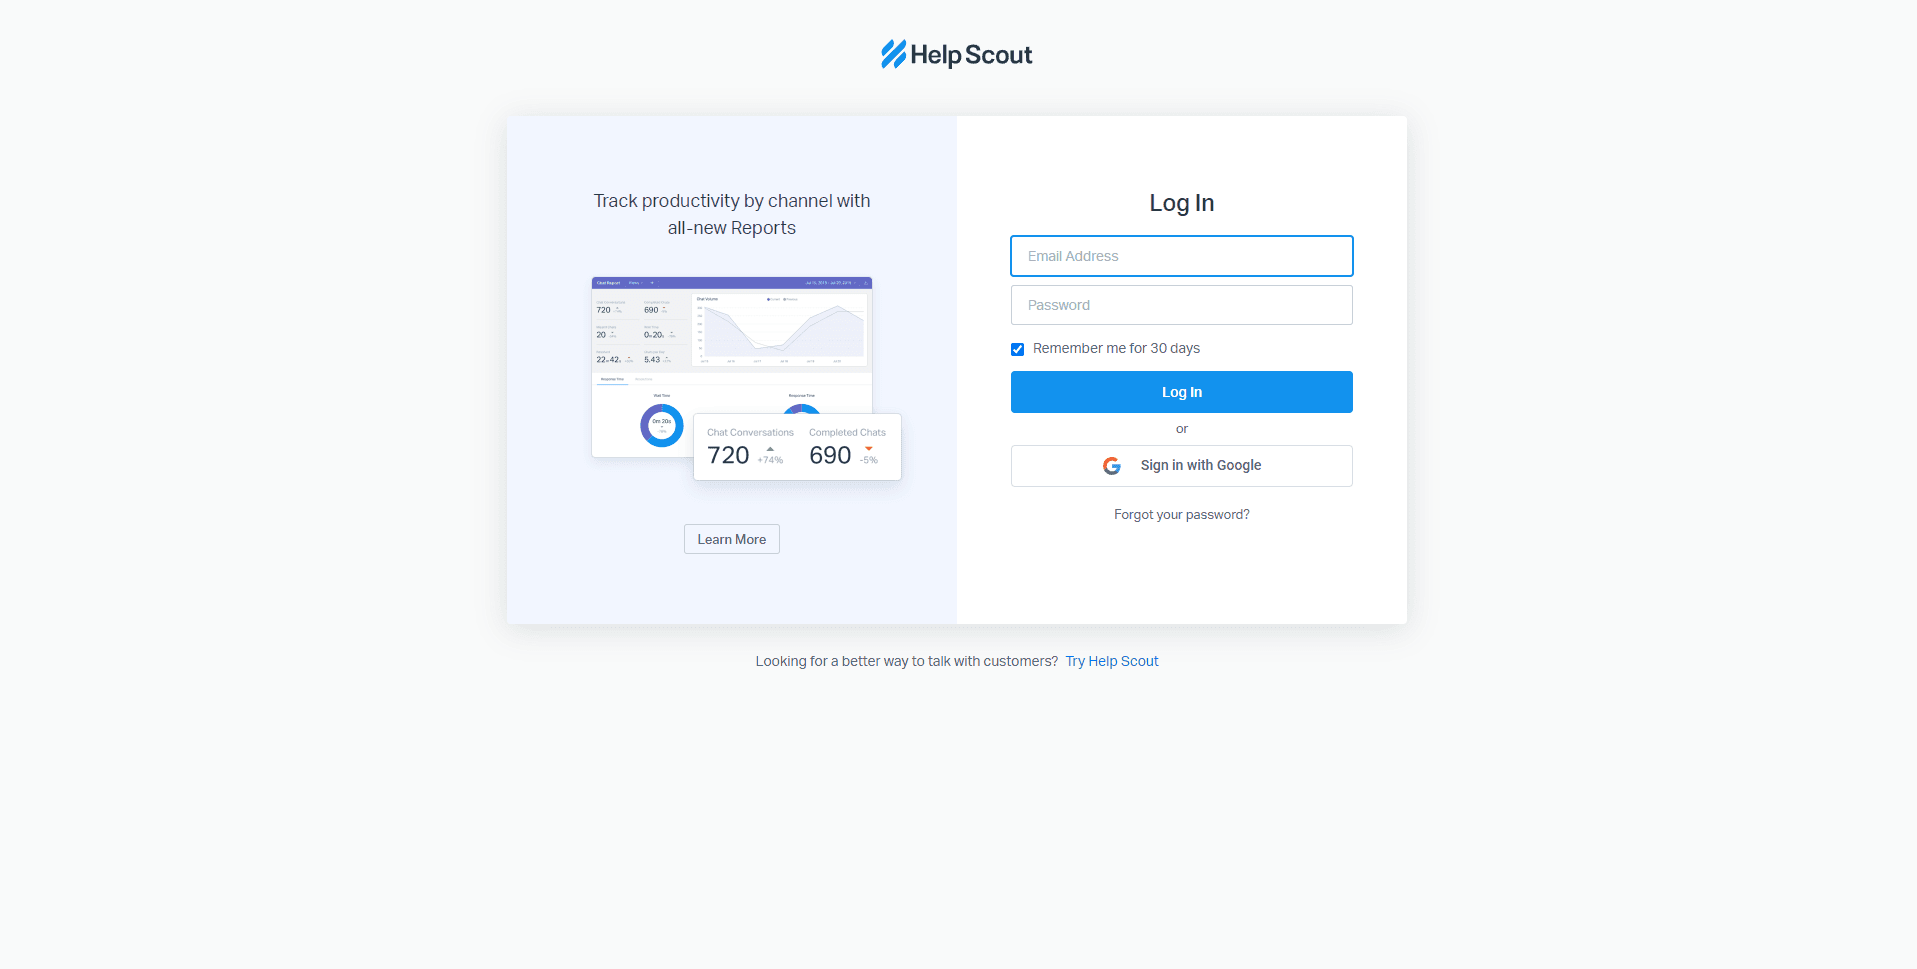
Log in to Help Scout

Begin by logging into your Help Scout account using your credentials.
2
Navigate to 'Workflows'
Now, let's create a workflow that will automate the process of sorting emails into this new folder. Navigate to “Mailboxes” and select a mailbox to add your workflow. Then, find the 'Workflows' option in the left-hand menu.
3
Create a New Workflow
In the workflows page, click on the 'New Workflow' button.
4
Name and Configure the Workflow
Just like with the folder, you'll be prompted to name the workflow and set conditions and actions. Fill in the required fields accordingly. For example, you might set the condition to be "when a new email arrives" and the action to be "move the email to the new folder".
5
Save and activate the Workflow
After setting up the workflow, click on the 'Activate Workflow' button to finish.
6
Navigate to the Mailboxes section
Once you're logged in, click on the "Manage" button at the top right corner of your screen. From the drop-down menu, select "Mailboxes."
7
Choose the Mailbox to edit
Select the mailbox you want to create and manage custom folders for by clicking on its name.
8
Edit or delete a custom folder
To edit or delete a custom folder, navigate to the Folders tab in the mailbox settings. Navigate to “Workflows”, and there you can edit and delete the Workflow you added for the folders.
Congratulations on completing our guide on creating and managing custom mailbox folders in Help Scout. By implementing folder organization strategies, you've unlocked a world of efficiency and collaboration in your customer support journey. The ability to categorize emails based on teams, projects, or customer segments allows you to prioritize tasks and respond promptly to critical inquiries. With Help Scout's powerful folder management features, you've gained the tools to centralize communication, streamline workflows, and deliver personalized support to your customers. As you continue to utilize custom mailbox folders, remember to periodically review and update your folder structure to adapt to changing support needs. This proactive approach will keep your support team agile and ready to tackle new challenges. Thank you for joining us on this journey to optimize your Help Scout mailbox organization. Keep leveraging custom folders to build stronger customer relationships and deliver exceptional support experiences.

