How to Create Custom Workflows in Help Scout
Welcome to our guide on creating custom workflows in Help Scout. Custom workflows can significantly improve your team's productivity and streamline your support processes. In this guide, we'll walk you through the steps to create personalized workflows tailored to your business needs.
1
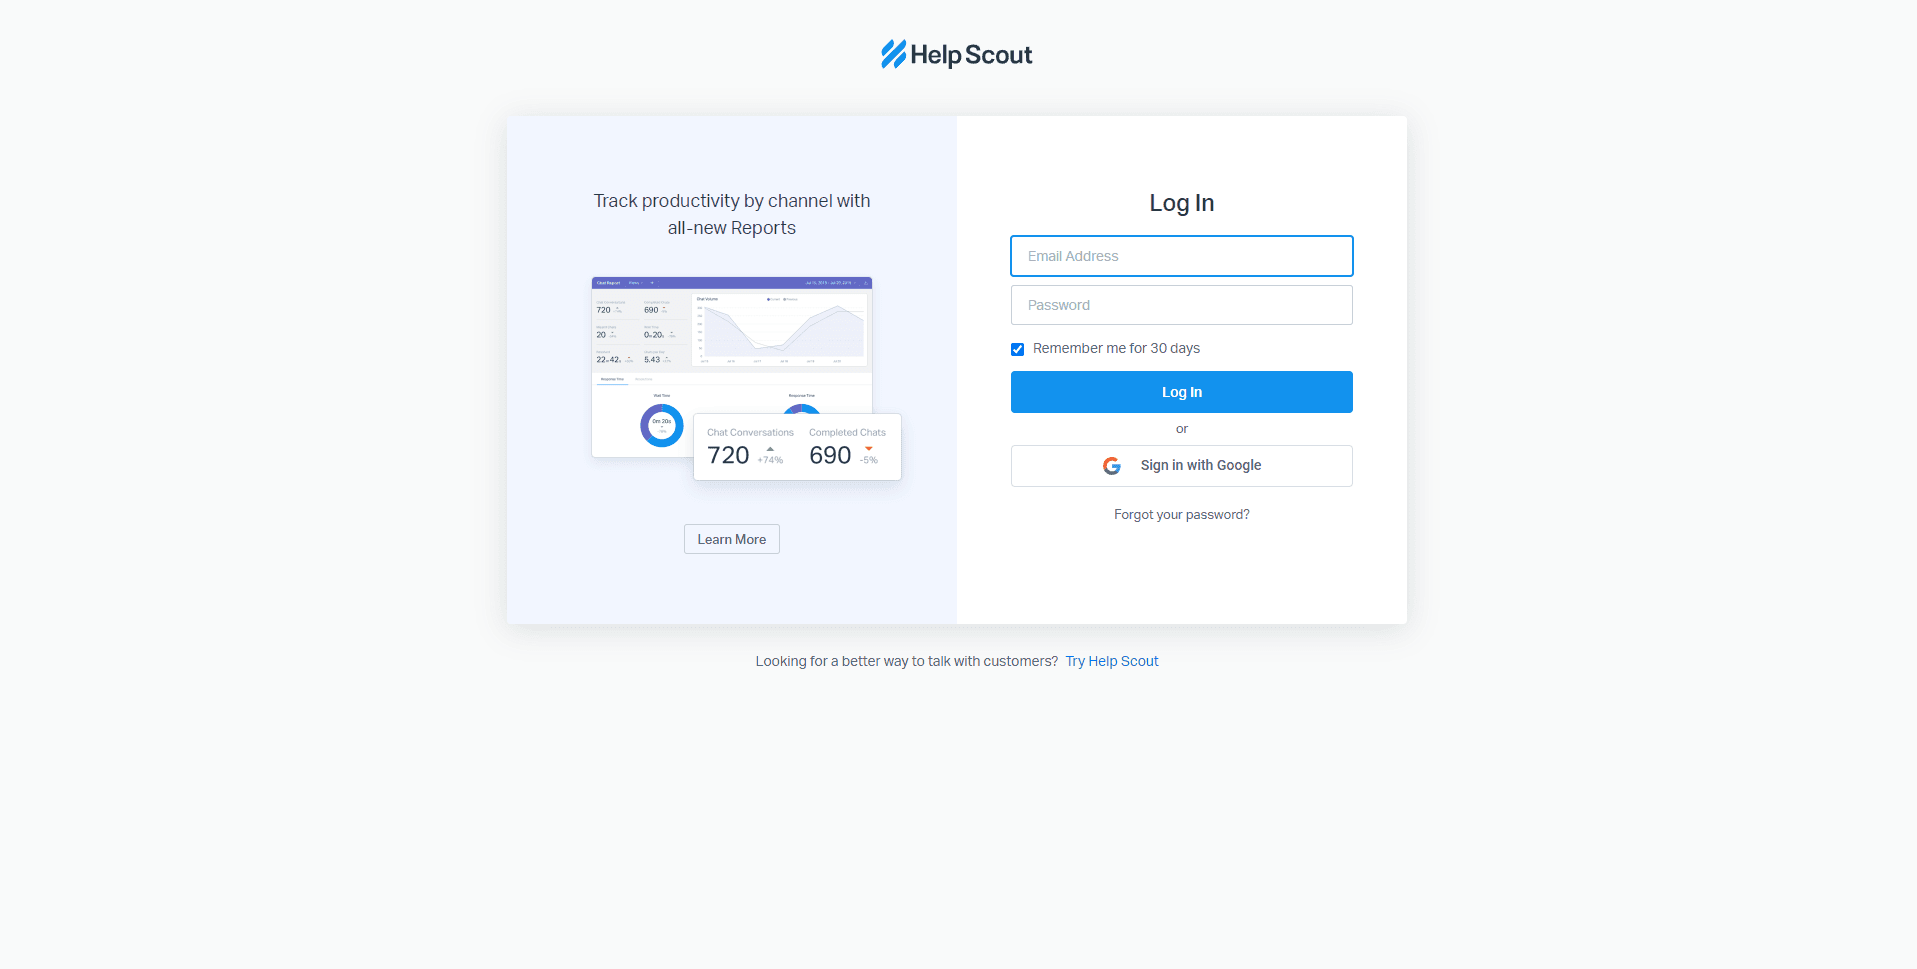
Log in to Help Scout

First, log in to your Help Scout account with your username and password. Once logged in, you'll be directed to the main dashboard.
2
Access the Workflows Section
On the main dashboard, click on "Manage" in the top navigation bar. From the dropdown menu, select "Mailbox" to open the Workflows management page and choose a mailbox, then select “Workflows”.
3
Create a New Workflow
On the Workflows page, click the "New Workflow" button located in the top-right corner.
4
Name Your Workflow and Select the Mailbox
In the popup window, enter a name for your new workflow in the "Workflow Name" field. Choose a mailbox from the "Apply to" dropdown menu to associate the workflow with a specific mailbox. Click "Create Workflow" to proceed.
5
Set the Workflow Type
Once the new workflow is created, you will be directed to the workflow editing page. Start by selecting the type of workflow from the "When" dropdown menu. You have three options:
- Automatically (when conditions are met)
- Manually (from a user's action)
6
Define Workflow Conditions
Next, define the conditions that will trigger your workflow. Click the "+ Add a condition" button and select a condition type from the dropdown menu, such as "Status," "Assigned to," "Tags," etc. Specify the condition parameters (e.g., Status is "New" or Assigned to "John Doe"). Add more conditions if necessary.
7
Specify Workflow Actions
Now, define the actions that your workflow will perform when the conditions are met. Click the "+ Add an action" button and select an action type from the dropdown menu, such as "Assign to," "Add tags," "Send an email," etc. Configure the action parameters (e.g., Assign to "Jane Smith" or Add tags "Urgent"). Click “Save” after finalizing your actions.
8
Review the Summary and Enable the Workflow
Once you have configured your workflow, click the "Next Step" button in the top-right corner of the page. To enable your workflow, click the "Activate Workflow".
Congratulations! You've successfully learned how to create custom workflows in Help Scout. By tailoring workflows to your team's unique requirements, you can improve efficiency, deliver faster responses, and provide exceptional customer support. Continuously refine your workflows to adapt to changing needs and keep providing top-notch service. Happy customizing!

