How to Create and Manage Custom Fields in Help Scout
Welcome to our guide on creating and managing custom fields in Help Scout. Tailor your support process to your unique needs. In this guide, we'll show you how to create, customize, and utilize custom fields for efficient customer support.
1
Log in to Help Scout

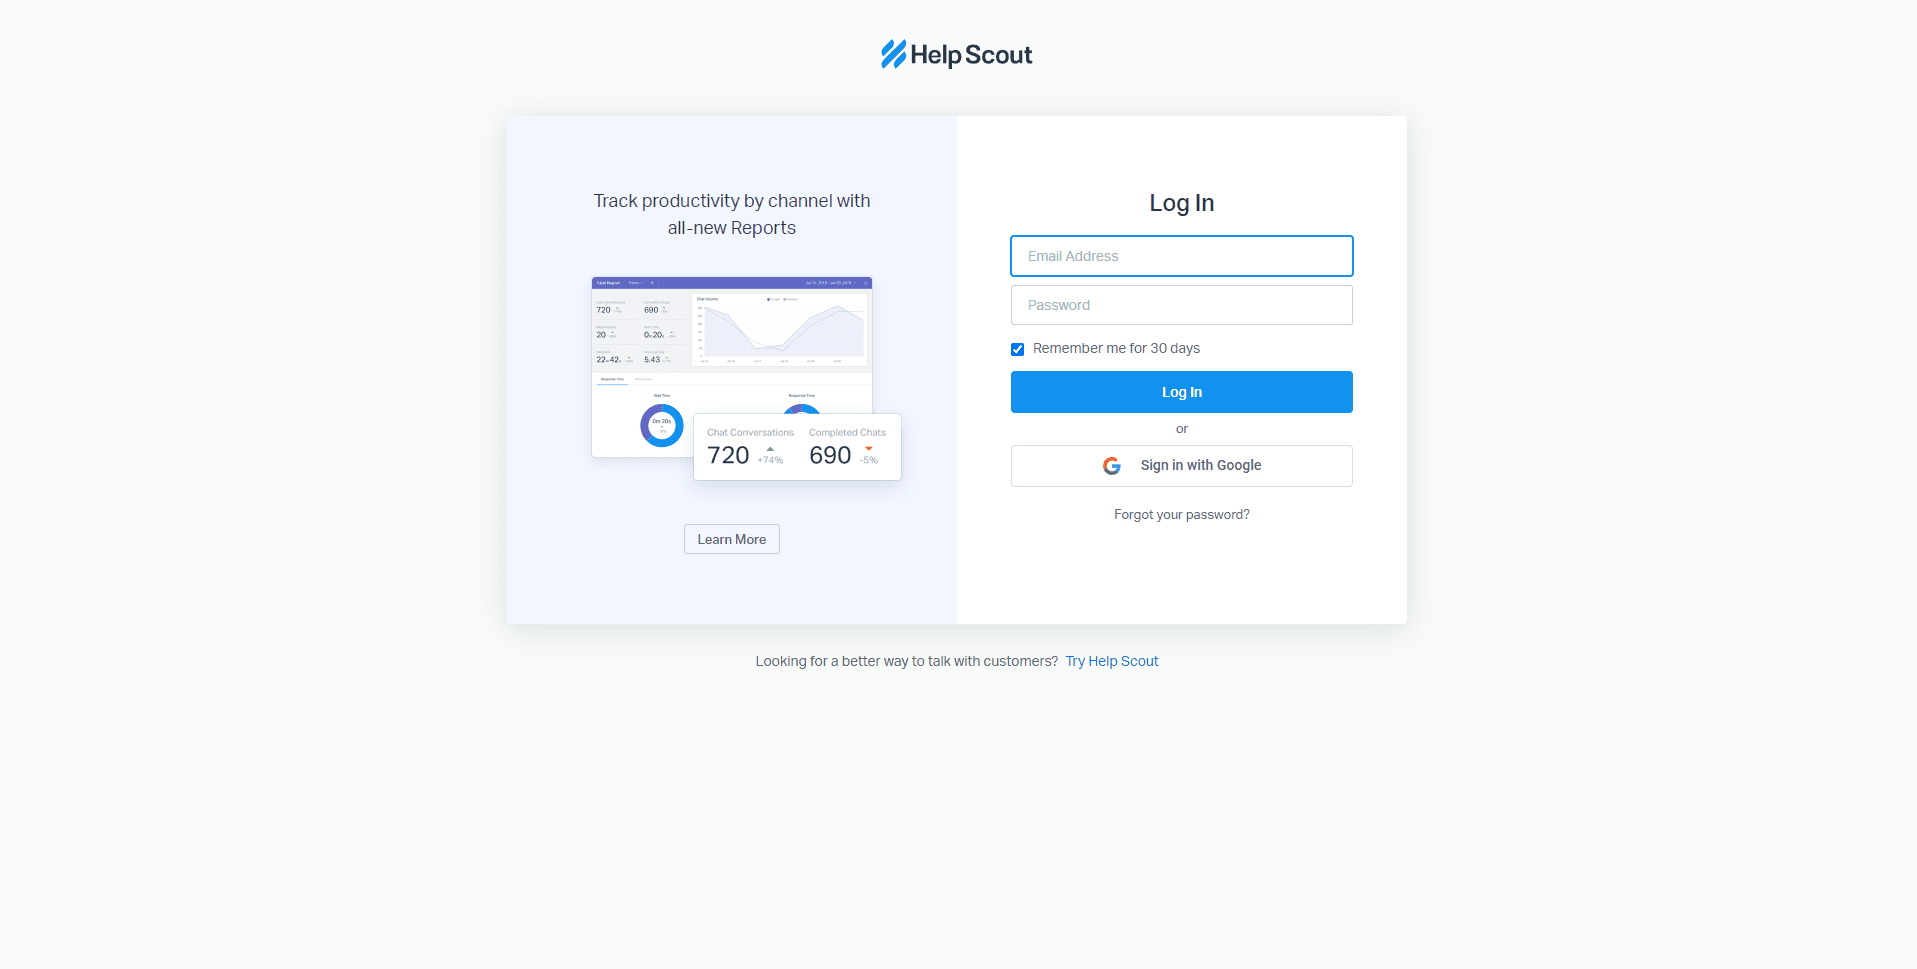
Log in to your Help Scout account using your email address and password. If you don't have an account, sign up for a free trial or a paid plan on the Help Scout website.
2
Access the Custom Fields Settings
Once you're logged in, click on the "Manage" button in the upper right corner of the Help Scout dashboard. In the dropdown menu, select a "Mailbox" and choose a Mailbox from your account, then click “Custom Fields” on the left side.
3
Add a New Custom Field
On the Custom Fields page, you'll see a list of existing custom fields, if any. To create a new custom field, click on the green "Add Field" button or “New Custom Field” button.
4
Choose the Custom Field Type
You'll now see the "Add Custom Field" form. Choose the type of custom field you'd like to create from the following options:
- Dropdown: A list of pre-defined options for the user to choose from.
- Single Line Text: Allows users to enter a single line of text.
- Multi-Line Text: Allows users to enter multiple lines of text.
5
Configure the Custom Field
Enter a name for the custom field and provide a brief description (optional). If you selected the "Dropdown" type, add your desired options by clicking on the "+ Add Option" button and typing in the option text. You can rearrange the order of the options by dragging and dropping them. For text-based fields, you can set the maximum character limit.
6
Save the Custom Field
Click on the "Save" button to create the custom field.
7
Editing and Deleting Custom Fields
To edit a custom field, go back to the Custom Fields page, and click on the pencil icon next to the custom field you'd like to modify. Make the necessary changes, and click on the "Save" button. To delete a custom field, click on the trash bin icon next to the custom field, and confirm your action in the popup window.
Congratulations! You've successfully learned how to create and manage custom fields in Help Scout. By utilizing custom fields, you can capture and organize important customer data, streamline your support process, and deliver personalized assistance to your clients. Continuously update and optimize your custom fields to align with your evolving business requirements. Happy supporting!

