How to Set Up Automated Workflows for Escalating Complex Issues
Setting up automated workflows for escalating complex issues in Intercom can help you to ensure that these issues are handled promptly and efficiently. By creating rules that trigger escalations, you can ensure that complex issues are routed to the right people
1
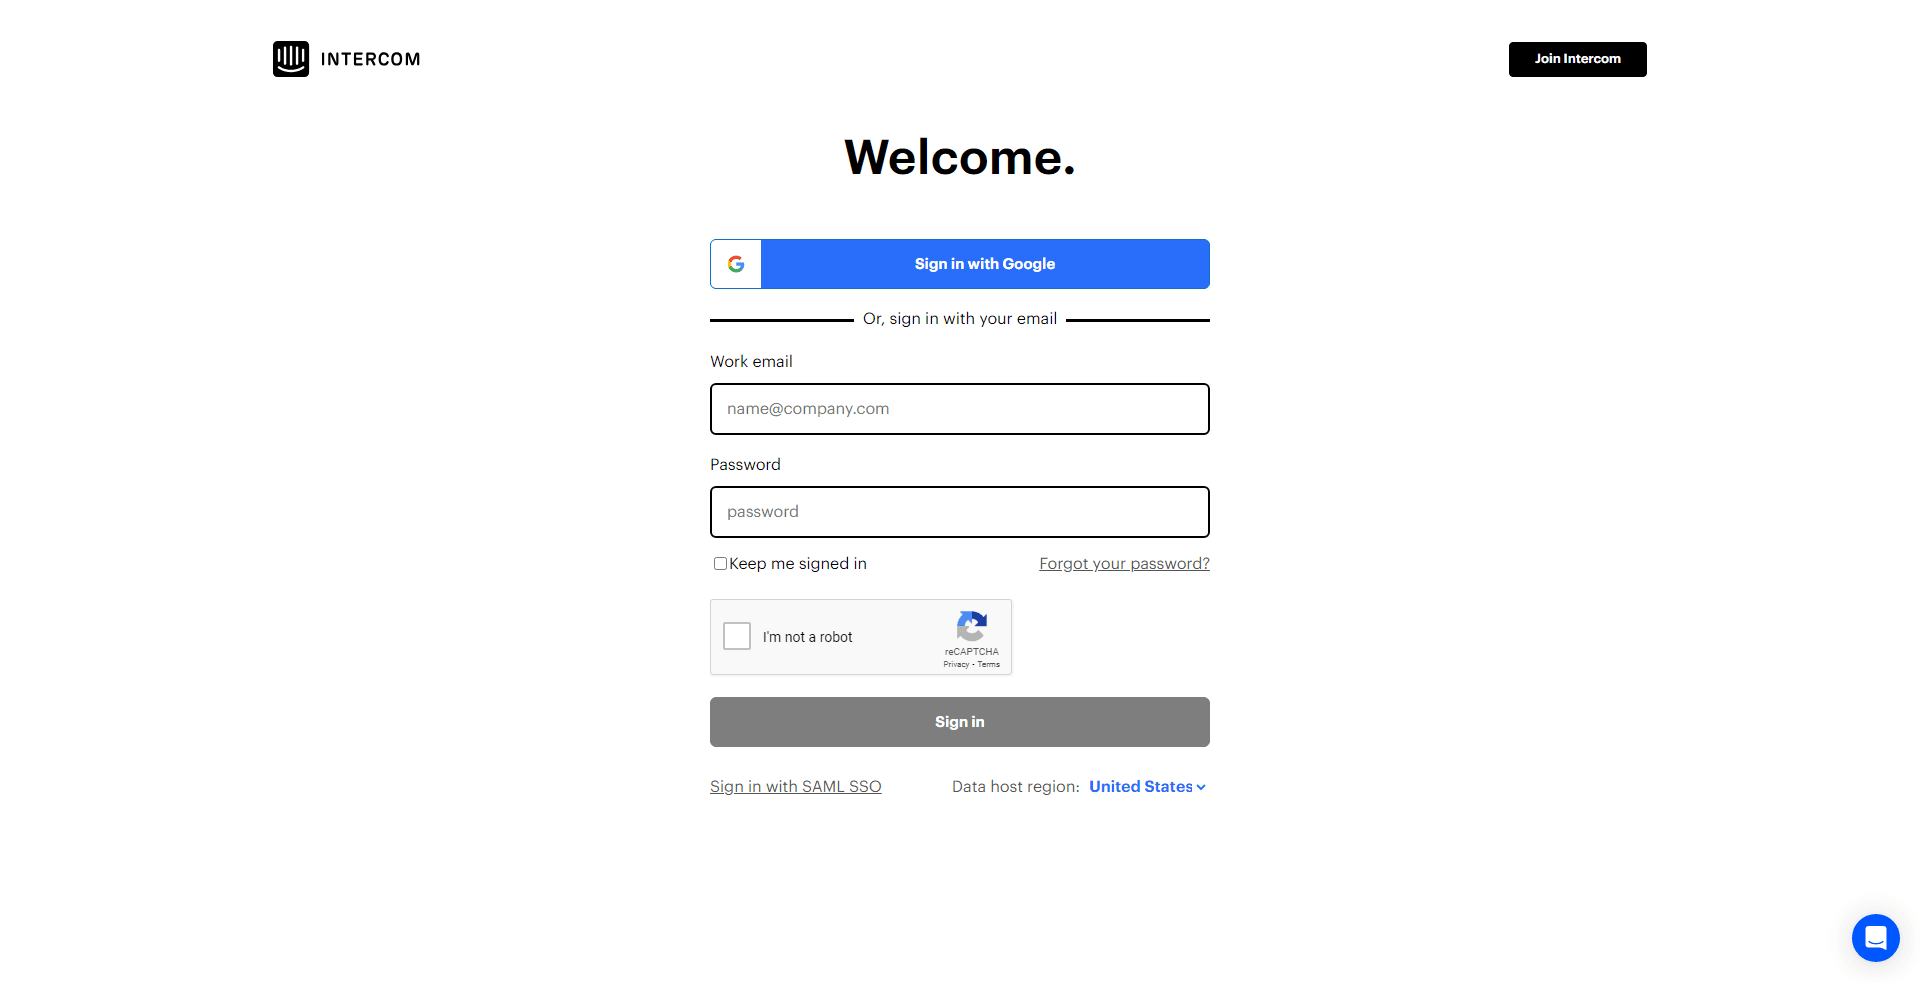
Log into Intercom

Sign into your Intercom account to access your workspace.
2
Access the 'Automations' Section
From the dashboard, navigate to the "Automations" section typically situated on the left sidebar.
3
Initiate a New Automation
Find and click on the "New Automation" button, commonly located at the top-right corner.
4
Designate the Trigger Criteria
Determine what initiates this workflow. This could be keywords signaling a complex issue, customer ratings, or specific user queries.
5
Define the Escalation Action
Upon trigger detection, specify the action, like forwarding the conversation to a senior agent or a specialized team. Add any supplementary commands, for instance, appending a priority tag or sending a pre-defined message to the customer about the escalation.
6
Name Your Workflow
To easily identify this automation later, give it a descriptive and relevant name, like "Complex Issue Escalation".
7
Save and Set Live
Once satisfied with the configuration, click "Save" and then click “Set Live” to ensure the workflow is set to active, making it operational.
By setting up automated workflows, you can free up your team's time so that they can focus on resolving the most important issues. This can lead to improved customer satisfaction and reduced churn.


