How to Set Up and Monitor First Response Time in Intercom
Setting up and monitoring First Response Time (FRT) in Intercom is important for ensuring that your customers receive a quick response to their queries. By tracking your FRT, you can identify areas where you can improve and provide better customer service.
1
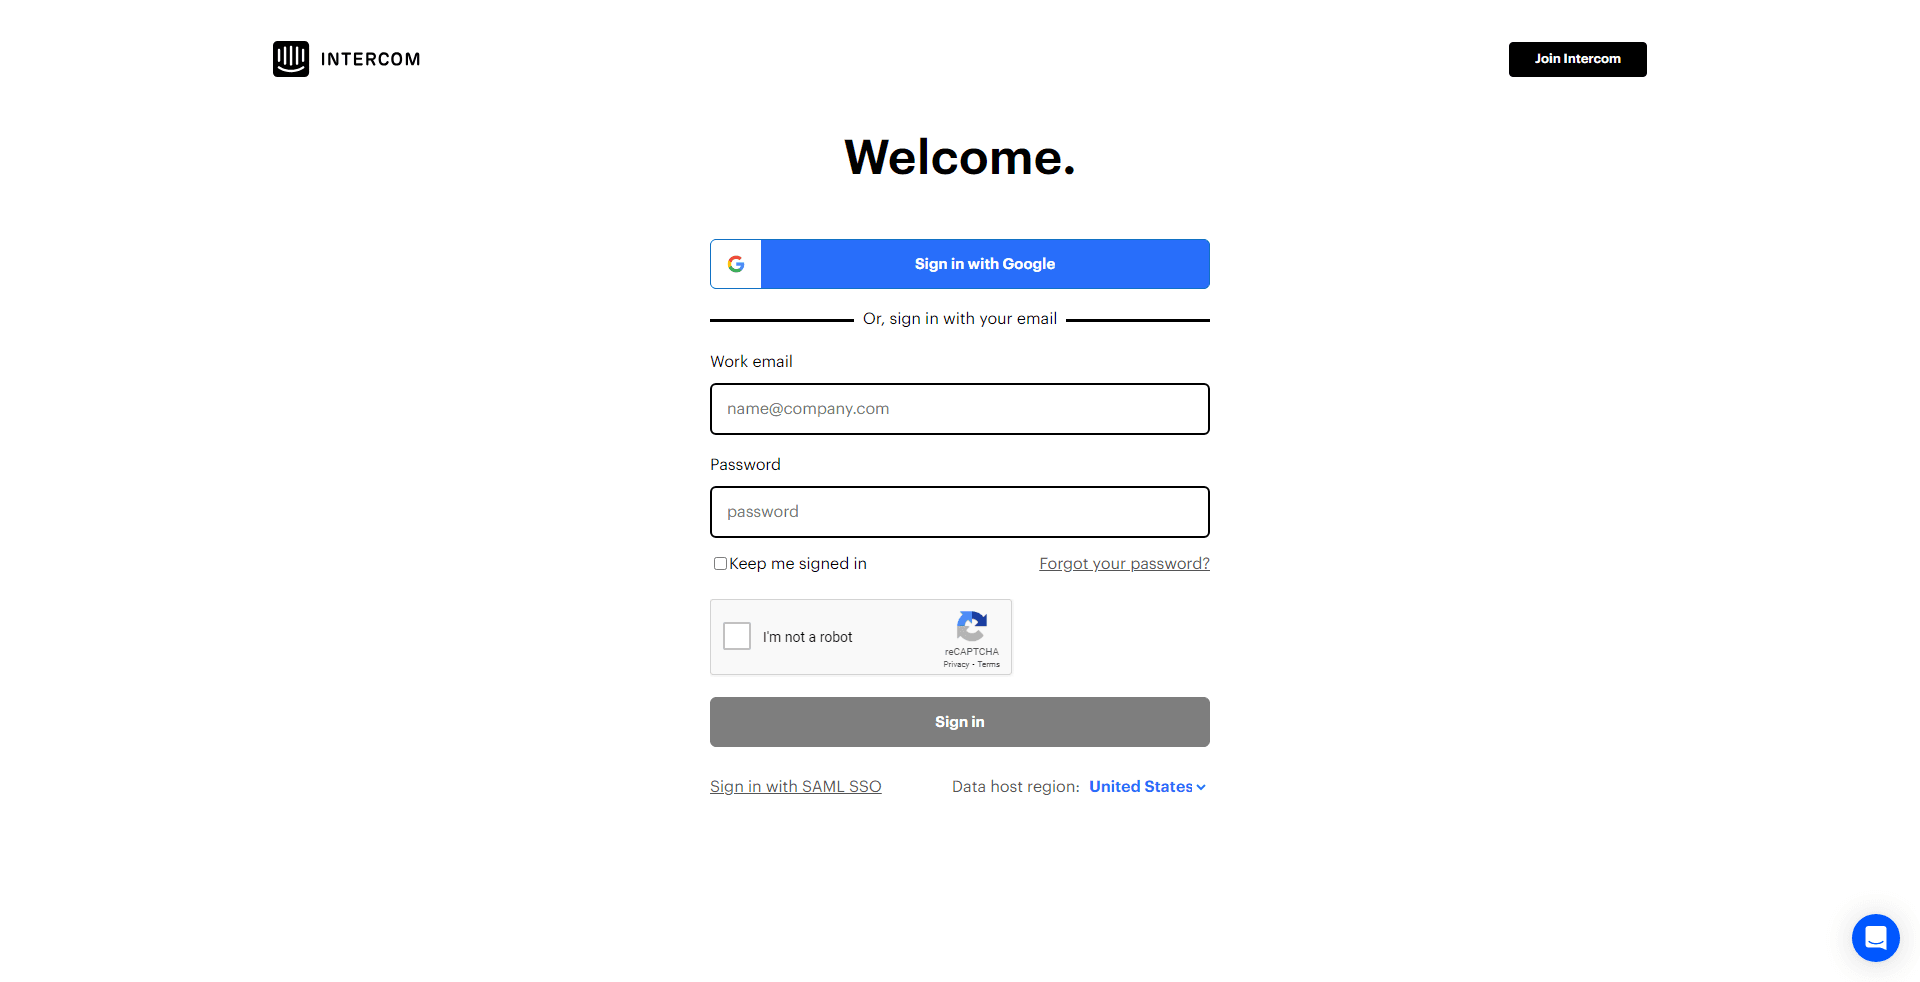
Log into Intercom

Access your Intercom workspace with appropriate credentials.
2
Access 'Reports'
On the left sidebar, locate and select the 'Reports' option.
3
Choose 'Responsiveness'
From the Reports dropdown, select 'Human Support' then 'Responsiveness' to delve into metrics detailing your team's response times and engagement.
4
Navigate to 'First Response Time'
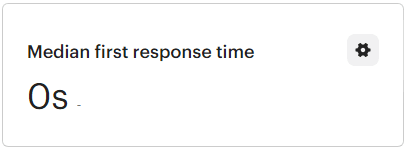
Within the Conversations report, find and select the 'First Response Time' option.
5
Set Desired Time Frame
Select the time frame for which you'd like to monitor the FRT. Options often include 'Last 7 days', 'Last 30 days', etc.
6
Select Aggregation Type
Choose or filter the type of aggregation you'd like to view: Median, Minimum, Maximum, or Average to get the specific insights you're interested in.
7
Monitor Regularly
Regularly return to the FRT report to keep an eye on any changes and ensure that the team maintains desired performance levels.
FRT is a key metric for measuring the effectiveness of your customer support team. By setting up and monitoring FRT in Intercom, you can ensure that your customers are happy and that your team is meeting your SLAs.

