How to Organize Categories in Knowledge Base
Organizing categories in Intercom's knowledge base is a great way to help your customers find the information they need. By grouping related articles together, you can make it easier for customers to find the answers to their questions.
1
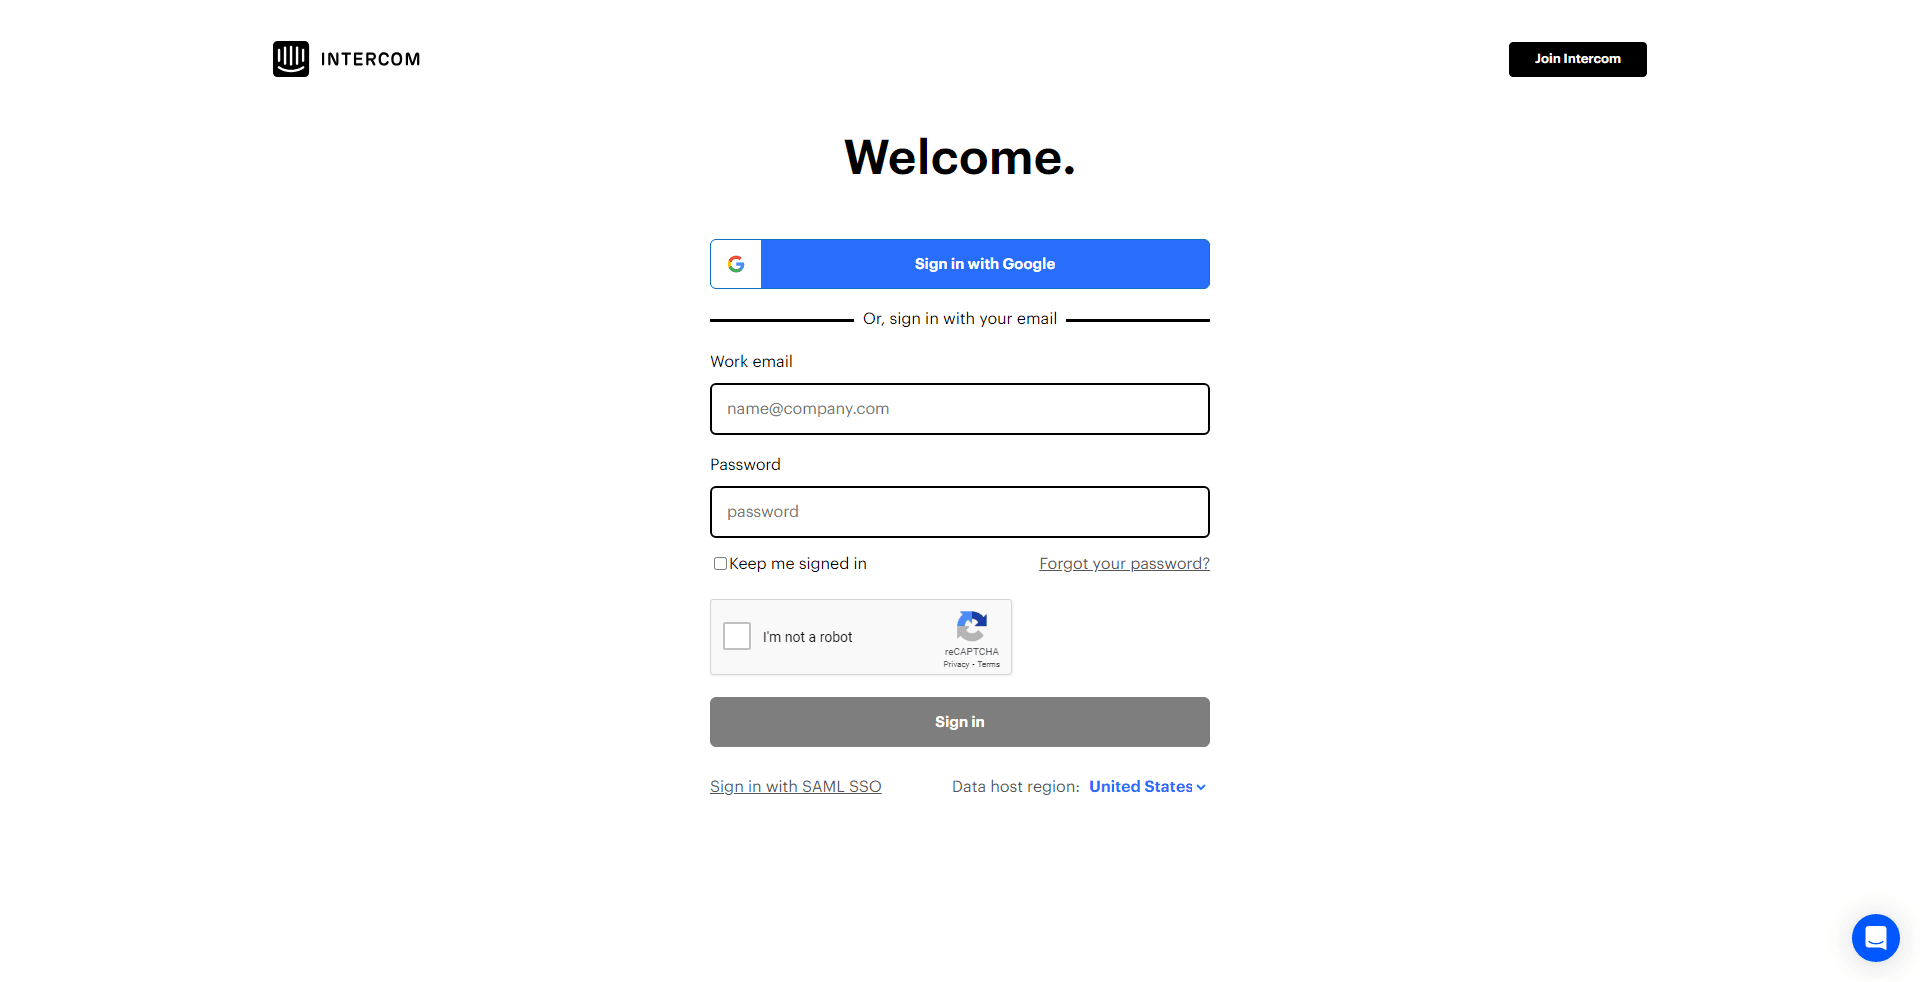
Log into Intercom

Access your Intercom account by entering your login details.
2
Navigate to 'Articles'
After logging in, go to the 'Articles' section, which can be found in the left-hand panel of your Intercom dashboard.
3
Access 'Collections'
Within the 'Articles' section, find and click on the 'Collections' option.
4
Create New Collection
Select the 'Add new collection' button to begin setting up a new collection.
5
Name Your Collection
In the provided text field labeled 'Name', type in your desired title for the new collection.
6
Arrange Collections
To rearrange your collections, press and hold the three-line icon next to the collection you wish to reposition. Drag it to the place you prefer.
Organizing categories in Intercom's knowledge base is a simple process. By following these steps, you can easily organize your categories and help your customers get the help they need.


