How to Create Your First Knowledge Base
A knowledge base is a great way to provide self-service support to your customers and improve your customer satisfaction. It can also help you to save time and money on customer support costs.
1
Log into Intercom
Access your Intercom workspace by entering your login credentials.
2
Head to the 'Articles' Tab
Within the Intercom dashboard, locate and select the 'Articles' tab from the left-hand panel.
3
Choose 'New Article'
Within the 'Articles' environment, find and click on the 'New Article' option to initiate your Knowledge Base creation.
4
Fill in the Article Details
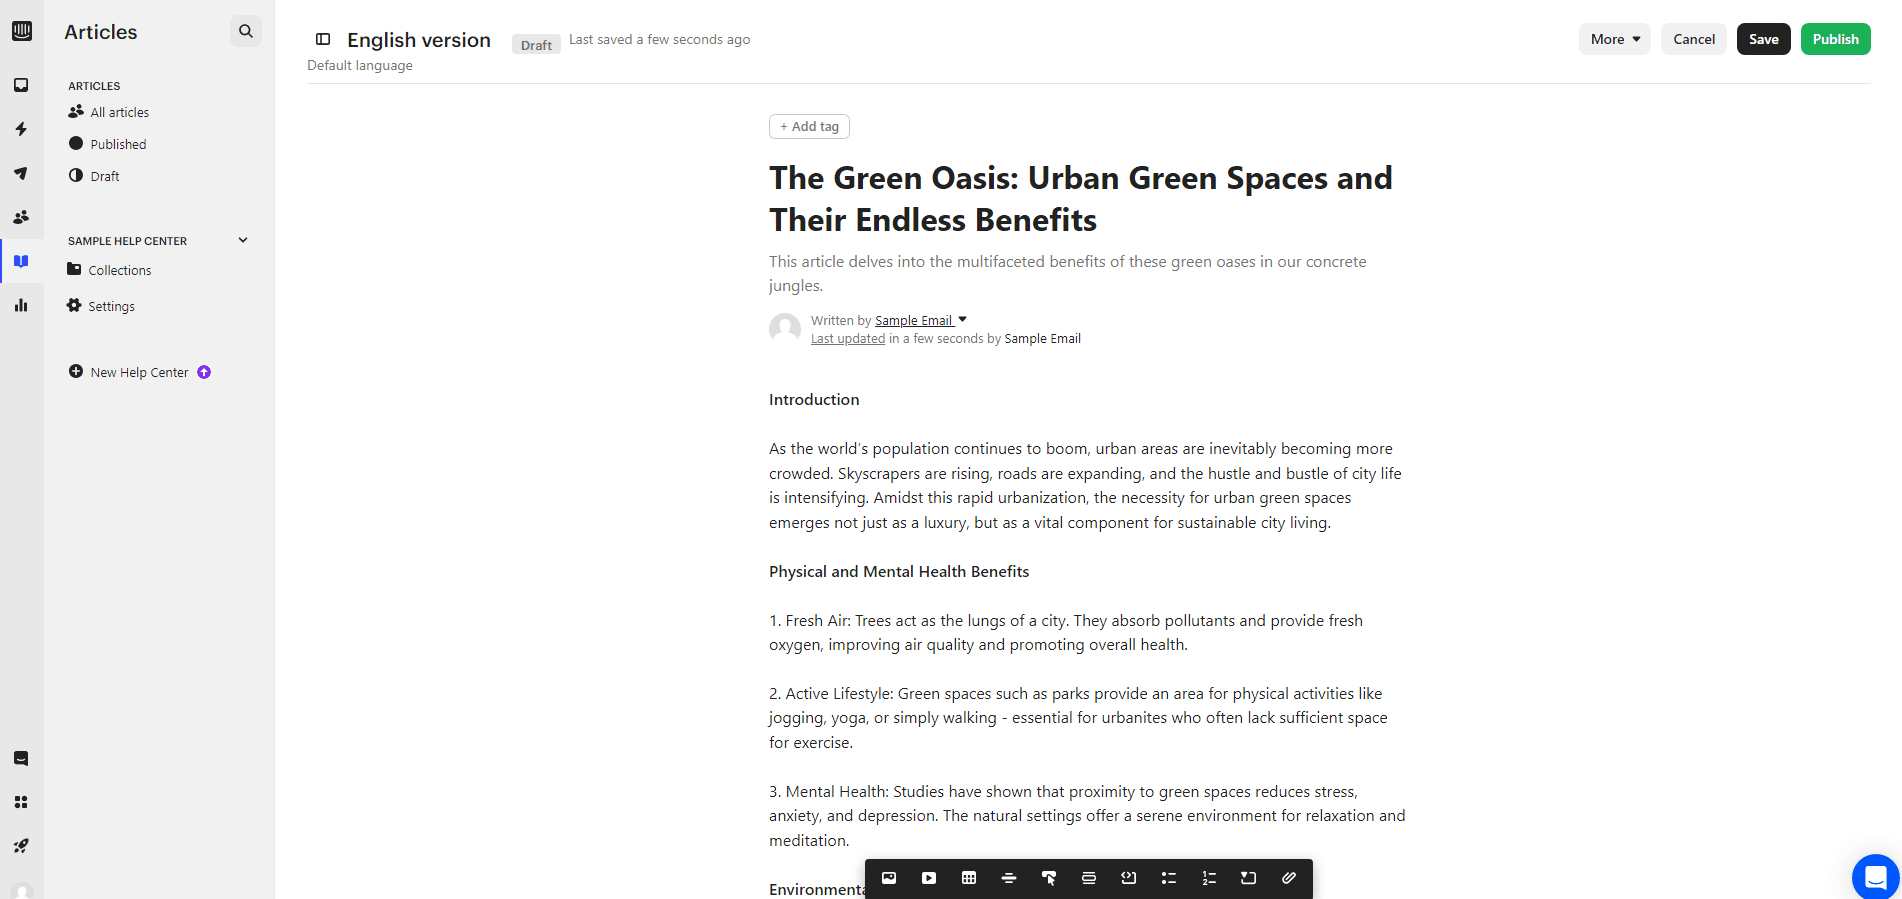
- Title: Key in the desired title for your article.
- Description: Draft a brief overview or summary.
- Content: Delve into the main body of your article, utilizing the available editing tools for a polished look.
5
Save the Article
Hit 'Save' to view the article as it would appear to end-users. Ensure everything looks as intended and make edits if required.
6
Go Live with Your Article
If the preview aligns with your vision, press the 'Publish' button to make the article accessible. If not, you have options to reschedule its release or save the draft for further refinement.
Creating your first knowledge base can be a daunting task, but it's worth it in the long run. By following these tips, you can easily create a knowledge base that will help your customers and grow your business.


