How to Leverage Intercom's Rules for Automated Support
Intercom's rules can be leveraged to automate support by triggering actions based on certain criteria. This can help to reduce the workload on your support team and improve the customer experience.
1
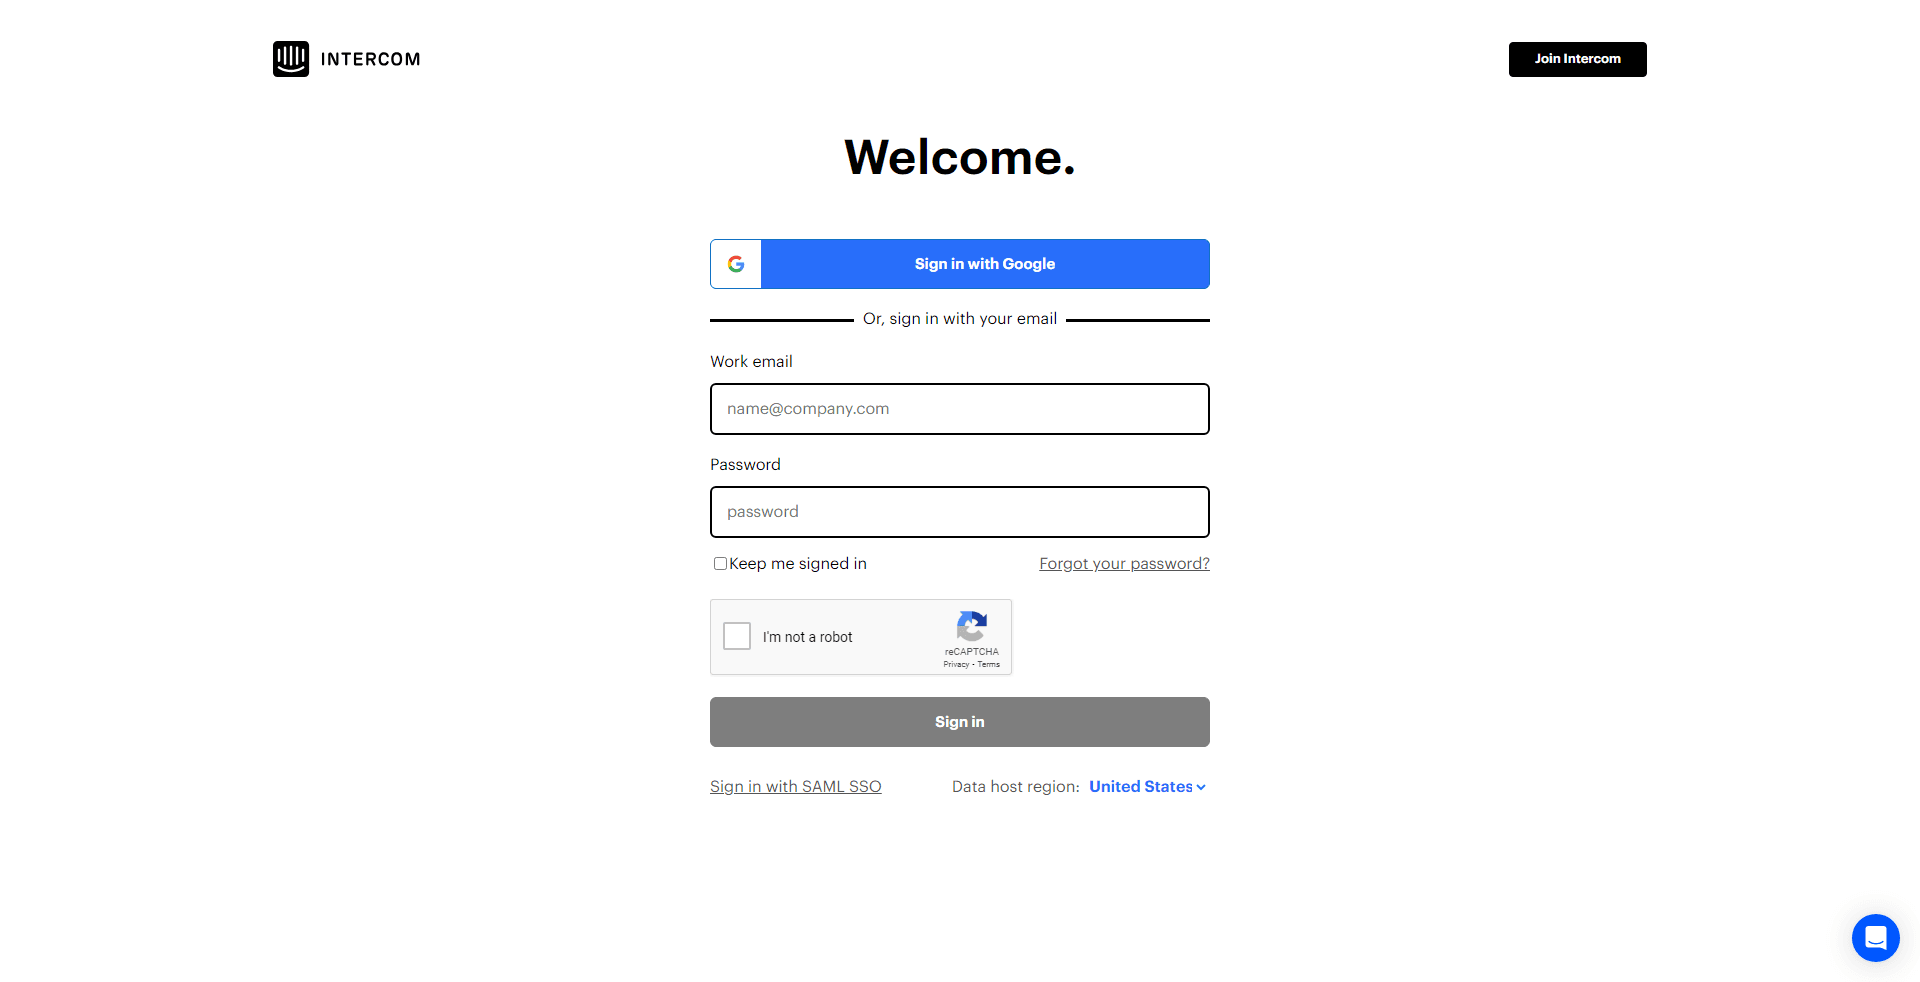
Log into Intercom

Access your Intercom dashboard by signing in with your credentials.
2
Navigate to the “Automations” Section
From your dashboard, find and click on the "Automations" option, typically located in the left-hand menu.
3
Get Familiar with the Interface
Before diving in, take a moment to familiarize yourself with the layout, available options, and any pre-existing automation rules.
4
Initiate a New Workflow
Locate and click on the "New Workflow" or similar button, usually situated at the top right.
5
Decide the Trigger
Here, you'll specify the event or condition that prompts the rule. It might be when a user employs a certain keyword, initiates a chat, or matches a specific user profile.
6
Determine the Corresponding Action
Upon your trigger being met, what should the system do? Options might encompass sending an automated response, rerouting the chat, or adding a tag to the conversation.
7
Name Your Workflow
For easy identification later, bestow a clear and descriptive name upon your workflow.
8
Save and Set Your Workflow Live
Once you've configured the workflow to your preference, click on "Save". If you're ready for it to be active, set the workflow to "Live".
Leverage Intercom's rules for automated support is a great way to improve the customer experience and free up your team to focus on more strategic tasks. By following the tips outlined in this guide, you can easily leverage Intercom's rules and start reaping the benefits.


