How to Set Up Language Localization in the Crisp Chat Widget
Welcome to our guide on setting up language localization in the Crisp Chat widget. Provide multilingual support and improve user experience. In this guide, we'll walk you through the steps to make your chat widget accessible and user-friendly for customers speaking different languages.
1
Log Into Your Crisp Account
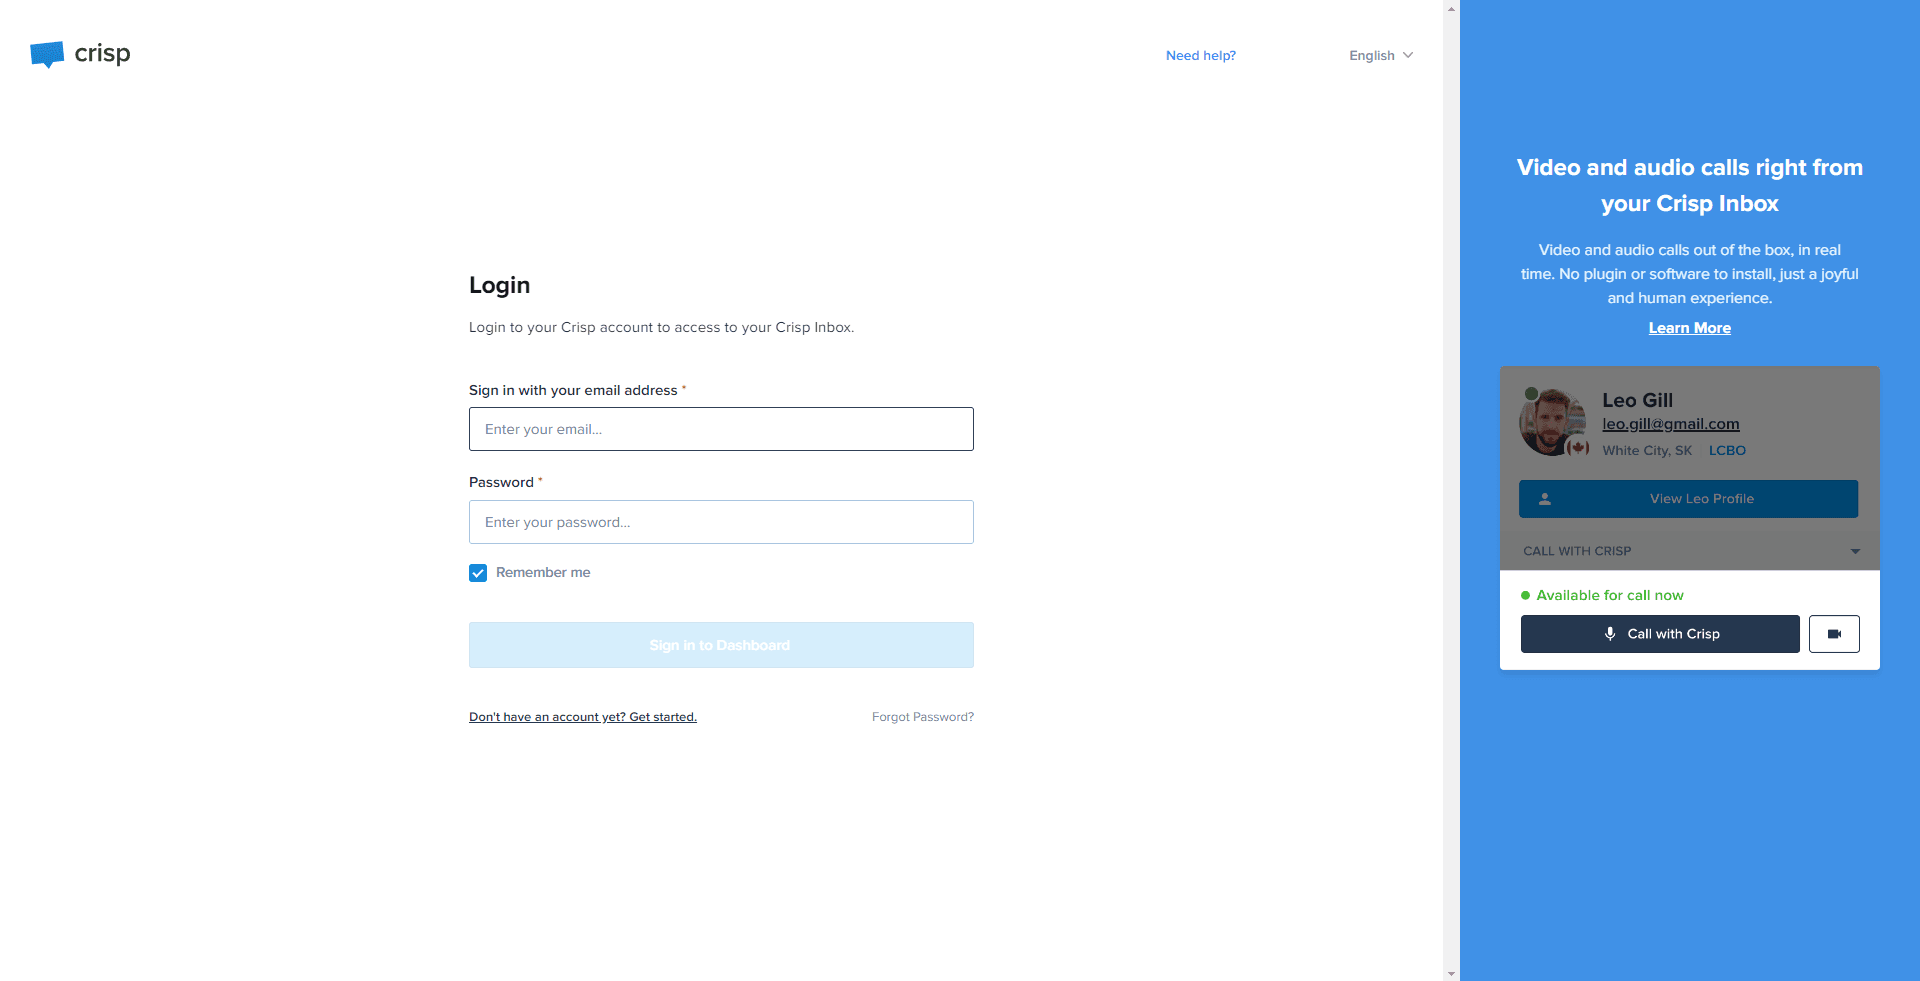
Visit the Crisp website and sign in with your credentials to access your account.
2
Access Your Dashboard
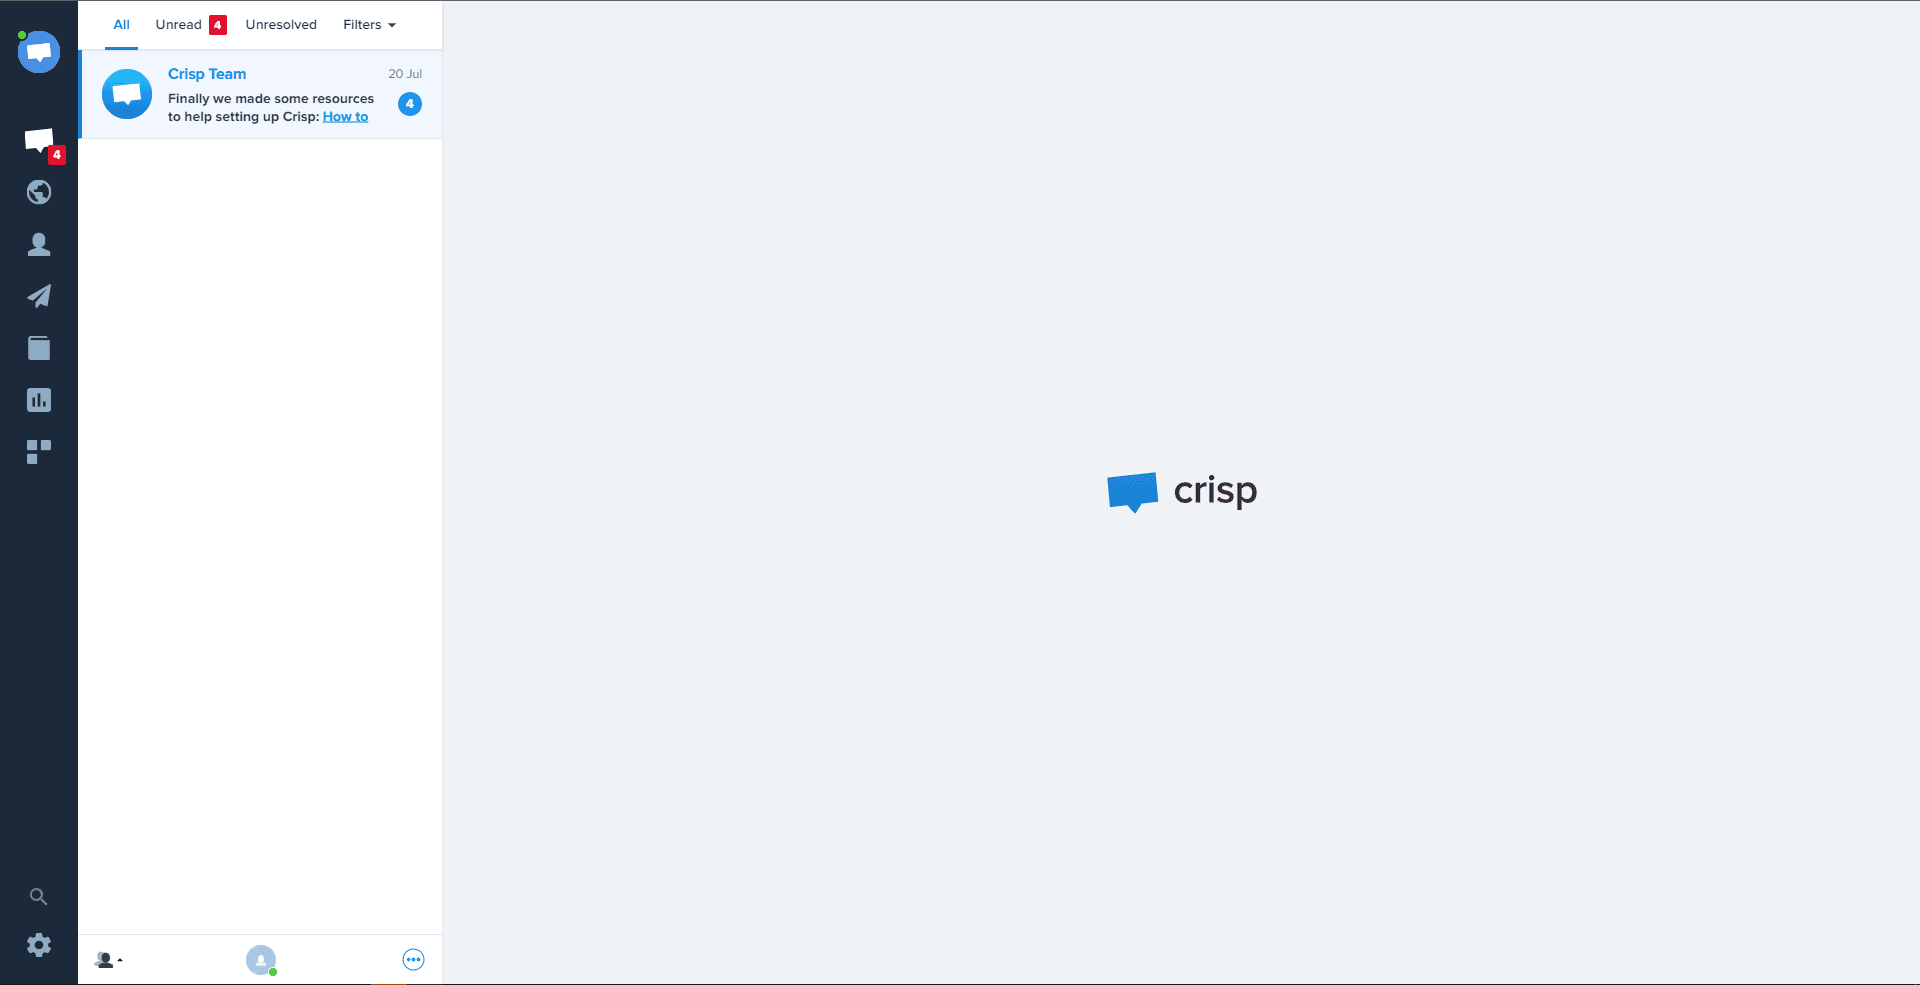
Once logged in, you will land on your Crisp dashboard.
3
Navigate to "Settings"
From your dashboard, find and select the "Settings" option.
4
Select "Chatbox & Email Settings"
In the settings menu, click on "Chatbox & Email Settings".
5
Click on "Languages & Localization"
In the "Chatbox & Email Settings" section, look for and click on "Languages & Localization".
6
Configure Language Settings
Here you can set the detect from user country or choose a specific language. Customize these settings as per your requirements.
7
Save Changes
It will automatically save your changes are stored and applied.
Congratulations! You've successfully learned how to set up language localization in the Crisp Chat widget. By making your chat widget multilingual, you can reach a wider audience, enhance customer communication, and provide excellent support to users speaking various languages. Continuously monitor language preferences and update translations to ensure a seamless experience for all your customers. Happy supporting!


