How to Set Up Custom Greetings in the Crisp Chat Widget
Welcome to our guide on setting up custom greetings in the Crisp Chat widget. Personalize your chat experience. In this guide, we'll show you how to create custom greetings to engage visitors and provide a warm welcome.
1
Sign In to Crisp

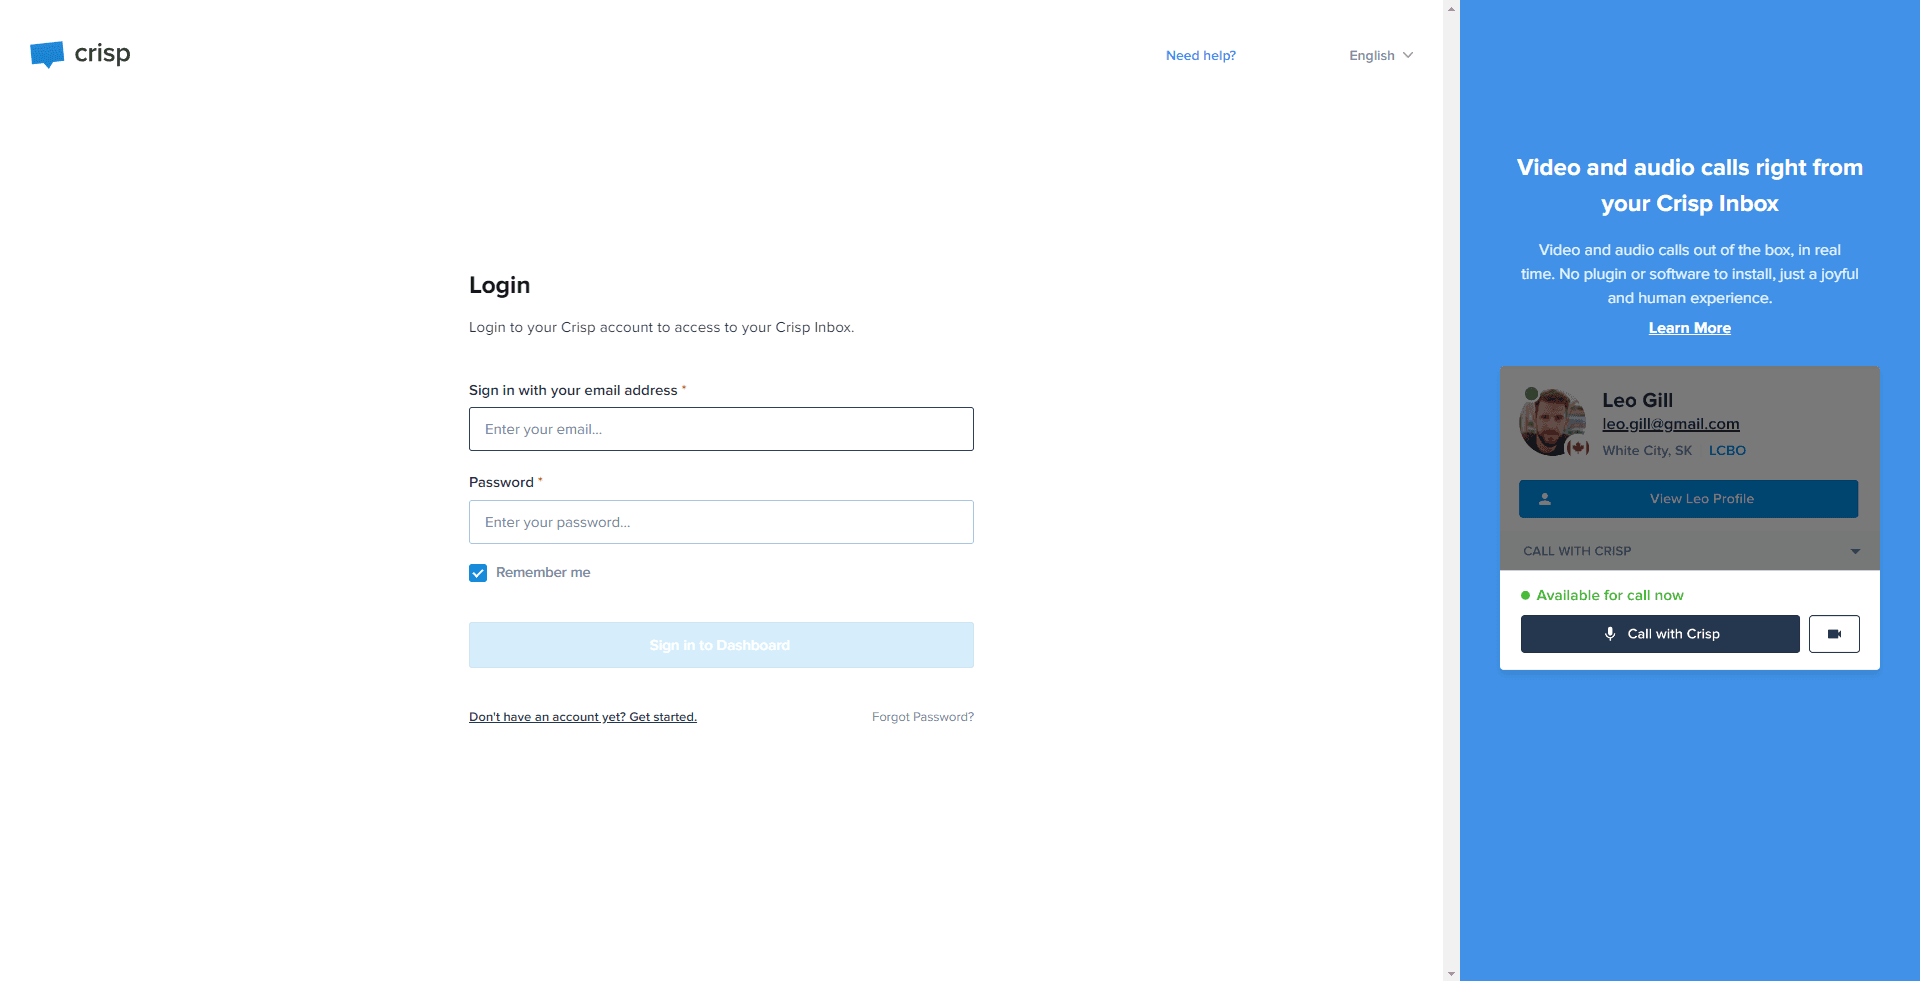
Go to the Crisp website and log into your account.
2
Access Dashboard

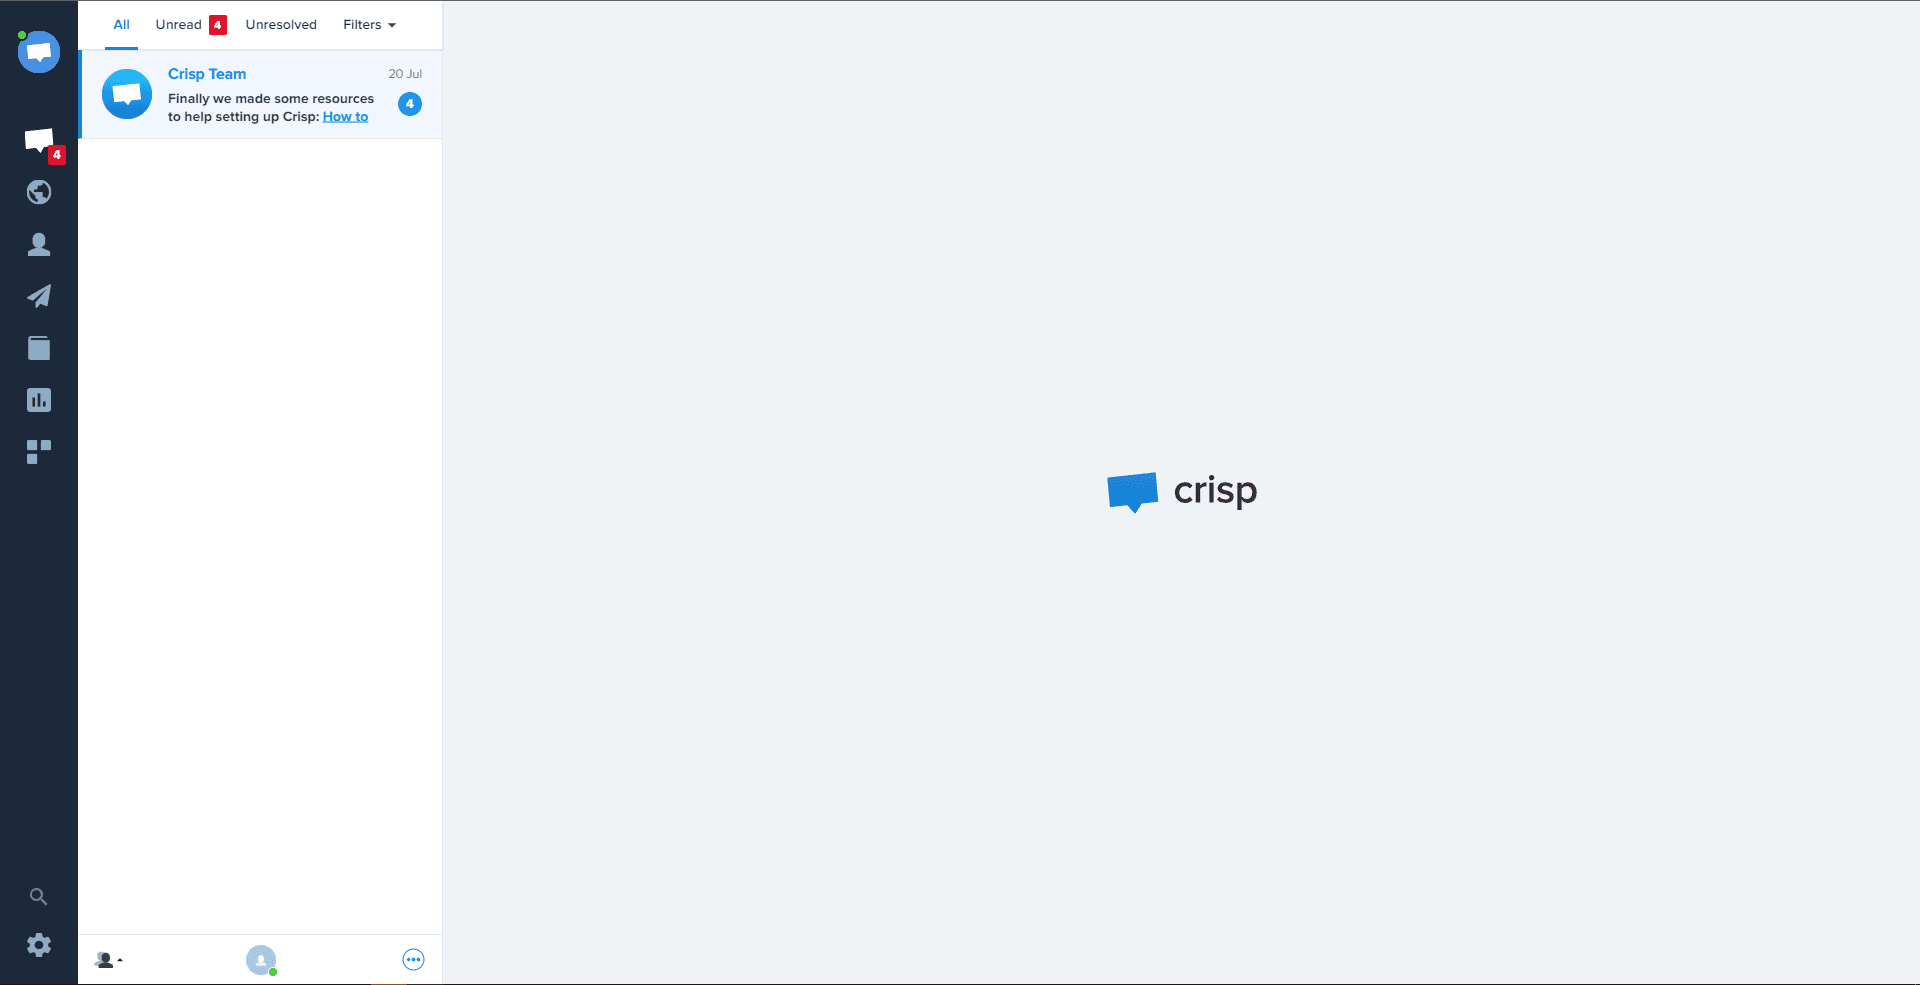
After successful login, you will be directed to your dashboard.
3
Navigate to "Settings"
In your dashboard, locate the "Settings" and click on it.
4
Go to "Chatbox & Email Settings"
Under the settings options, click on "Chatbox & Email Settings".
5
Select "Chatbox Appearance"
Within the "Chatbox & Email Settings", find and select the "Chatbox Appearance" option. Then, navigate to "Advanced Chatbox Customization" and click on it.
6
Create Custom Greetings
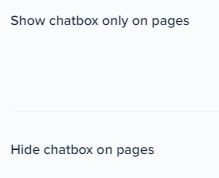
Here you can add custom greetings for different user situations such as 'First visit', 'Return visit', 'Offline', and more. Type your preferred greeting into the relevant text boxes.
7
Save Changes
Once you're done customizing your greetings, click on the "Save" button to ensure your greetings get updated.
Congratulations! You've successfully learned how to set up custom greetings in the Crisp Chat widget. By personalizing your chat greetings, you can make visitors feel valued, increase engagement, and build stronger customer relationships. Continuously optimize your greetings to match different visitor scenarios and improve chat conversions. Happy greeting!


