How to Set up Auto Replies in Shared Inbox
Welcome to our comprehensive guide on setting up auto replies in a shared inbox with Help Scout. Auto replies are valuable for managing customer expectations and providing prompt responses. In this guide, we'll walk you through the process of configuring auto replies for efficient customer support.
1
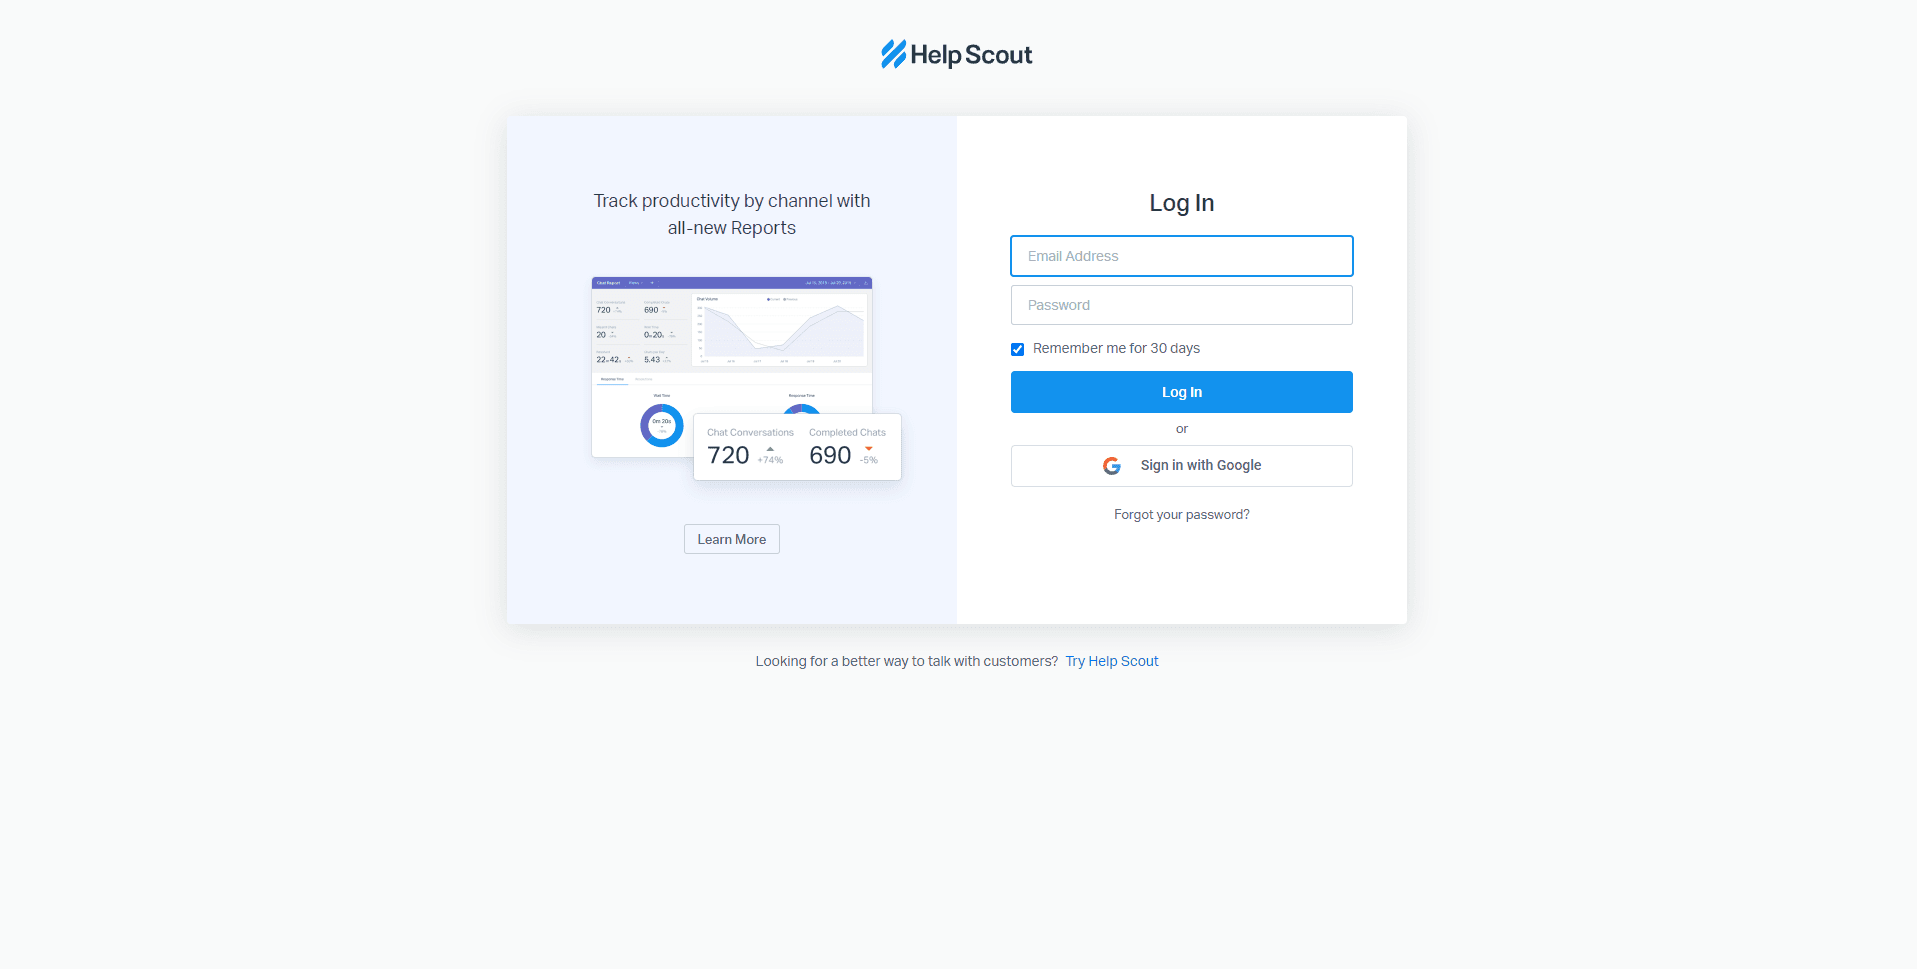
Log into Your Help Scout Account

Begin by logging into your Help Scout account. You'll land on your dashboard upon successful login.
2
Navigate to 'Manage'
On the left-hand side of the dashboard, click on the "Manage" option to access your settings.
3
Access 'Mailboxes'
Under the "Manage" section, click on "Mailboxes." This will take you to a page showing all your shared inboxes.
4
Choose a Mailbox
Select the mailbox for which you want to set up an auto-reply by clicking on its name.
5
Go to 'Auto Reply'
In the mailbox settings, click on "Auto Reply." This is where you can enable and configure your auto-reply settings.
6
Configure Auto Reply Settings
Toggle on the "Auto reply is enabled" option. In the box below, write your auto-reply message. This message will be sent automatically in response to incoming emails. You can also set the days and times when auto-replies are active.
7
Save Changes
Click on "Save Changes" to finalize your auto-reply settings.
Congratulations! You've successfully set up auto replies in the shared inbox with Help Scout. By automating responses, you can ensure timely acknowledgment to your customers, enhancing their experience. Continuously review and optimize your auto replies to align with changing requirements and maintain exceptional customer service. Happy automating!


