How to Organize Your Shared Inbox Efficiently
Welcome to our guide on organizing your shared inbox efficiently. An organized shared inbox is vital for streamlined communication and prompt responses. In this guide, we'll show you effective strategies to keep your shared inbox organized and productive.
1
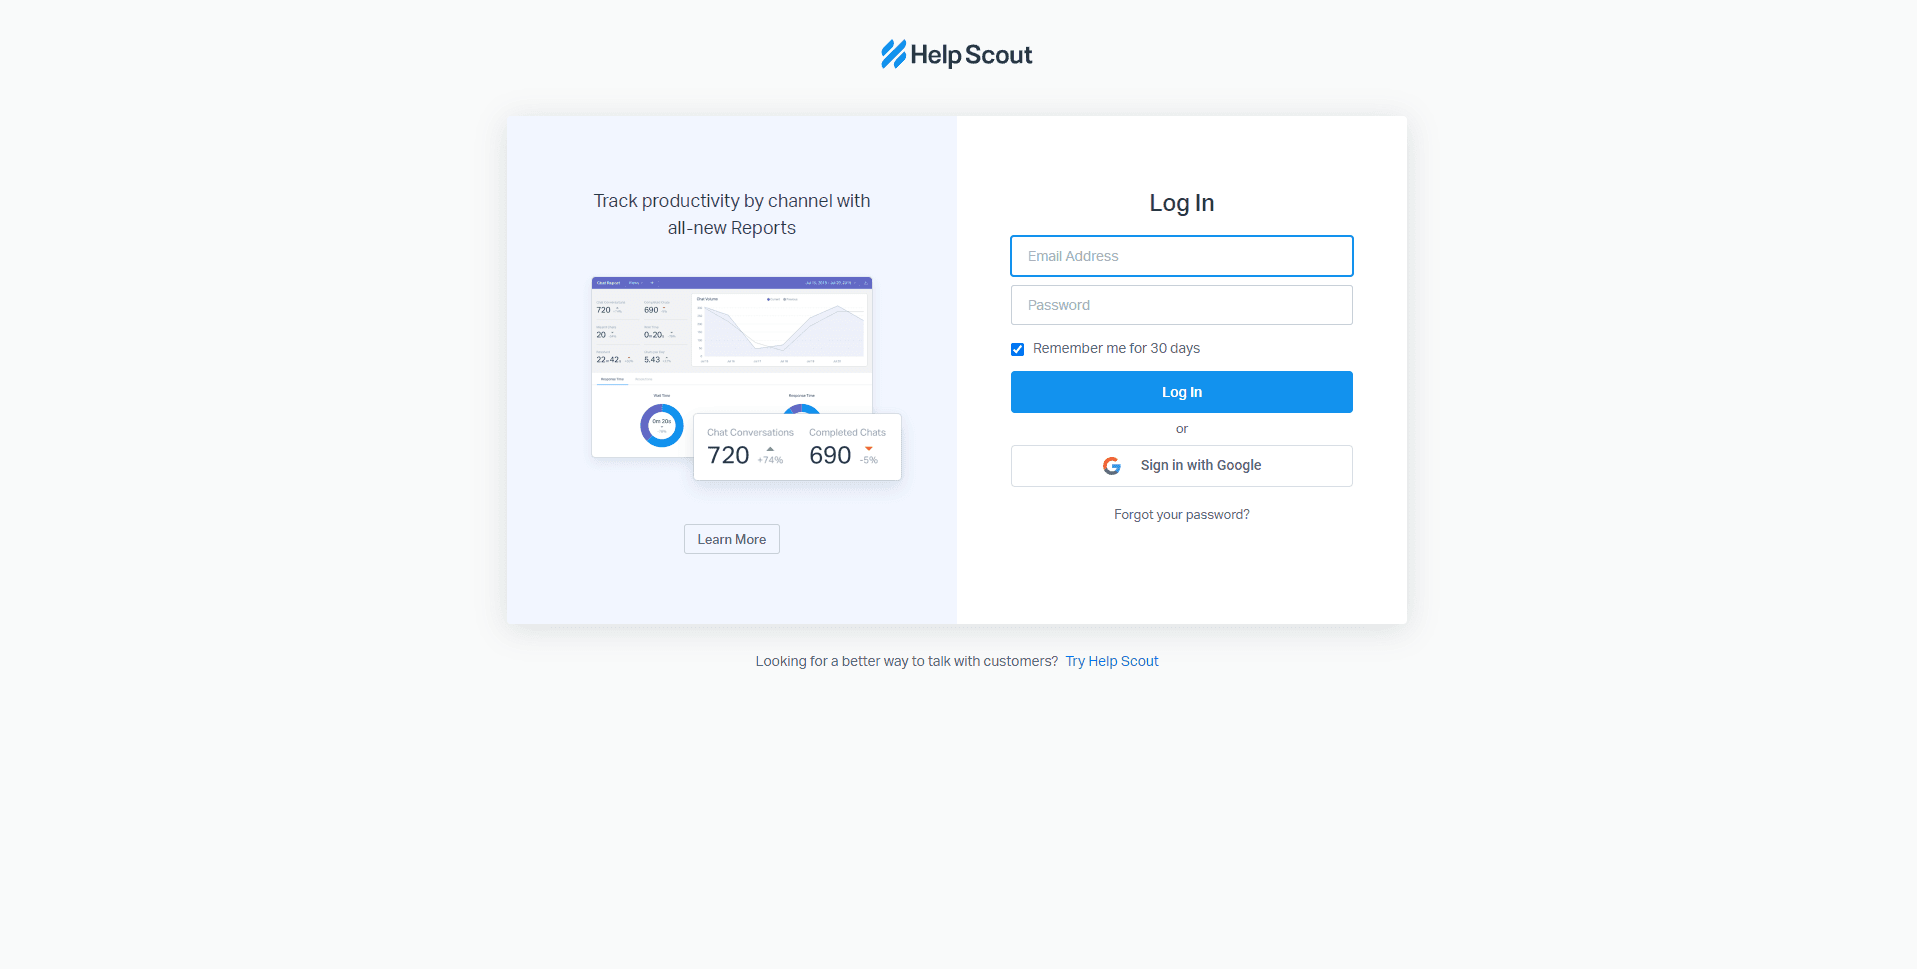
Logging in your Help Scout.

Begin by logging into your Help Scout account.
2
Navigate to 'Mailboxes'
On the left-hand side
3
Utilize Tags
You can use tags to categorize and track specific types of conversations. To add a tag, open a conversation, write your tag in the 'Add Tag' field and press Enter.
4
Assign Conversations
Assigning conversations to specific team members can help ensure that the right person is addressing the right issue. Open a conversation and click on the 'Assign to' dropdown to assign the conversation to a team member.
5
Use Statuses to Track Progress
Changing a conversation's status can help track its progress. Open a conversation and click on the 'Status' dropdown to change the status to 'Active,' 'Pending,' 'Closed,' or 'Spam.'
6
Employ Workflows for Automation
Workflows in Help Scout can automate actions on conversations based on preset triggers. To access the 'Workflows' section, click on the mailbox settings icon located on the left-hand side of your screen. Then select 'Workflows', click 'New Workflow', and define the conditions and actions for your workflow.
Congratulations! You've successfully learned how to organize your shared inbox efficiently. By implementing the strategies covered in this guide, you can improve team collaboration, respond faster to customer inquiries, and maintain a clutter-free inbox. Stay consistent in your organization efforts for a more productive and customer-centric approach. Happy organizing!


