How to Streamline Communication with Reply Bcc
Welcome to our guide on streamlining communication with Reply Bcc in Help Scout. Using Reply Bcc is essential for efficient collaboration. In this guide, we'll show you how to leverage Reply Bcc to keep your team informed and provide seamless customer support.
1
Access Your Help Scout Dashboard

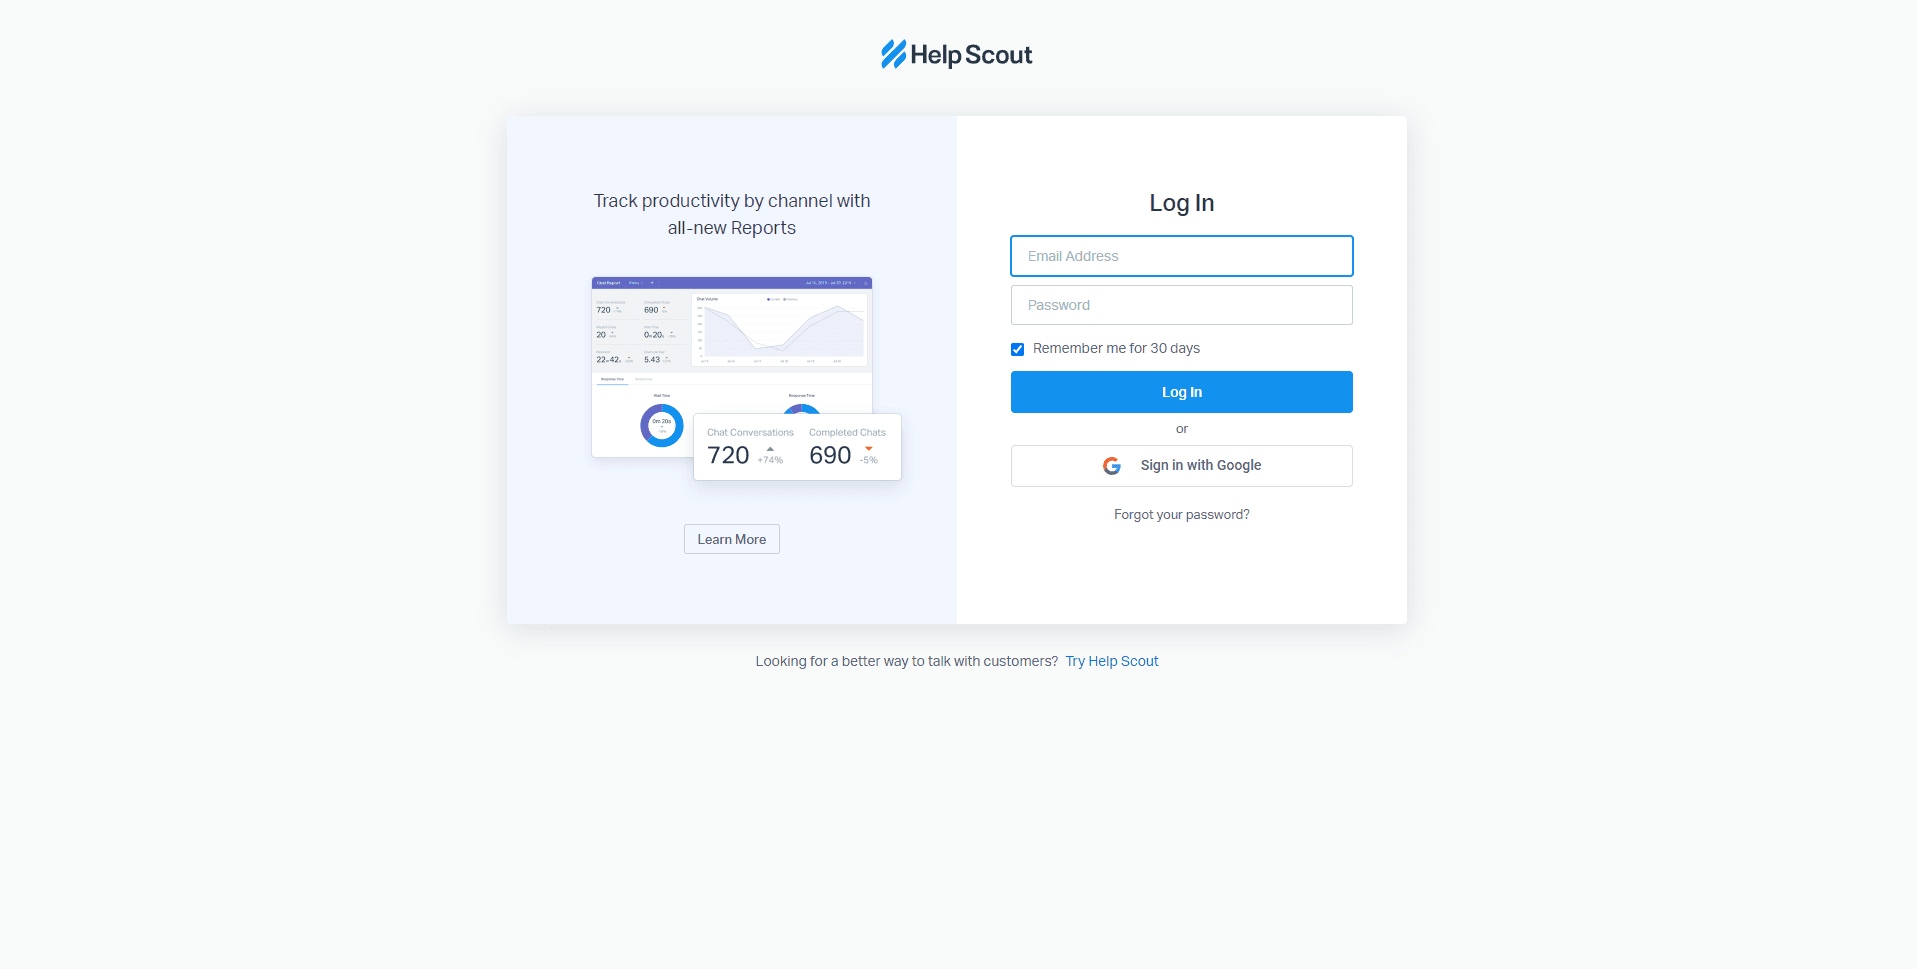
Start by logging into your Help Scout account. Upon successful login, you'll see your dashboard.
2
Open a Conversation
Click on "Conversations" on the left side of the dashboard and select a conversation to which you want to reply.
3
Begin Drafting a Reply
Once you're in a conversation, click on the 'Reply' box to start writing your response.
4
Open the Bcc Field
Next to the 'To' field above the 'Reply' box, you'll find a dropdown menu. Click it and select 'Add Bcc.'
5
Add Bcc Recipients
Enter the email addresses of the recipients you want to Bcc in the provided field. These recipients will receive a copy of the email without the primary recipient's knowledge.
6
Complete Your Reply
Write your reply in the 'Reply' box as usual. Once done, click the 'Send' button to send your message to both the primary recipient and the Bcc recipients.
Congratulations! You've successfully learned how to streamline communication with Reply Bcc in Help Scout. By leveraging this feature, you can keep your team in the loop, enhance transparency, and provide cohesive customer support. Utilize Reply Bcc effectively for better teamwork and exceptional customer experiences. Happy collaborating!

