How to Boost Efficiency with Saved Reply Templates
Welcome to our guide on leveraging saved reply templates for enhanced efficiency. Streamline customer support with pre-made responses. In this guide, we'll show you how to create and utilize templates to respond faster and more consistently.
1
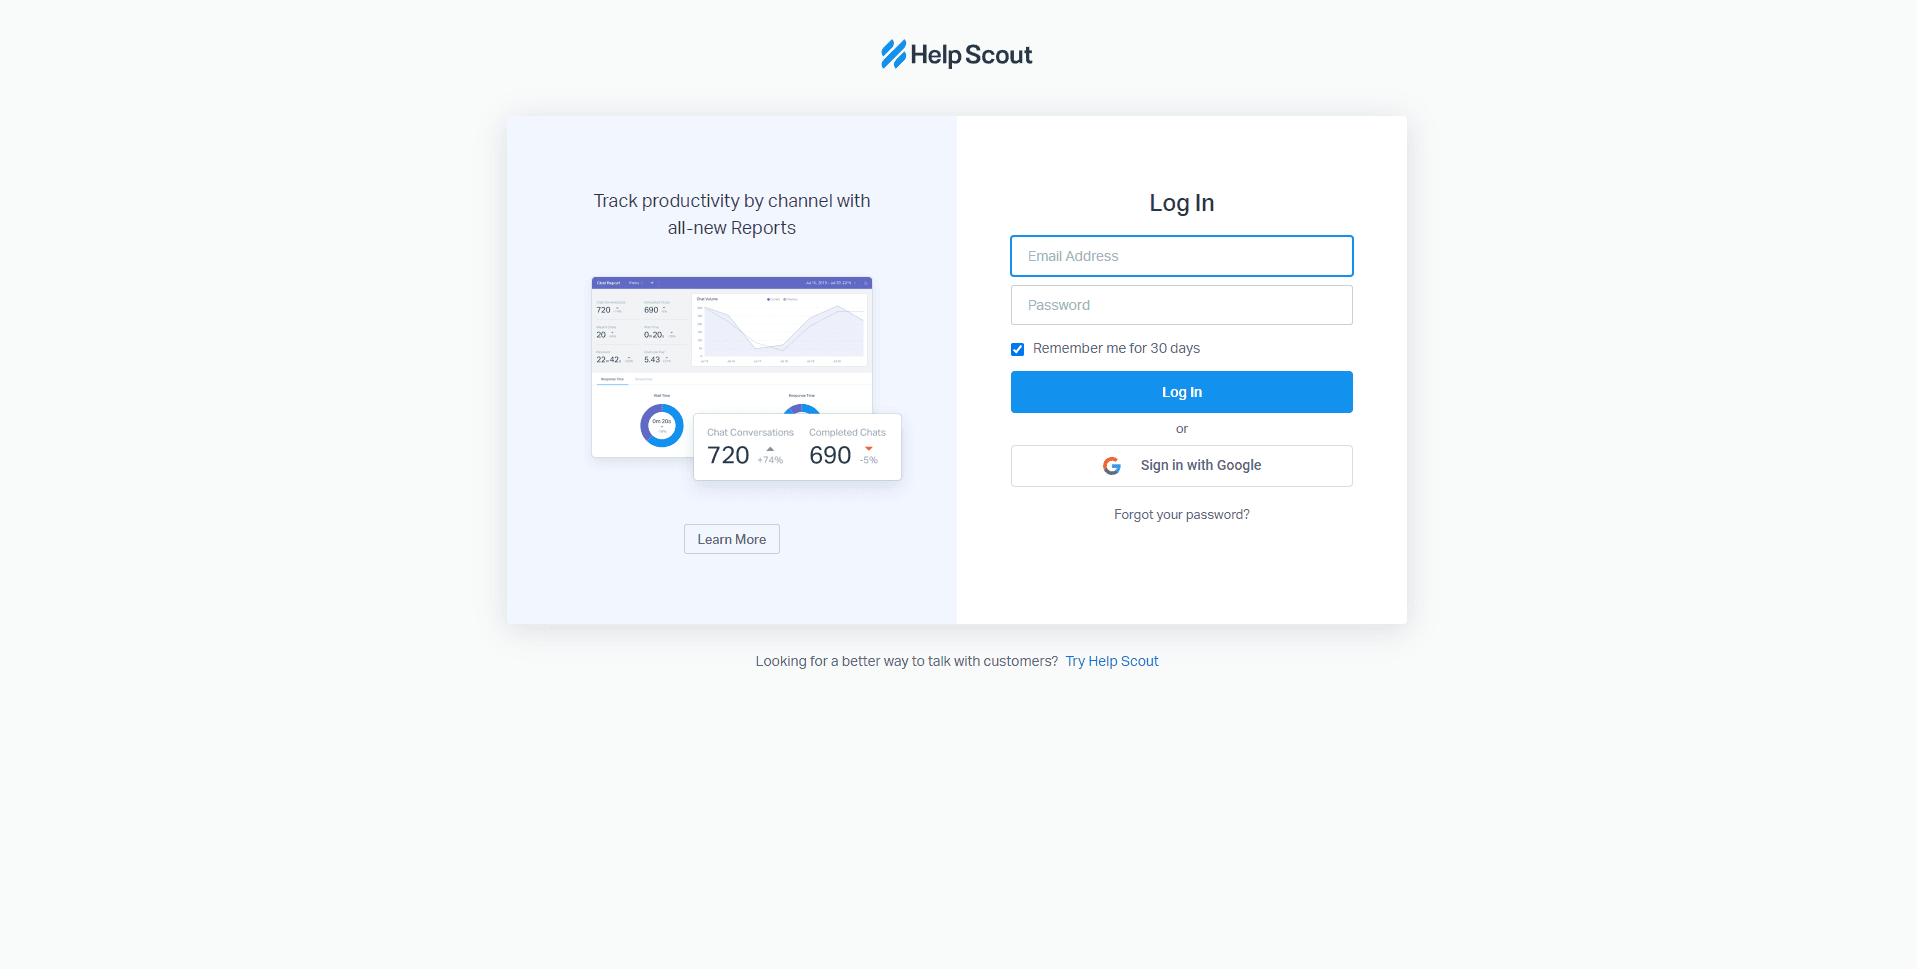
Log in to Help Scout

To start, log in to your Help Scout account.
2
Navigate to the 'Saved Replies' Section
On the left-hand side of your screen, click on the Mailbox settings icon. From the options that appear, select 'Saved Replies'. This is where you can manage all your saved responses.
3
Create a New Saved Reply
On the "Saved Replies" page, click on the "New Saved Reply" button. This will take you to a page where you can create a new saved reply.
4
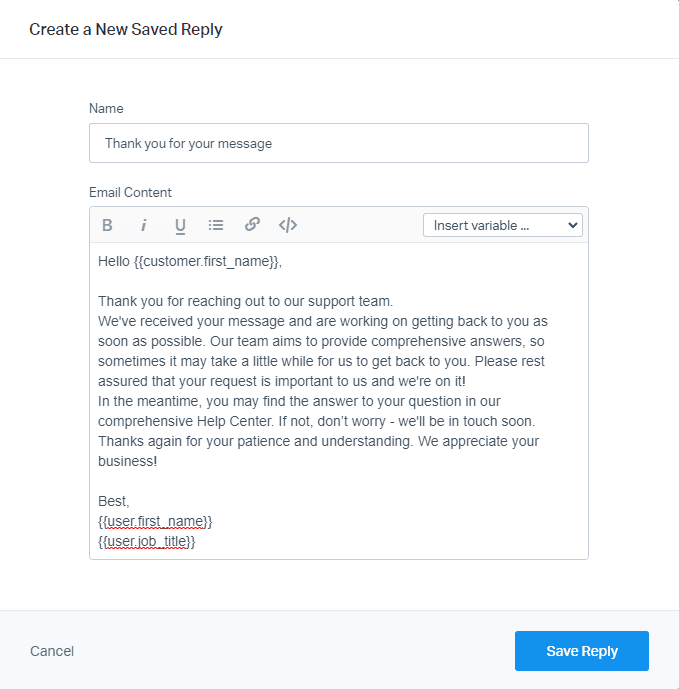
Write Your Reply

Now, write your reply in the given text field. You can use variables to personalize your replies. For example, using {{customer.first_name}} will automatically replace the variable with the customer's first name.
5
Save Your Reply
After writing your reply and assigning a shortcut, click the "Save" button to store this template. It's now ready for use in your future conversations.
6
Using Saved Replies in Conversations
When replying to a customer, type / in the reply box followed by the shortcut for your saved reply. The saved reply will appear in a dropdown. Click on it to automatically insert it into the reply box.
7
Edit or Delete Saved Replies
Navigate back to the "Saved Replies" section under "Manage." Here, you'll see a list of all your saved replies. Click the "Edit" or "Delete" button next to a saved reply to edit its content or remove it entirely.
Congratulations! You've successfully learned how to boost efficiency with saved reply templates. By using templates, you can save time, provide consistent responses, and improve customer satisfaction. Continuously update and optimize your templates to address evolving customer needs. Happy template optimizing!

