How to Personalize Your Help Scout Knowledge Base
Welcome to our guide on personalizing your Help Scout Knowledge Base. A personalized knowledge base enhances customer experiences. In this guide, we'll show you how to customize your Knowledge Base to match your brand and cater to your customers' needs.
1
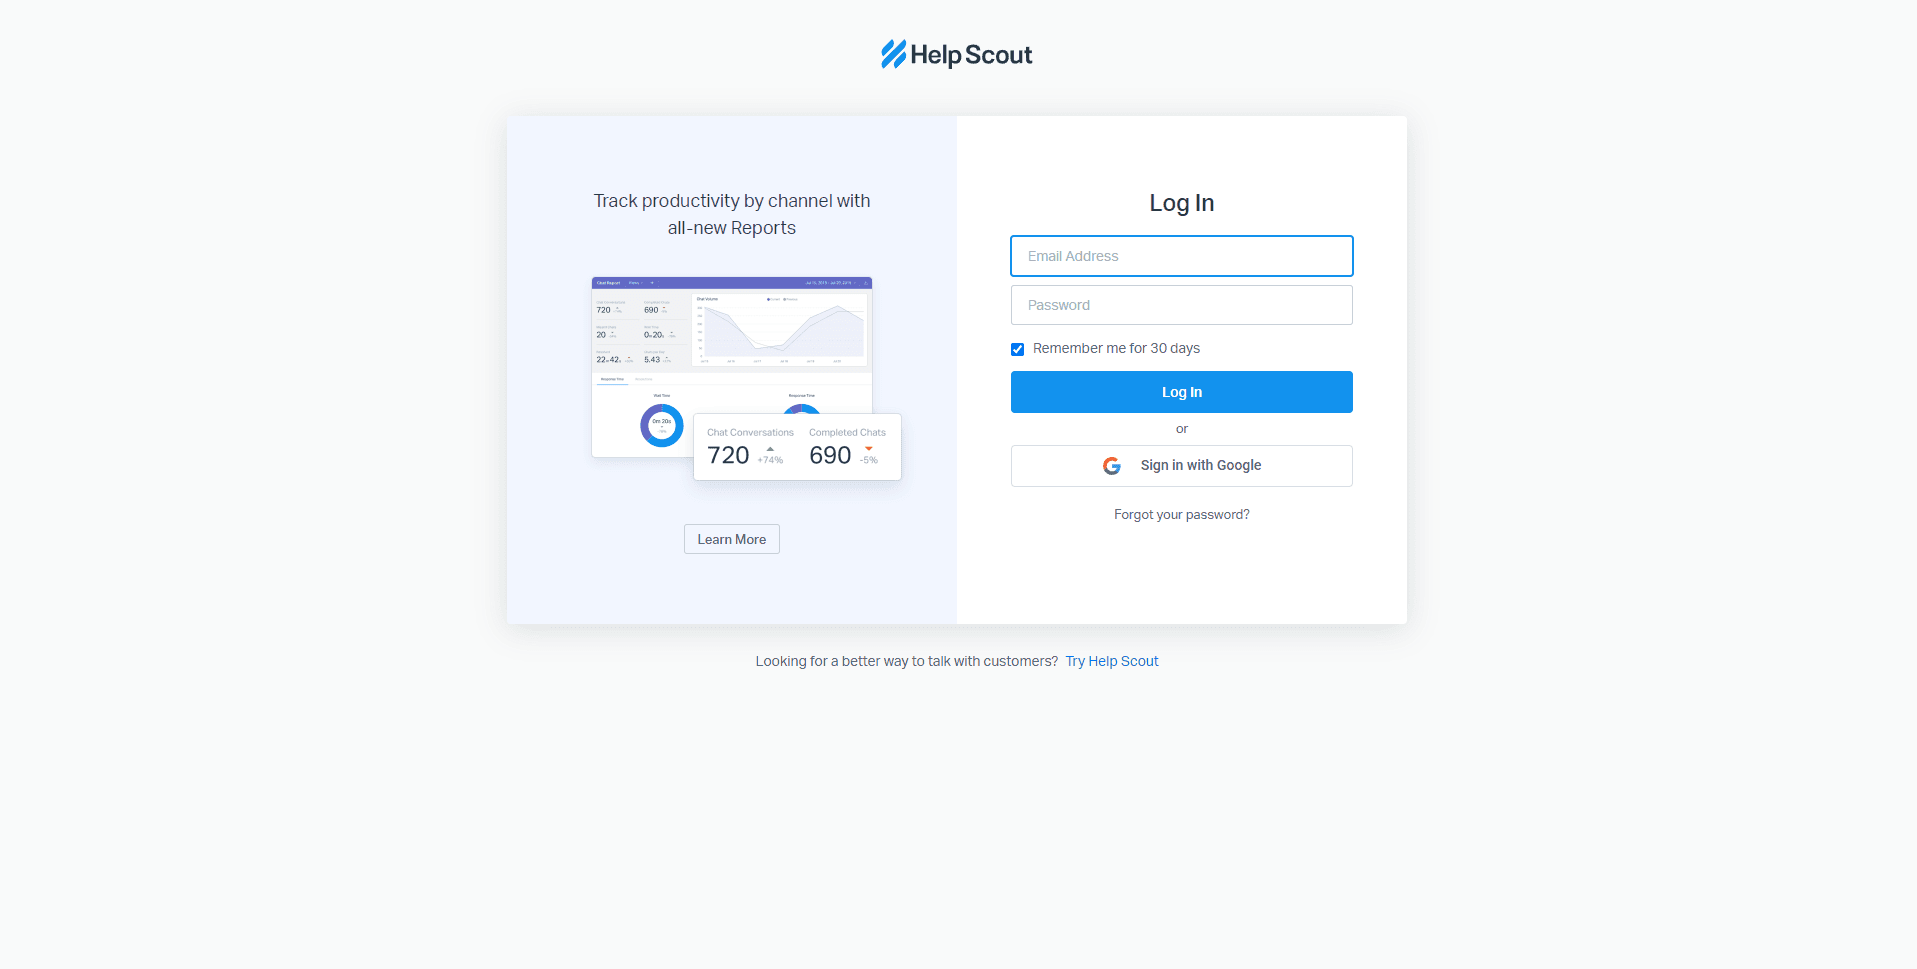
Log in to Help Scout

Begin by logging into your Help Scout account using your registered email address and password.
2
Access the Knowledge Base
Once logged in, navigate to the top-left corner of your dashboard and click on the 'Manage' option. From the dropdown menu, select 'Docs.'
3
Choose the Collection
In the Docs management screen, select the specific knowledge base (also called Collection) you want to customize by clicking on its name.
4
Adjust Colors
In the Appearance settings, find the 'Colors' section, and choose your brand's primary and secondary colors using the color picker tool or by entering the appropriate HEX or RGB values.
5
Customize the Logo
To replace the default Help Scout logo with your brand logo, scroll down to the 'Logo' section and click on 'Choose File.' Select the appropriate logo image file from your computer, and click 'Open.'
6
Save Your Changes
Once you have finished customizing your knowledge base's appearance, click on the 'Save' button at the bottom of the page to apply your changes.
Congratulations! You've successfully learned how to personalize your Help Scout Knowledge Base. By customizing your Knowledge Base, you can reinforce your brand identity, provide targeted content, and empower your customers to find solutions easily. Continuously update and improve your Knowledge Base to stay relevant and deliver exceptional support. Happy personalizing!


