How to Set Up User Rights for Help Scout Knowledge Base
Welcome to our guide on setting up user rights for your Help Scout knowledge base. Control access and permissions efficiently. In this guide, we'll show you how to manage user rights to ensure the right people have the right level of access.
1
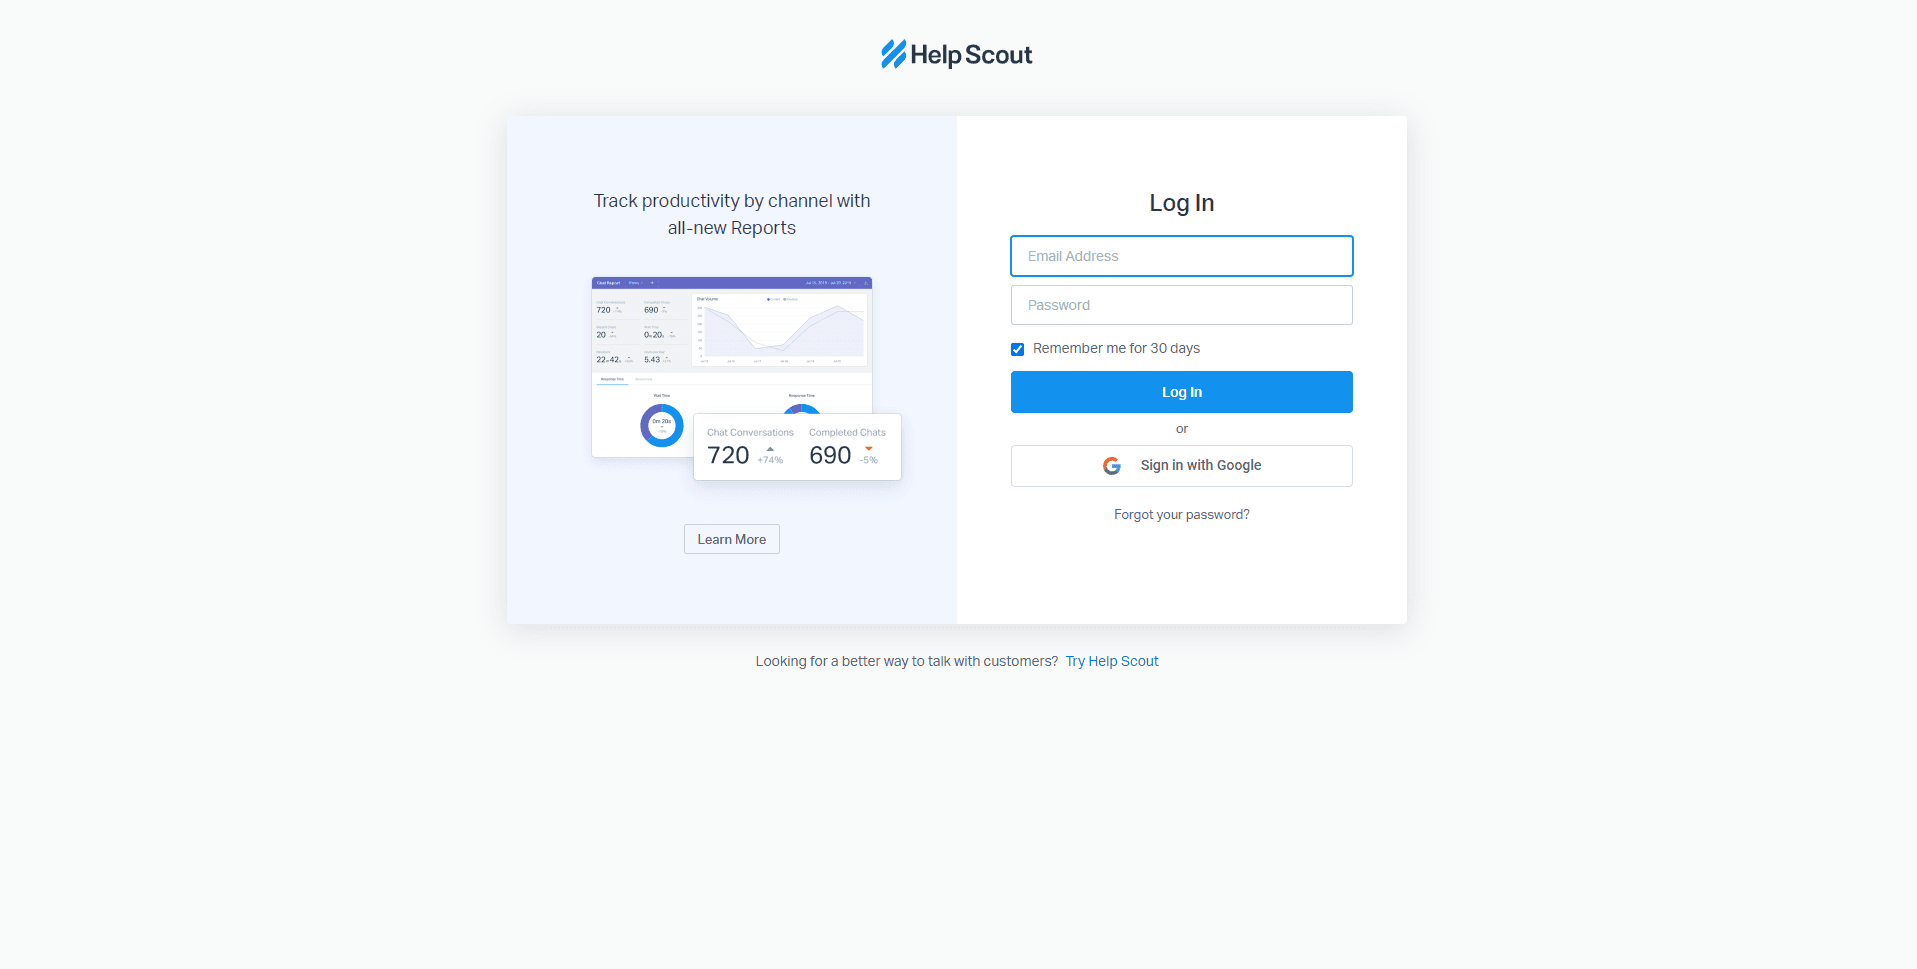
Log in to your Help Scout account

To start, log in to your Help Scout account with your email and password. If you don't have an account, create one at https://secure.helpscout.net/members/login/.
2
Navigate to the 'Manage' tab
Once logged in, click on the 'Manage' tab located in the top navigation menu.
3
Access the 'Users' page
In the 'Manage' tab, click on 'Users' from the left sidebar menu. This will display the list of users on your account.
4
Edit user permissions
To set up user permissions, you need to locate the user you want to edit. Click on the user's name in the list to open their profile.
5
Modify the user's role
In the user's profile, scroll down to the 'Permissions' section. Here, you can select a predefined role for the user from the dropdown menu. For managing and editing your Knowledge Base, choose 'Admin' or 'Manager' roles. Both of these roles have permission to manage and edit Knowledge Base content.
6
Save your changes
After you've adjusted the user's permissions, click the 'Save' button located at the bottom of the page to save your changes.
Congratulations! You've successfully learned how to set up user rights for your Help Scout knowledge base. By managing access and permissions effectively, you can protect sensitive information, streamline collaboration, and maintain a well-organized knowledge base. Continuously review and update user rights to match your team's needs and security requirements. Happy managing!


