How to Integrate Crisp Chat with Zapier
Crisp Chat and Zapier can be integrated to automate tasks and workflows between the two platforms. This can help you to save time and improve your customer experience.
1
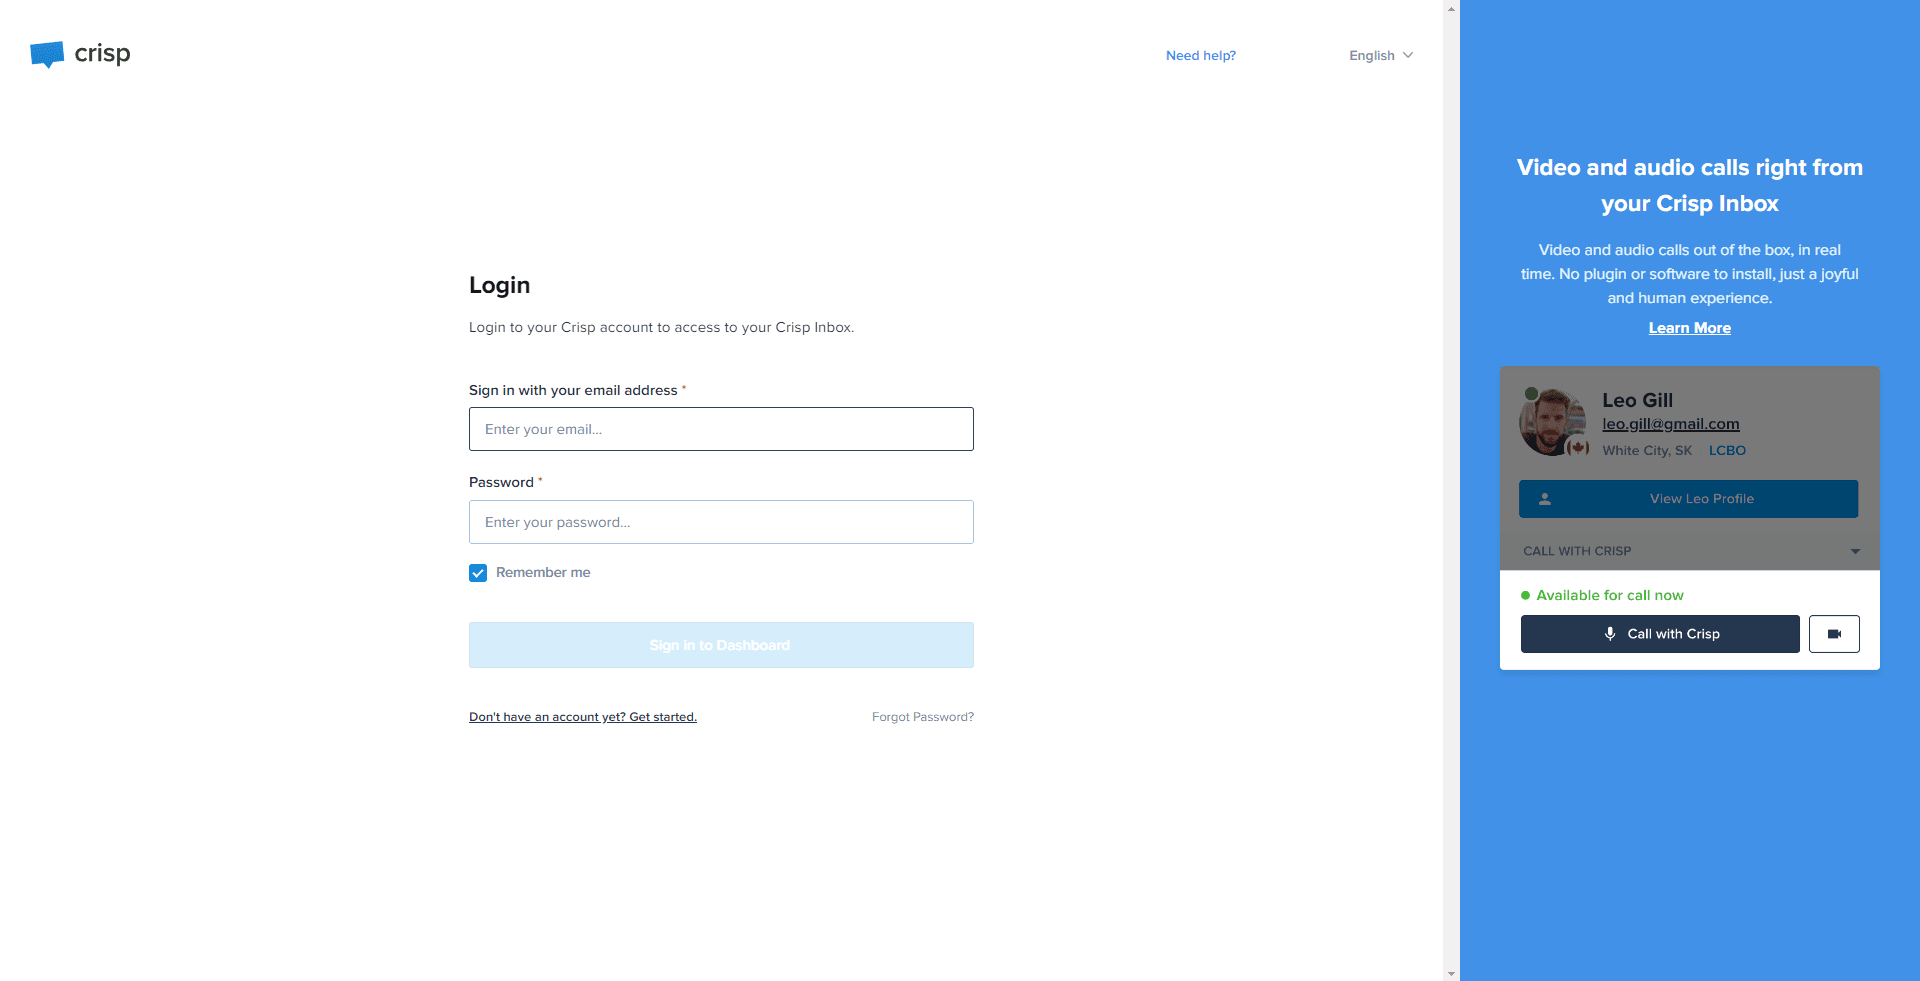
Log in to your Crisp Account

Access your Crisp account by entering your login details.
2
Navigate to 'Plugins'
From your dashboard, select the 'Plugins' tab.
3
Find the Zapier Plugin
Scroll through the plugin list to locate the Zapier plugin. Click on it.
4
Click 'Install'
Find the 'Install' button under the Zapier plugin details and click on it.
5
Initiate Connection with Zapier

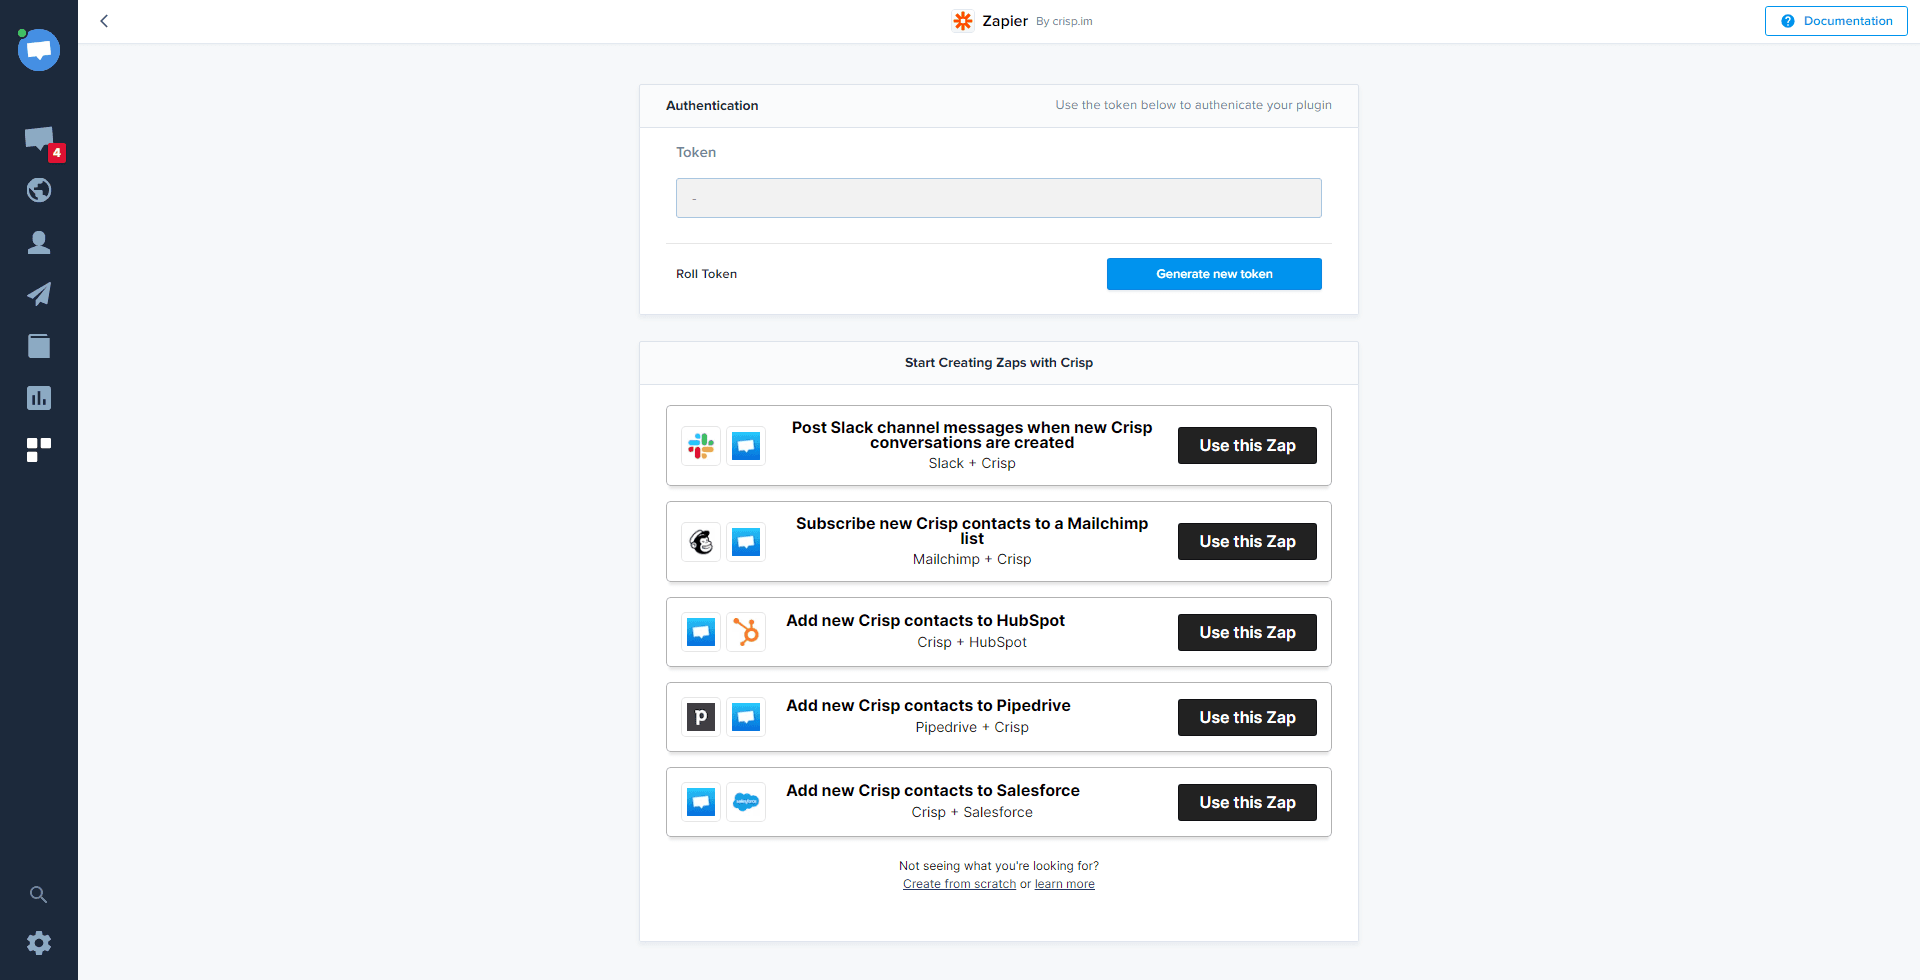
Once the Zapier plugin has been installed, you need to establish the connection with Zapier. Navigate to the Zapier settings in Crisp.
6
Create a New Zap in Zapier for Crisp Token
Before you can enter the Zapier token in Crisp, a new Zap has to be set up in Zapier to generate the required token.
1
Login to Your Zapier Account

Enter your login credentials to access your Zapier account.
2
Click on 'Make a Zap'
Find and select the 'Make a Zap' button on your Zapier account dashboard.
3
Set Up Your Zap
Choose 'Crisp' as the trigger app and define your desired action for the zap.
4
Generate Zapier Token for Crisp
Upon defining your Zap, Zapier will create a unique token for Crisp. Make sure to copy this token.
7
Enter Zapier's Token in Crisp
Switch back to the Crisp platform. In the Zapier settings section, paste the copied Zapier token. This connection allows Crisp to interact with Zapier for task automation.
Integrating Crisp Chat with Zapier is a great way to automate your customer support processes and improve your customer experience. By following the steps outlined in this guide, you can easily connect these two platforms and start reaping the benefits.


