Connecting HubSpot Service Hub with project management tools
Welcome to our comprehensive guide on connecting HubSpot Service Hub with project management tools. Combining your customer support efforts with project management can significantly enhance team collaboration, task tracking, and project delivery. By integrating HubSpot Service Hub with project management tools like Asana, Trello, or Jira, you can streamline workflows, assign tasks, and improve communication between your customer support and project teams. In this guide, we'll walk you through the step-by-step process of setting up this integration, enabling you to manage projects seamlessly while delivering exceptional customer support experiences.
1
Choose an Integration Method
To connect HubSpot with your project management tool, you can either use a native integration (if available) or a third-party integration service like Zapier or PieSync.
2
Set Up the Integration
Once you've identified the right integration method, follow these steps to set it up:
1
Navigate to the Integrations page:
Log in to your HubSpot account and click on the "App Marketplace" tab at the top of the page.
2
Search for your project management tool:
In the search bar, type in the name of your project management tool and click on the relevant integration. In this example we’re using Asana.
3
Install the integration:
Click on the "Install" or "Connect" button on the integration page and follow the on-screen instructions.
3
Configure the Integration
Once you've installed the integration, you'll need to configure it to sync tasks between HubSpot and your project management tool.
4
Test the Integration
After configuring the integration, run a test to ensure that tasks are synced correctly between HubSpot and your project management tool:
1
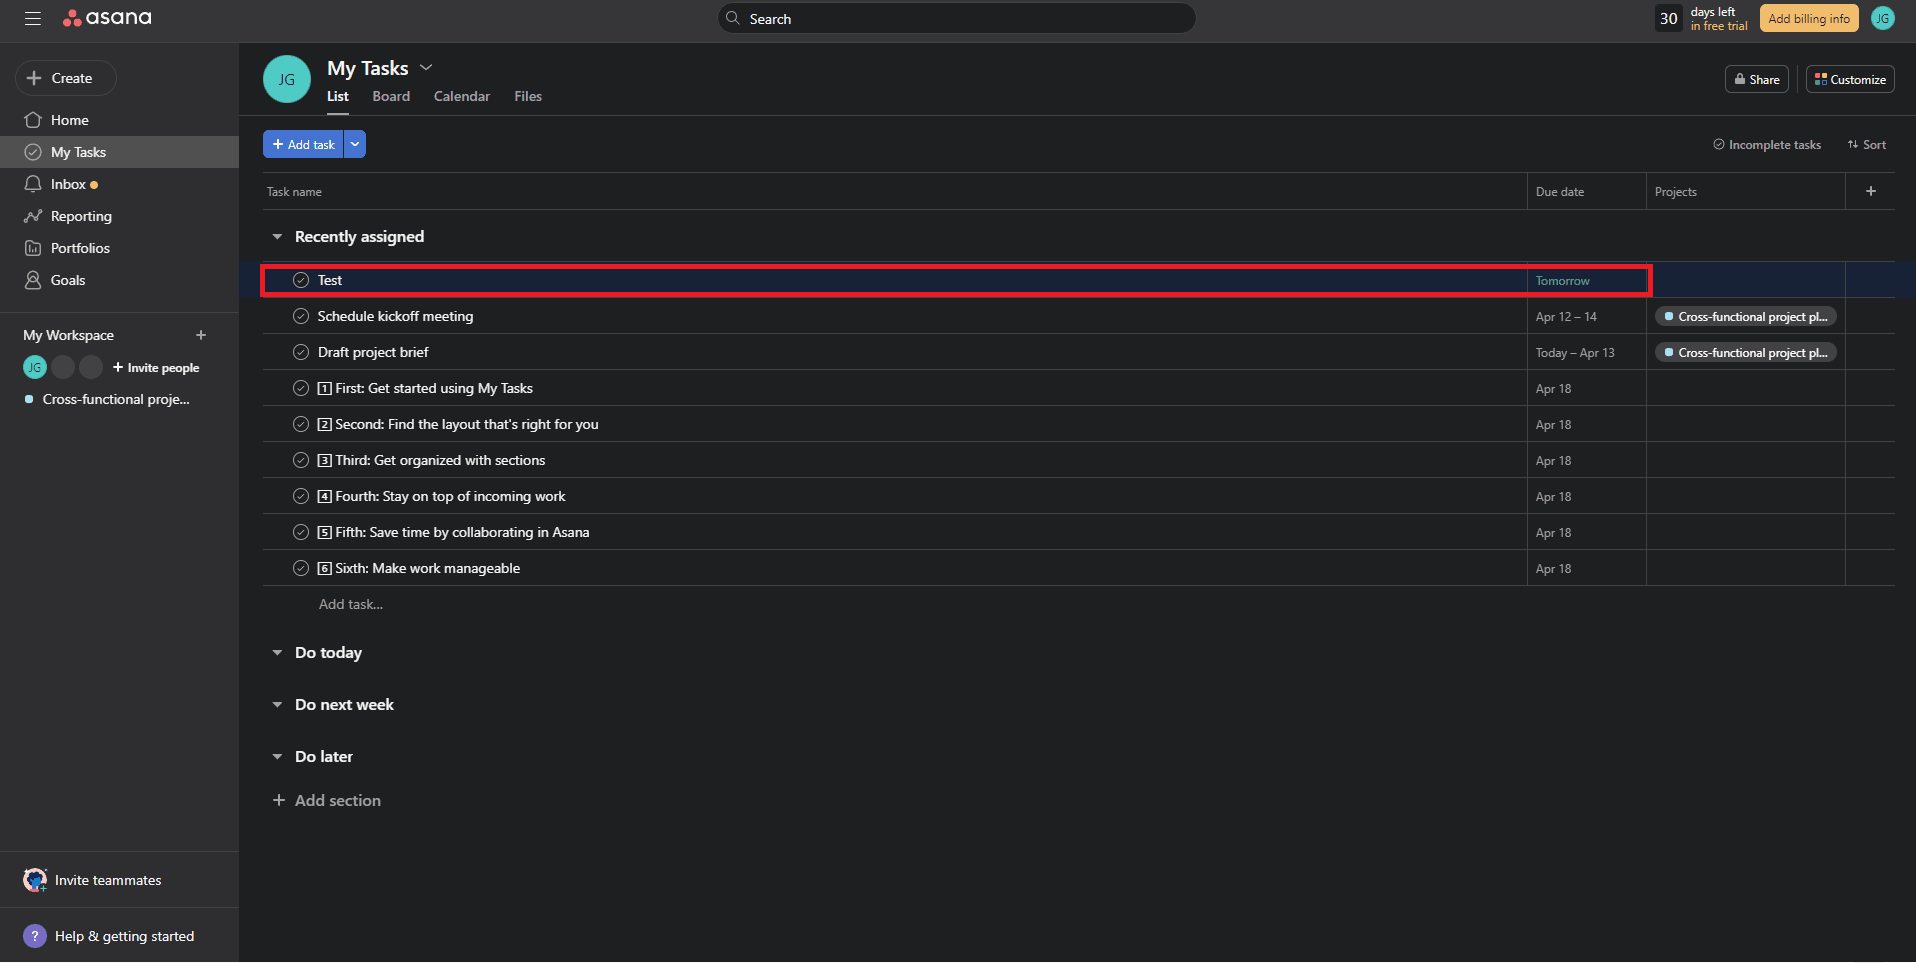
Create a test task:
create a test task and observe whether it appears in your project management tool.
2
Monitor the sync:

Check the integration dashboard to monitor the sync status and ensure tasks are being transferred correctly between the two platforms.
5
Automate Task Creation in HubSpot
With the integration set up and configured, you can now automate task creation in HubSpot using workflows:
1
Create a new workflow:
Follow the steps outlined in the previous guide on optimizing task prioritization and scheduling with HubSpot automation to create a new workflow.
2
Add task creation action:
In the workflow editor, add a "Create task" action and fill in the required fields.
6
Monitor and Optimize the Integration
Regularly monitor and optimize your HubSpot and project management tool integration to ensure seamless collaboration:
1
Check for sync errors:
Monitor the integration dashboard for any sync errors or issues and address them promptly.
2
Update task property mappings:
If you make changes to task properties in either HubSpot or your project management tool, ensure you update the task property mappings accordingly.
Congratulations on successfully connecting HubSpot Service Hub with your chosen project management tool! By integrating these two powerful platforms, you've empowered your customer support and project teams to work together seamlessly. The enhanced collaboration, streamlined task tracking, and improved communication will lead to more efficient project delivery and exceptional customer support experiences. Don't forget to regularly review the performance of this integration and gather insights to make data-driven decisions. Embrace the power of this integration to achieve higher levels of productivity, customer satisfaction, and overall success for your business. Keep innovating and leveraging technology to stay ahead in today's competitive landscape. Happy collaborating!


